How to Decorate a Christmas Tree with Ribbon (DIY Under $40)
Learning how to decorate a Christmas tree on a budget has never been easier. Here’s how to get the designer Christmas tree look for under $40.

I love Christmas tree ornaments as much as the next girl, but this year, I was craving something different. Instead of the classic string lights, ornaments, and Christmas tree topper formula I usually follow, I decided to test out a simpler, more elevated design using just ribbon.
It’s no secret that bows are everywhere in interior decorating. From Easter decorations to Christmas wreaths, bows transcend seasons, holidays, and themes. The simplicity is what makes them work. Instead of competing for attention, the bows complement seasonal elements without adding visual clutter.
Not to mention, they’re easy to source and affordable, making them an obvious choice to decorate a Christmas tree.
So, this holiday season, I’m ditching the traditional ornaments and bringing the beauty of bows to my Christmas tree with a surprisingly simple DIY that costs less than $40 to recreate. I’m talking designer tree vibes on an Amazon budget.
If you’re ready to step up your Christmas decor game on a budget, this DIY is for you. All you need is a few basic supplies and an hour of your time. Let’s get started!

How to Decorate a Christmas Tree with Ribbon
ribbon vs. pre-made bows
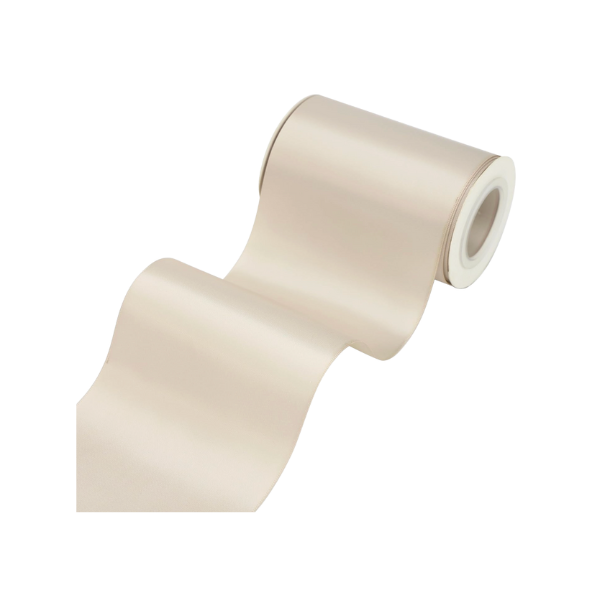
When it comes to decorating with bows, there are two directions you can take. You can opt for pre-made bows that come in packs of fifty, one hundred, and even larger quantities. Or you could buy rolls of ribbon and tie the bows yourself.
I recommend the latter, and here’s why. When you buy pre-made bows, you’re limited to a few colors and ribbon options, restricting your creative control. No thanks.
If you opt for rolls of ribbon, the world is your oyster. There are countless colors and types of ribbon to choose from, and you can design the size and shape of your bows to match your creative vision. Yes please.
diy supplies under $40
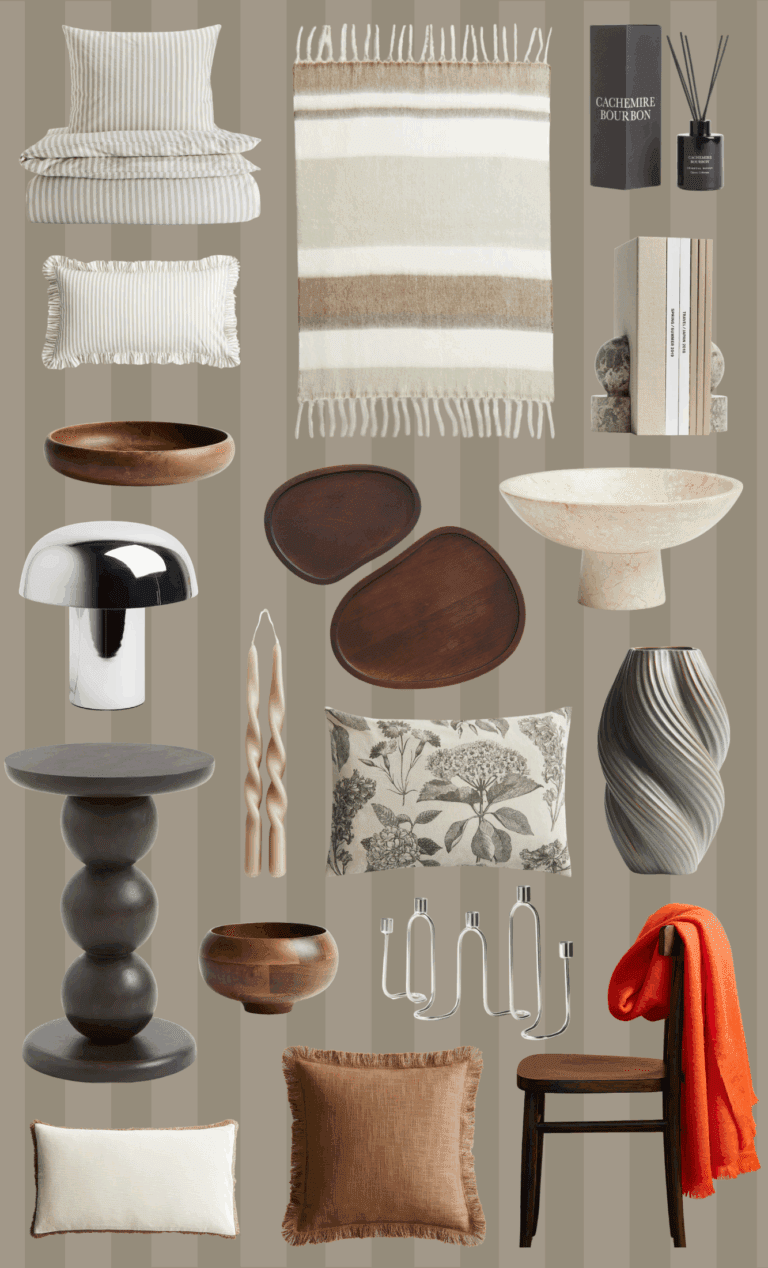
Decorate a Christmas Tree with Ribbon: Shopping List
Add to Cart
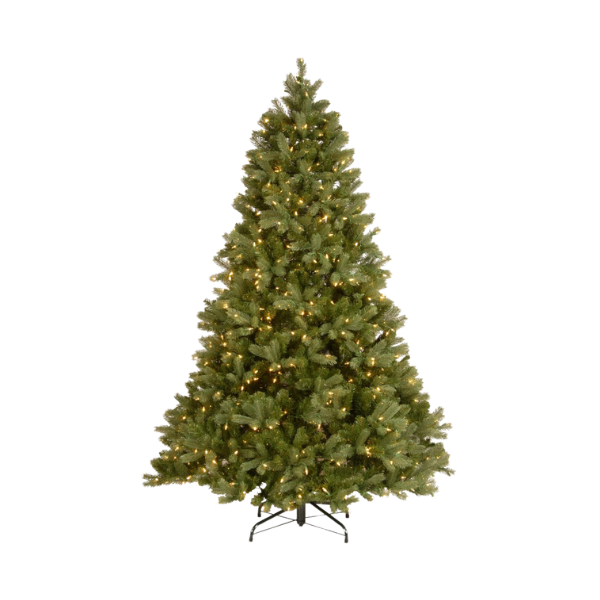
I sourced all of my DIY supplies from Amazon for under $40! But you can also find these supplies at your local craft store. The best part about this Christmas tree project is that it can be tailored to fit any budget. You can opt for thinner ribbon instead of thick, a mini tree instead of a large one, and so on.
Trust me, the final result looks way more expensive than it is!

How to Decorate a Christmas Tree Without Ornaments
Now that you have your supplies, it’s time to bring this DIY to life. It only took me about forty-five minutes to complete, so carve out no more than an hour to work through the steps slowly.
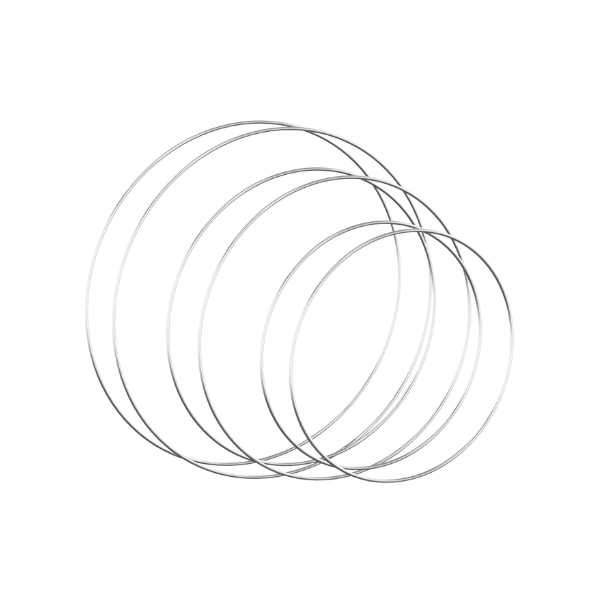
Step 1: Select the Right Size Hoop
The pack of six metal craft hoops comes in three sizes (eight, ten, and twelve inches) to fit a variety of Christmas trees. Before you start tying bows, test all three sizes on your Christmas tree to determine which is the best fit.
Remember, you want the hoop to fit snugly at the top of your tree, around eight to ten inches from the highest point.

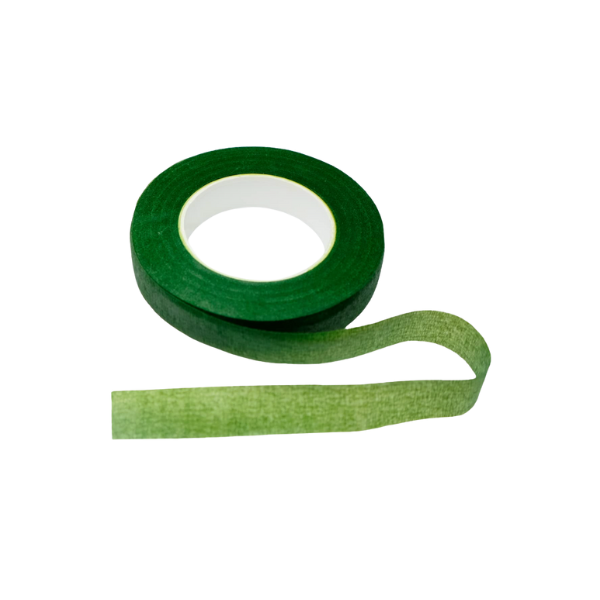
Step 2: Cover the Metal Hoop with Floral Tape
Once you’ve determined the right hoop size, wrap the floral tape around your hoop of choice until it’s completely covered. Floral tape has a waxy adhesive coating that activates as you stretch it, which is helpful for two reasons.
One, the tape is self-adhesive, so it won’t budge as you’re making your way around the hoop. Just make sure to overlap the tape slightly with the tape on the hoop so it has something to hold on to.
Two, you don’t have to secure the end of the tape with glue or adhesive. Just stretch it and press it down firmly when you reach the end of the hoop, and you’re all set.
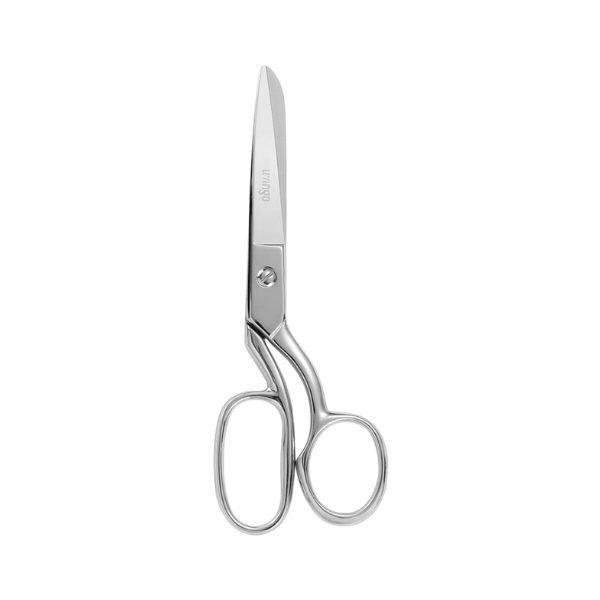
Step 3: Tie the Bows Around the Metal Hoop
You can add as many or as few bows as you want around the hoop, just make sure they’re spaced out evenly around the ring. I opted for four large bows to cover all sides of the tree, but you can always add more or less depending on your design vision.

Start by measuring and cutting your ribbon. Personally, I love the look of a bow with long tails spanning the length of the tree. So, I first measured the distance from the bottom of the tree to the metal hoop. Then, I multiplied that height by two (for both tails). And finally, I added thirty percent to account for the bow. I repeated that process three more times for each bow.
Don’t be afraid to get creative with the proportions. Maybe you create bigger bows with more petite tails, longer tails with tiny bows, or a variety of different sizes around the tree. Experiment with different looks until you find your favorite!
Step 4: Arrange Your Bows on the Tree
Last but not least, the finishing touches. Use the tree branches to secure the bows and tails exactly how you want them. You could weave the tails around the branches to create a cascading effect, or let them hang straight for a more minimal look (this is what I did).

Play around with the bows until you’re happy with the final result. And if you want to take things one step further, cut the ends of the ribbon at a forty-five-degree angle for an elegant finish.
Storing Your Christmas Tree Ribbon
Don’t worry about taking this DIY apart once the holiday season comes to an end. You can either hang the hoop on a clothing hanger with the bows still attached or lay it flat in a large storage container (ideally on the top so the bows don’t get crushed under other items).
Wrap the entire thing with tissue paper to help protect the bows, and keep the container in a climate-controlled area to prevent the ribbon from fading or getting damaged.
How to Decorate a Christmas Tree Like a Pro
Learning how to decorate a Christmas tree doesn’t have to be complicated, expensive, or overwhelming. Sometimes the most elevated Christmas trees are the simplest, and this ribbon DIY proves it.
The beauty of this project is how forgiving it is. Your first round of bows might need some adjusting, and you’ll probably move things around a few times before it feels right. That’s part of the creative process. Just keep playing with different tail lengths and bow placements until you land on something you love.

And honestly? There’s no wrong way to do this. You may end up with perfectly symmetrical bows, or you may create an intentionally organic look with varying sizes. Both options work. The goal is to create a tree that reflects your personal style, not replicating something you saw on Pinterest.
So grab your ribbon, carve out an hour this weekend, and give this DIY a try. Your elevated, budget-friendly Christmas tree is closer than you think. And if you end up recreating this look in your home, be sure to tag @gdhomedesigns in your photos so I can celebrate your design wins with you.
Until next time, happy Christmas tree decorating!
This post is all about how to decorate a Christmas tree with ribbon!