How to Make a Christmas Garland with Real Flowers
Learning how to make a Christmas garland with fresh blooms transforms your holiday decor from standard to stunning in just one afternoon. This might seem like an intimidating Christmas DIY for beginners, but trust me, it’s easier (and cheaper) than you think.
This post contains affiliate links. We may earn a small commission when you purchase through links on our post, at no cost to you. We only recommend products we would use ourselves, and all opinions expressed below are our own.

In years past, I’ve stuck to a traditional Christmas garland formula that’s safe, easy to create, and on theme for the festive season. I’m talking bows, ribbon, stems, and ornaments. But this Winter, I was craving something different. I wanted to learn how to make a Christmas garland unlike anything I’ve seen before.
One with real flowers peaking through. Something that looks straight out of a magazine. A Christmas garland that will wow my holiday guests.
So I got to work playing around with different flowers and finding creative ways to actually make them last. Turns out, it’s not hard to learn how to make a Christmas garland with flowers; it just takes the right toolkit.
I’m going to teach you my exact method to create a floral Christmas garland even Martha Stewart would be proud of. Whether you’re planning how to make a Christmas garland for fireplace displays or front door installations, this method works beautifully in any space.
Here is how to make a Christmas garland with real flowers under $130!

How to Make a Christmas Garland: Shopping List
To bring this Christmas garland to life, you’re only going to need five things (aside from the flowers, of course.) You can get all these supplies on Amazon or at your local craft store. Here are the links to everything I used to make my Christmas garland:
Christmas Garland Toolkit
As for the flowers, I opted for white carnations and white chrysanthemums to lean into a cooler Winter color scheme. I sourced all of my flowers from Trader Joe’s (you can’t beat TJ prices.) In total, I spent around $15 for three big bunches of chrysanthemums ($4.99 each) and just under $10 for 2 bunches of carnations ($4.99 each) for a grand total of $25. Not too bad!
christmas diy
But don’t assume you have to use the same flowers I did. This is your show-stopping Christmas garland. So splurge on the red roses, add some baby’s breath, or experiment with fun pops of color. Regardless of what flowers you choose, the following steps will be the same.
Budgeting Tip
Establish your flower budget before you get to the store. It can be so tempting to throw caution to the wind and follow your heart when all the beautiful options are in front of you. But that flower tab can add up quick. Go in with a plan and execute. Your future self (and wallet) will thank you!
How to Make a Christmas Garland Step by Step
Now that you assembled your DIY toolkit, it’s time to learn how to make a Christmas garland from scratch in just one afternoon.
Step 1: Prep Your Flowers
Start by filling your flower bucket with fresh water. This keeps everything hydrated while you work through each stem individually.
Cut open the flower packaging and add all the flowers to the bucket so they stay fresh during the prep process.
Next, trim the stems down one at a time so the flowers can fit comfortably in the garland. The size will depend on how thick your garland is, so measure before cutting (and leave a few extra inches as a buffer.)

Remove any leaves on the stem, especially the lower three inches that will be submerged in the water tube. This will help prolong the life of your flowers. Once each stem is prepped, add it back to the flower bucket and move on to the next one. Repeat this process until all the flowers are ready to go.
Step 2: Determine the Most Practical Spot for Your Garland
Before diving into how to make a Christmas garland for the front door or how to make a Christmas garland for fireplace mantels, consider which spot makes the most sense in your home. I’d recommend choosing a low-traffic area that’s out of reach from little ones and pets.

Amazon
Artificial Norfolk Pine Garlands
Available in sets of 2 and 4, ranging from 6 to 9 feet long (I bought the 9-foot garlands for extra volume).
A fireplace mantle is a great option, or even around a doorway or window frame. I wouldn’t recommend putting it on the staircase railing because real flowers are delicate, and they’re sometimes too tempting not to touch.
Save yourself the stress and headaches by positioning it in a safe space where everyone can appreciate it from afar. If you want to learn how to make a Christmas garland for staircase areas, consider using artificial flowers instead.
Step 3: Secure the Garland In Place
Create a base structure for your garland using chicken wire. The chicken wire will keep the garland and flowers in place so you can customize your arrangement without having to worry about it falling apart.

Amazon
Chicken Wire Mesh Roll
I love this set because it includes gloves, industrial-grade pliers, and wire ties to protect your hands while handling the chicken wire (I always use the gloves!)
Cut pieces of chicken wire using pliers, then shape each piece into half cylinders. Position the wire in your target area and play around with the placement until you like how it looks. Then, secure the length of each piece of chicken wire with painters tape to the surface behind it, whether it’s the fireplace mantle, millwork, or drywall.

Make sure you use gloves to protect your hands during this step! Take it from someone who was poked by chicken wire one too many times in the past. It’s not fun.
Once you establish your base structure, add the artificial garlands on top, weaving the branches through the wire to keep everything in place. Don’t be afraid to add some pieces of painters tape to the garland as well. The more tape, the better.
Finally, fluff the garland branches to make it look more realistic, and then move on to step four.
Step 4: Prep the Floral Water Tubes
Before you add any flowers to your garland, you need to prep the water tubes. Fill each water tube until it’s almost full (leaving a little room for the flower stem), then secure it with the lid. Repeat that process for as many flowers as you have.

Amazon
3″ Flower Water Tubes with Caps
Pack of 100 flower water tubes ranging from 2.5 to 4.5 inches long. I opted for the 3-inch tube, which was the perfect length for this DIY.
Next, insert each flower stem through the seam of the lid and repeat that process until all the flower stems are submerged. Drain the water in your flower bucket and add all the prepped florals back to the empty bucket for easier transport to your garland location.

Step 5: Add the Flower Stems to the Garland
The prep work is over, and now comes the fun part. Add the flower stems directly into the garland, tucking the water tubes deep within the artificial branches so they’re completely hidden.
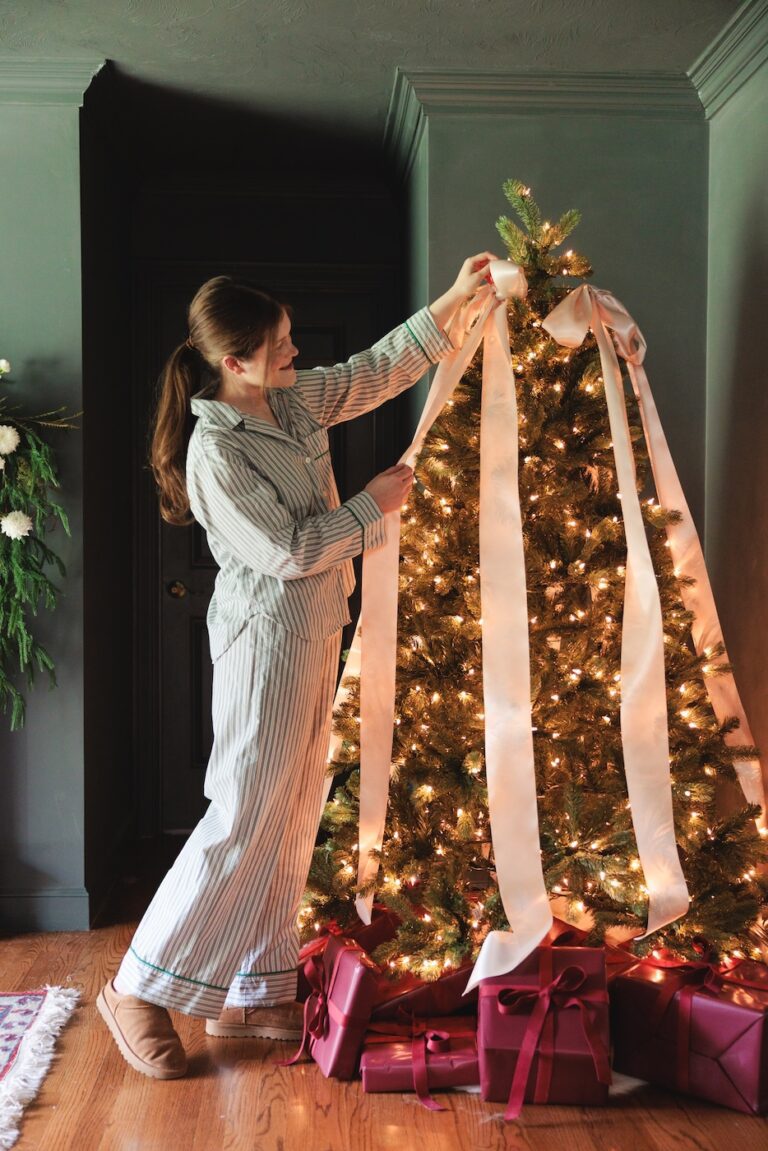
RELATED POST: How to Decorate a Christmas Tree with Ribbon (DIY Under $40)
Play around with the design until you’re happy with the final result. I like to step back frequently to assess the overall balance and make adjustments as needed.
Remember, there’s no wrong way to arrange these flowers, so trust your instincts and create something that feels authentic to your style.

3 Tips to Prolong the Life of Your Flowers
The water tubes are essential to keep your flowers alive, but there are a few other tricks to prolong the life of your garland so you can enjoy it from the beginning of the month until Christmas day.
This may seem like a lot of work, but trust me, it only takes ten or fifteen minutes each day and the end result is so worth it.

Check Water Levels Every Other Day (At Least)
The floral tubes need consistent moisture to keep your blooms looking fresh. Top them off every other day (if not, daily) as part of your December routine. Keep this in mind when planning your Christmas garland design. The more flowers you use, the more budget and time the garland requires.
RELATED POST: Black Friday Shopping List: 13 Must-Have Organization Essentials
Trim the Stems Every Few Days
Cut about half an inch off the bottom of each stem under running water every few days. This opens up the stem for better water absorption and extends the life of your flowers significantly.

Christmas Garland Ideas to Transform Your Home
The beauty of this Christmas DIY project is its versatility. Whether you’re a fan of garden roses or winterberries, you can customize the look of your garland using different flowers, colors, and arrangements.
When learning how to make a Christmas garland from scratch, there’s no wrong way to do it. Just build your toolkit with the five necessary supplies, and let your creativity run free.
If you recreate this Christmas garland in your own home tag @gdhomedesigns so we can send some holiday cheer your way!
This post is all about how to make a Christmas garland with real flowers.