The Easiest Red Brick Fireplace Makeover Ideas for New DIY-ers
Here are 2 red brick fireplace makeover ideas to transform your dated, old fireplace from drab to super fab in just one weekend.
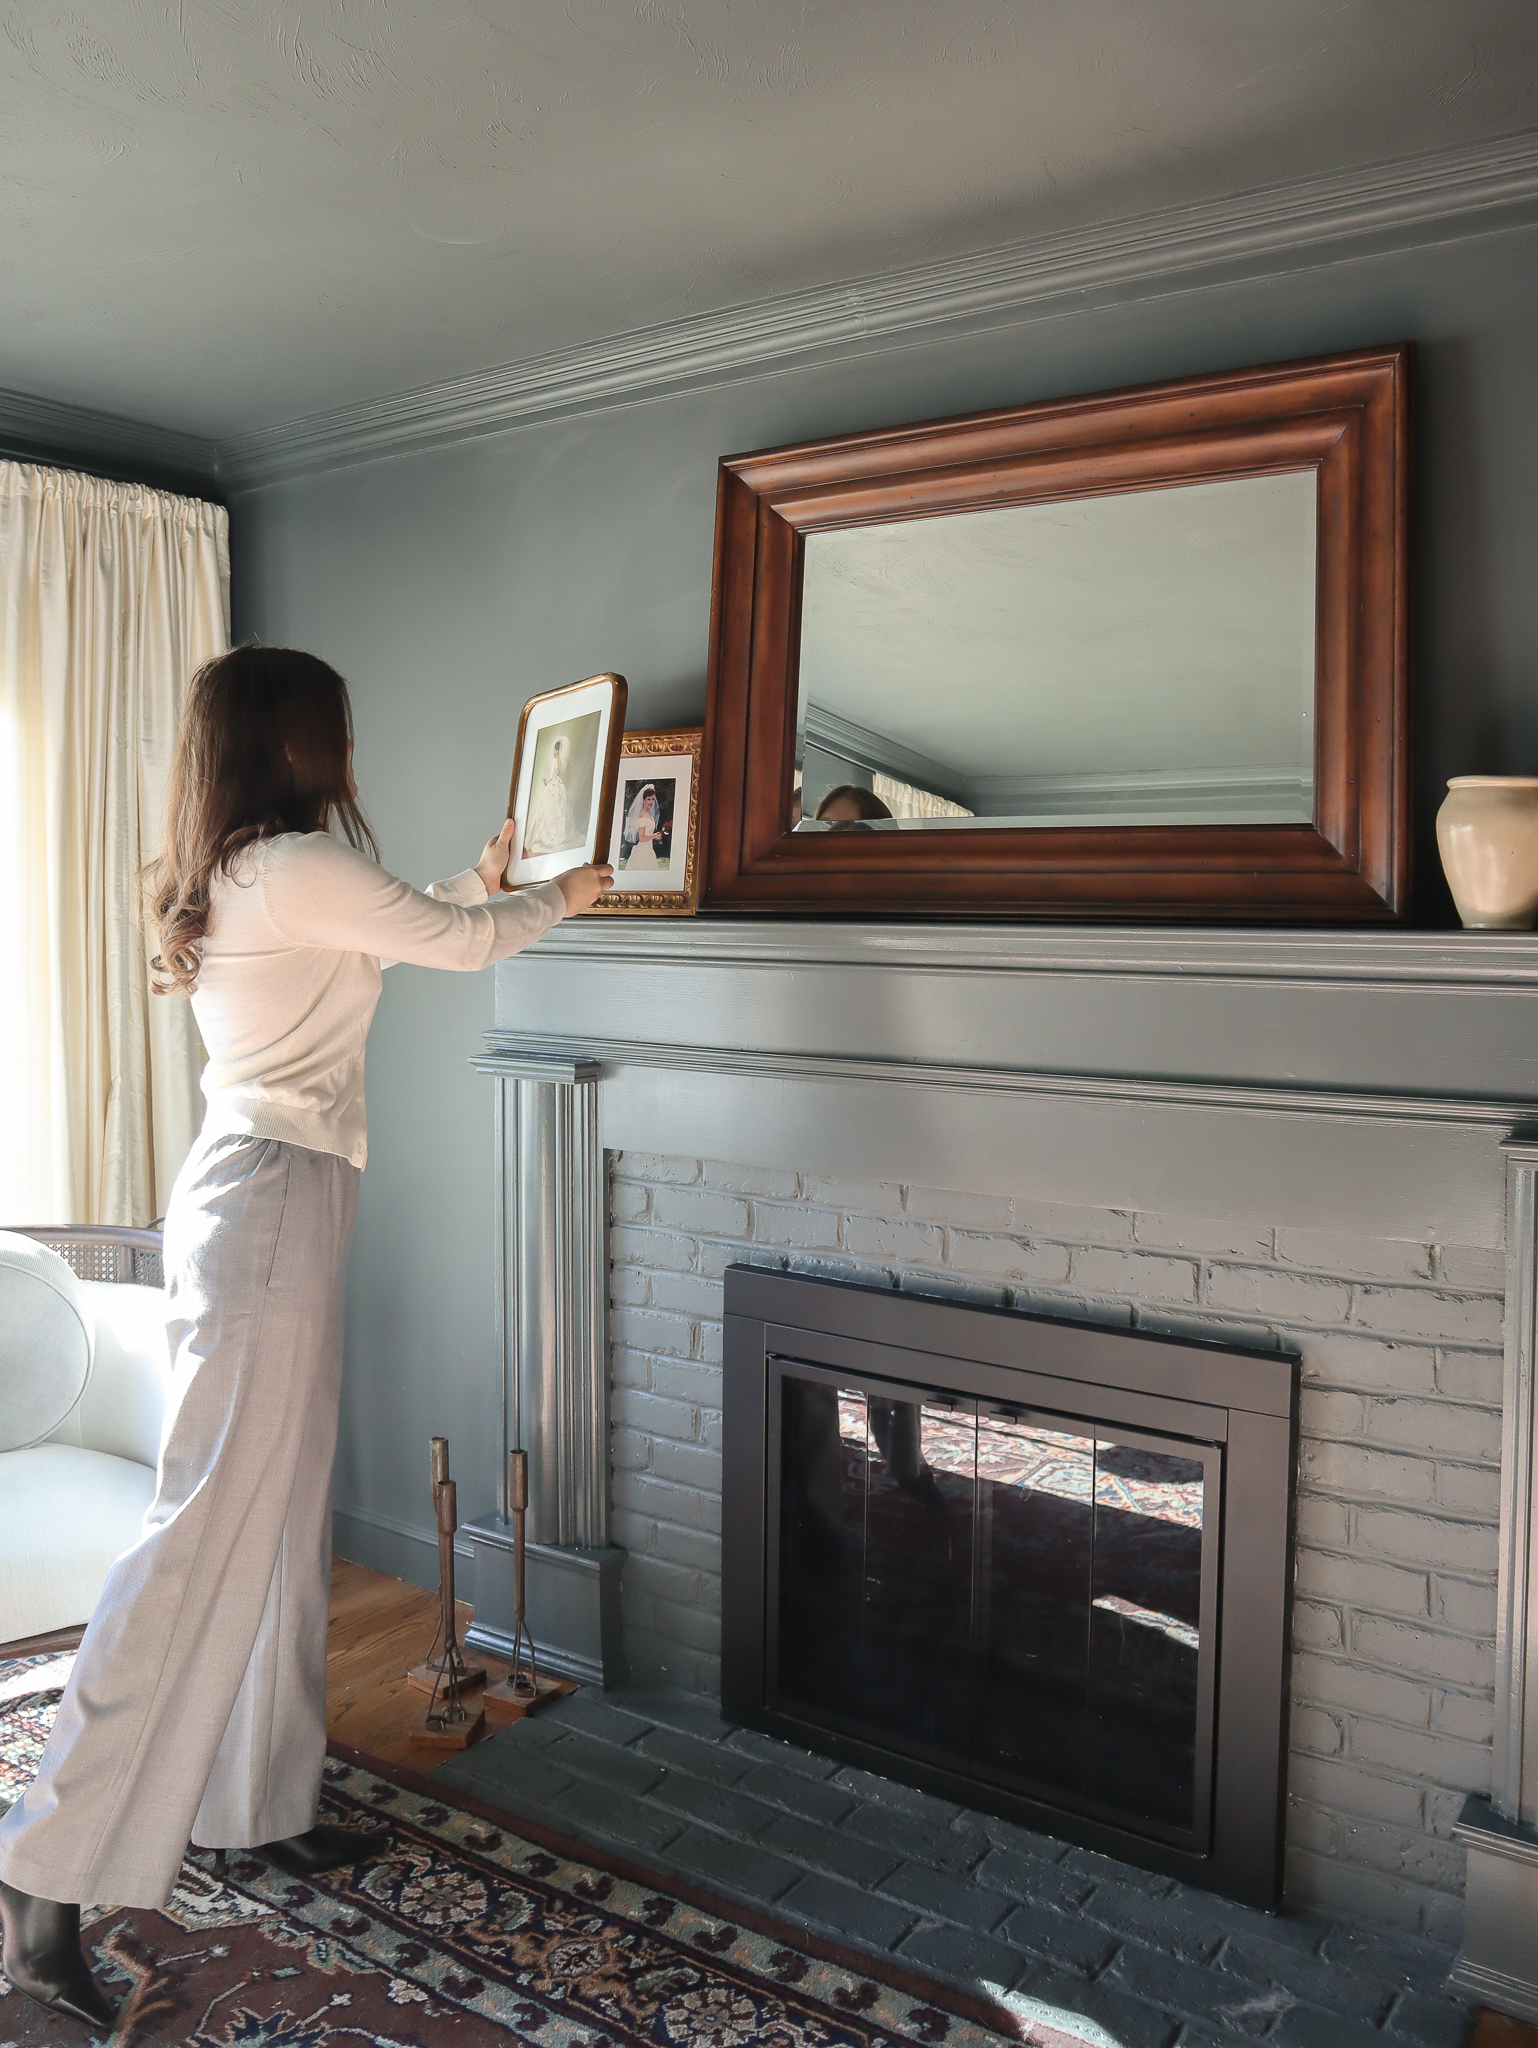
The brick fireplace is the focal point of the room. Its solid structure and rich red tonal hues are impossible to ignore—trust me, I’ve tried! But instead of working around the fireplace or attempting to cover it with decor, let’s learn how to embrace this imposing design feature.
It’s actually easier than you think.
As a home renovator based in New England, I come across a lot of brick fireplaces in my renovation projects. Most older homes were built with wood-burning fireplaces to help residents survive the cold winters. Let’s be real though; these fireplaces are helpful when the temperature drops but an eyesore for the rest of the year.
Throughout my career, I’ve seen everything from century-old brick fireplace surrounds to crumbling stone mantles. After years of testing different transformations, I found the easiest and most affordable DIY red brick fireplace makeover ideas.
It’s time to say goodbye to your boring fireplace and hello to your brand-new living room. Check out my top 2 red brick fireplace makeover ideas that will completely transform your living room from dated to modern.
Let’s get started.

1. Cover the Brick with Acrylic Paint
Let’s start with the most straightforward DIY. If you’re new to home projects or want a quick and easy makeover, this one is for you!
Is painting brick worth it?
The fastest and most affordable way to transform your dated red brick fireplace is to cover it with acrylic paint. You might be thinking, “Painting the brick removes all the original character!”
You’re not wrong. Not everyone loves the idea of painting brick. The paint covers the natural beauty of the stone, and it isn’t easy to reverse the process once you start painting.
I was hesitant about this idea at first. But the truth is, the brick isn’t always salvageable. Depending on the age and condition of your home, the brick may be cracked, discolored, or spalling. In some cases, the brick might be in great shape, but it clashes with the decor or style of your home.
If this resonates with you, painting might be your best option.
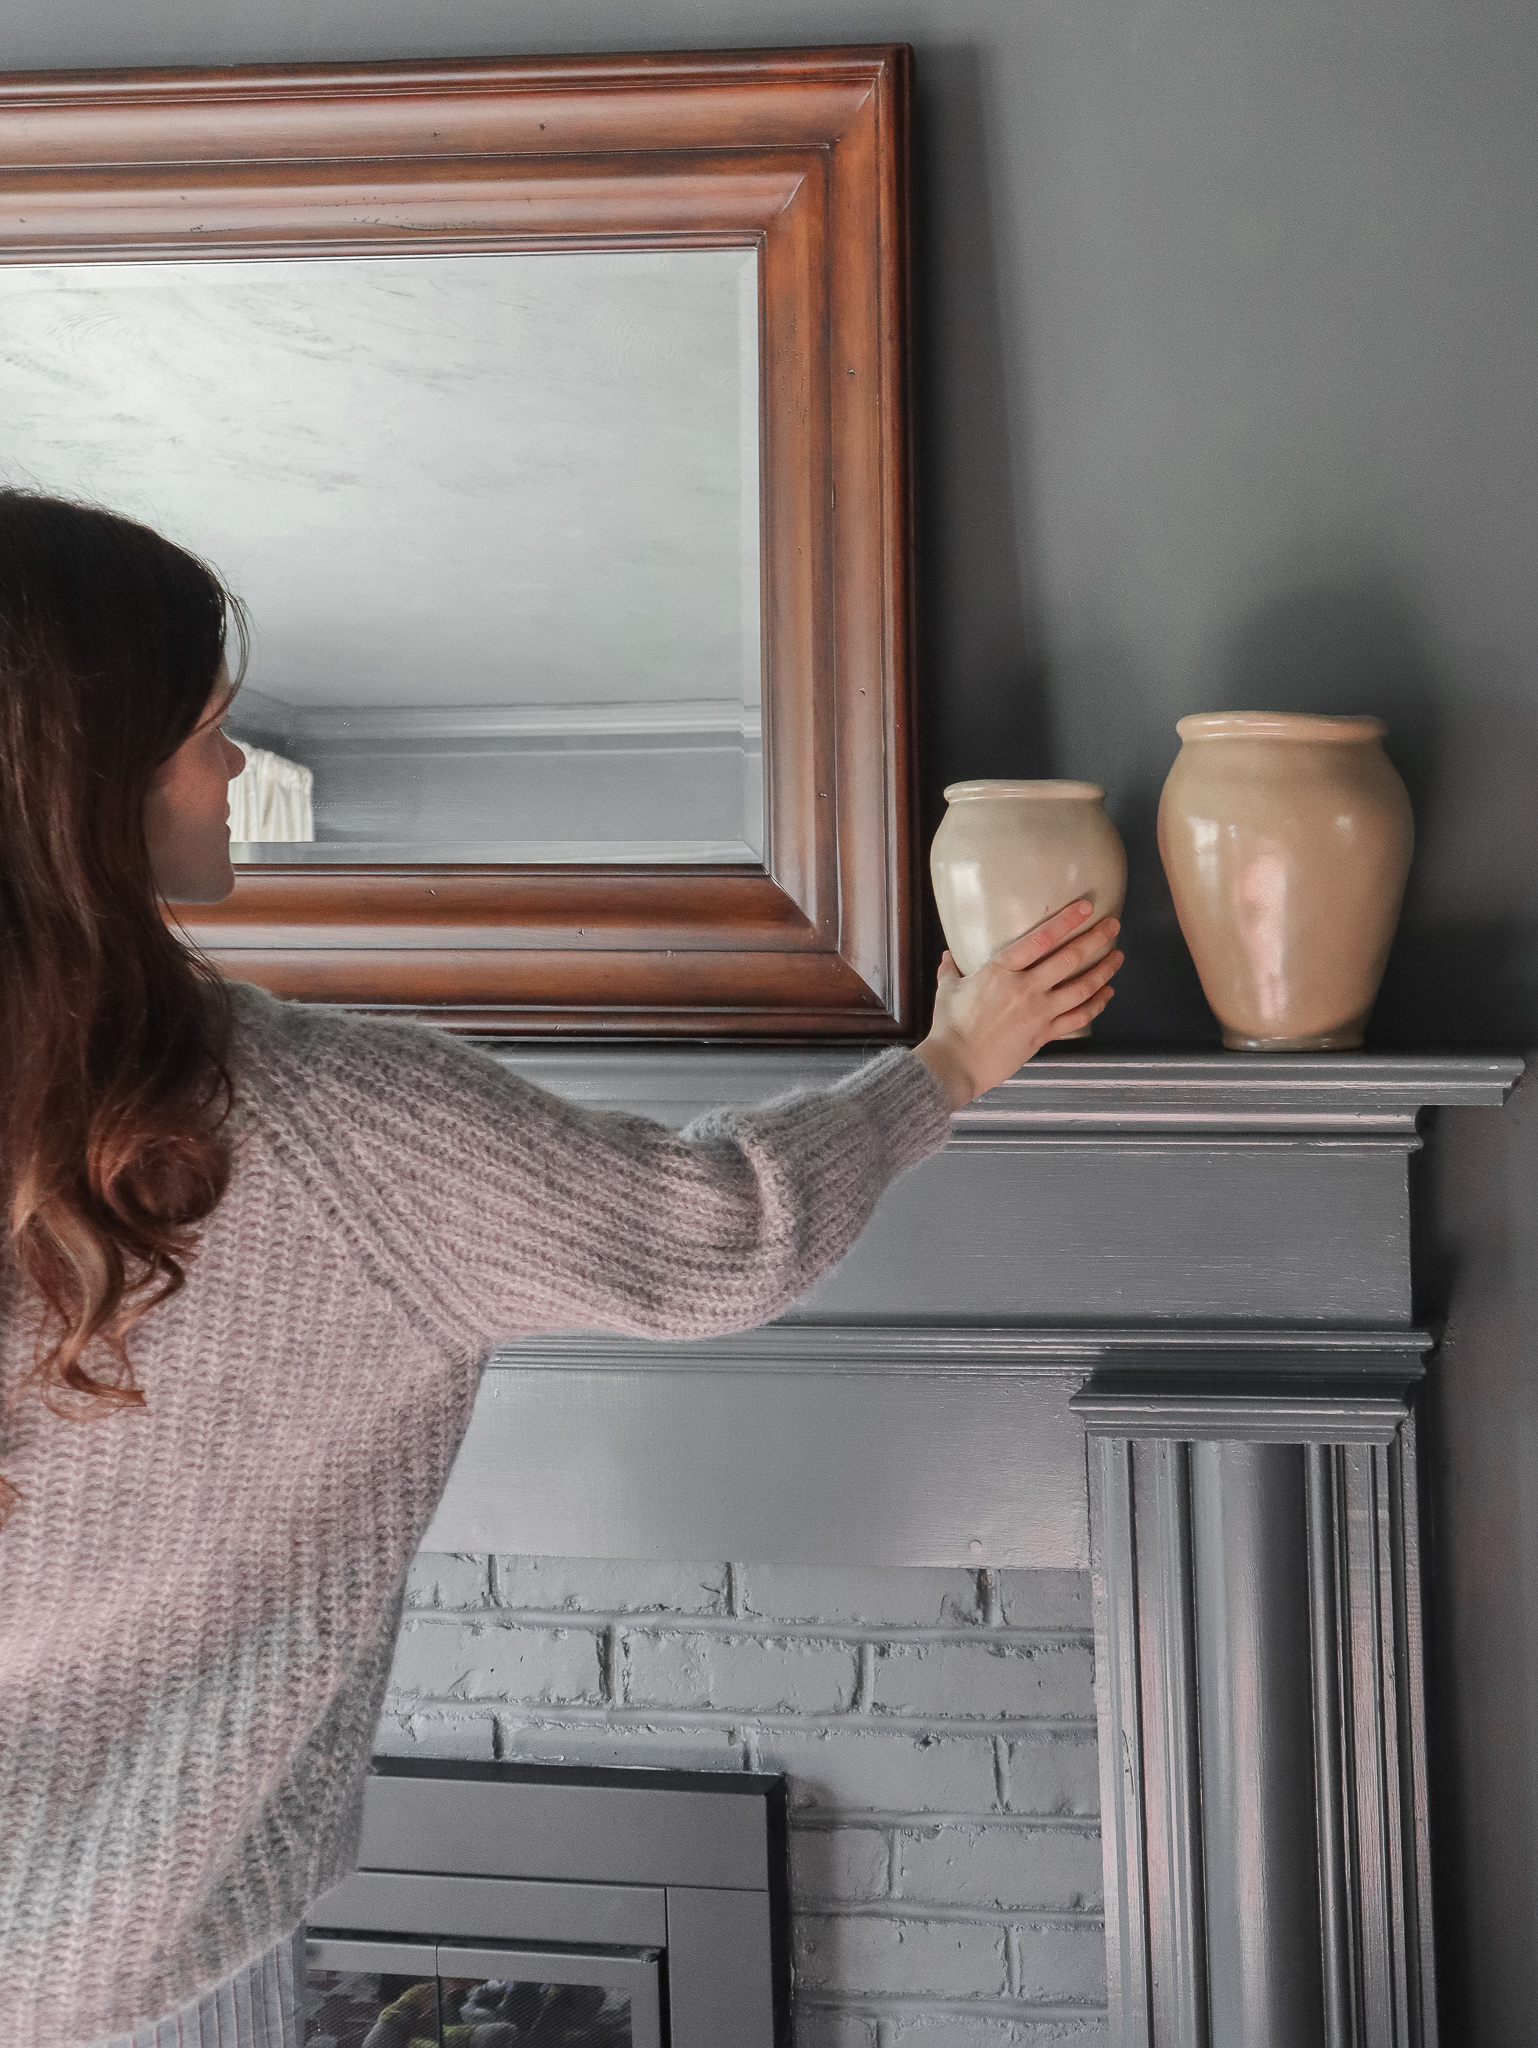
Acrylic Paint: Pros and Cons
Acrylic paint has advantages and disadvantages. On the one hand, it comes in countless color options, allowing you to customize your fireplace to fit your style. You can select your favorite Benjamin Moore, Sherwin Williams, or Farrow and Ball paint color or swatch a few options to find your favorite.
When painting with acrylic, we typically choose the same paint color for the brick and mantle. This technique allows the eye to see the fireplace as a unit rather than broken into its components. It’s a fresh, modern look and pairs well with a range of decor styles.
The downside of acrylic paint is that it’s more prone to chipping. Acrylic paint creates a barrier on the surface of the brick, trapping moisture and causing cracks in the paint over time. It may require periodic touchups, so keep maintenance in mind when making your final decision.
How to paint the brick
First, clean the brick and mantel with a soap and warm water solution. We used Dawn soap, but any liquid dish soap will do. Once the surface is clean, it’s time to sand. If you plan on painting the wood on your fireplace, lightly sand it with 220-grit sandpaper to allow the paint to adhere to the wood.
Amazon
220 Grit Sandpaper
Next, use a paintbrush and paint roller to apply one coat of primer to the fireplace. Start by cutting in around the edges of with the paintbrush, then use the roller to cover the larger surface area within the perimeter. Since brick has a lot of texture, I recommend using a thick nap roller cover (0.75-inch to 1-inch nap) to effectively cover the uneven surface. Let the primer dry for 2 to 4 hours before moving on to the next step.
Amazon
Roller Frame
Once the surface is dry to the touch, it’s time to apply the acrylic paint. I recommend using a handheld paint cup to hold the paint and the same 2-inch paintbrush to cut in around the perimeter. Like the primer application, use the paintbrush to cover the edges and finer details, then the roller for the larger surface area. Apply one coat, let the paint dry for 2 to 4 hours, and repeat the process again.
Amazon
Handheld Paint Cup
Acrylic Paint: Fireplace Transformation
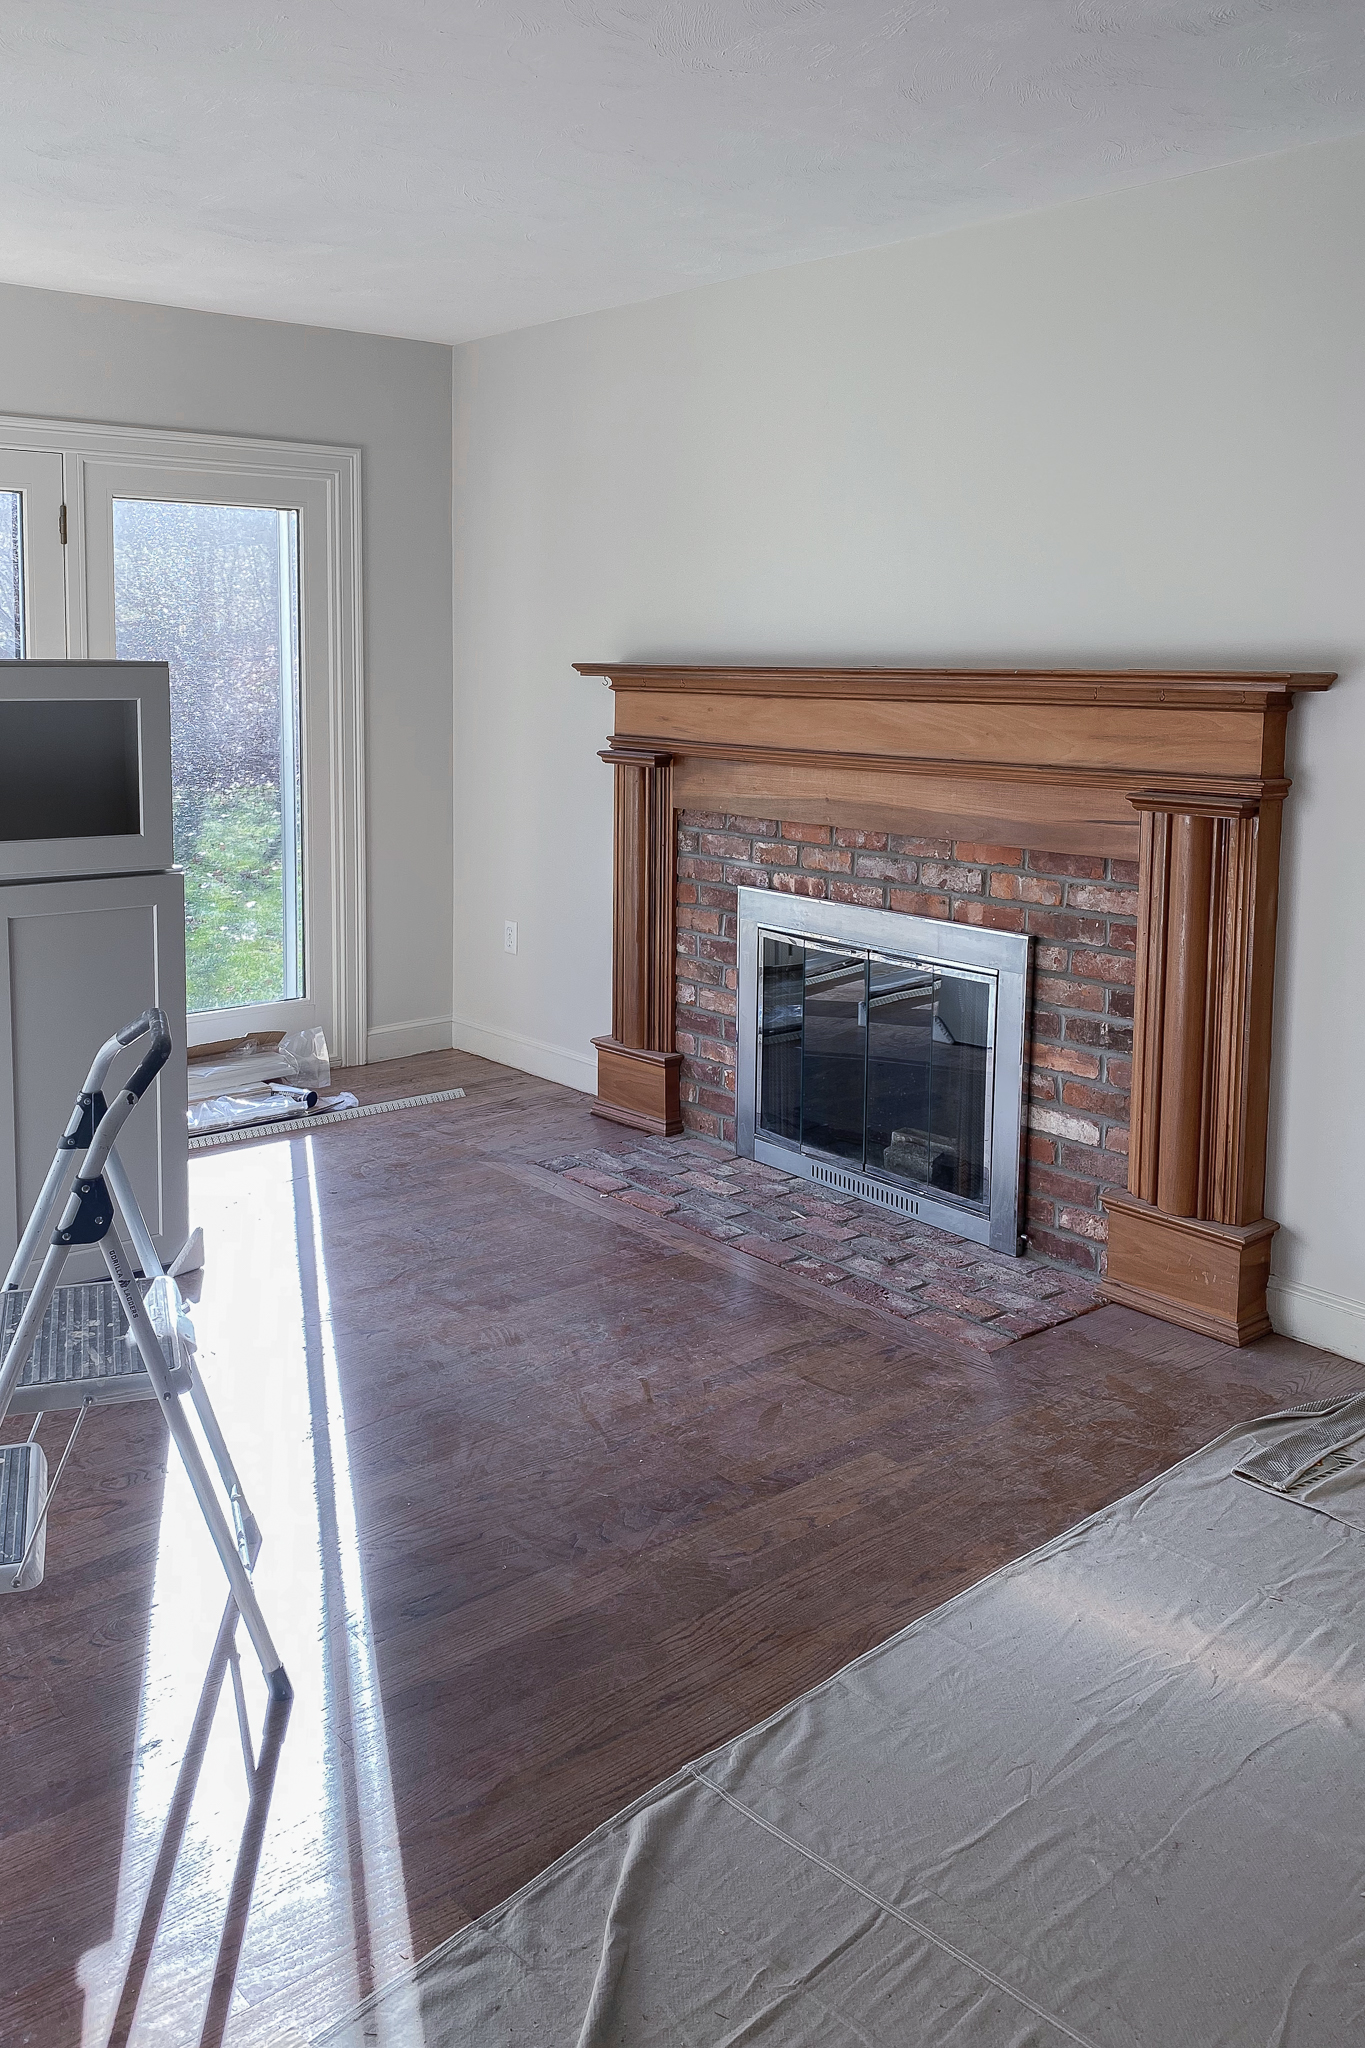
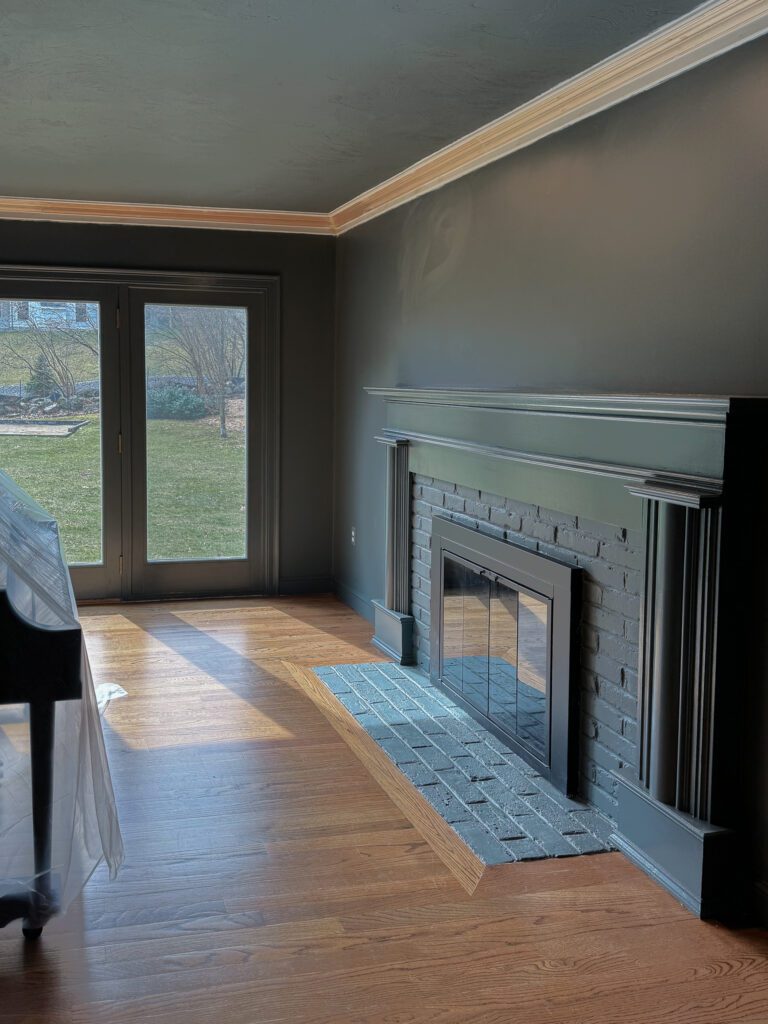
Here’s an example of a fireplace we transformed with acrylic paint. The original fireplace was tired and dated, so we color-drenched the entire living room (including the fireplace) with our favorite moody gray/blue: Farrow and Ball’s Down Pipe. Color drenching is a design technique in which you paint the entire room one color (ceiling, walls, fireplace, mantle, doors, and trim.)
And here’s how it turned out! It’s incredible what a little acrylic paint can do.
Before
After
RELATED POST: How to Install a Carpet Runner on Stairs (Beginner-Friendly DIY)
2. Enhance the Brick with Lime Paint
Lime paint contains only two ingredients: lime (calcium hydroxide) and water. It’s a mineral paint that absorbs into the brick, allowing moisture to flow out (that means less cracks!) Unlike acrylic paint, lime paint doesn’t produce harmful vapors. Plus, it has a thinner consistency, allowing you to control the coverage. You can opt for a whitewash, allowing the brick to show through, or increase the paint ratio for full coverage.
Lime paint is really easy to apply. I only ordered one product for this project: the Gianni Brick Transformations Kit. This is the ultimate kit for whitewashing brick. It comes with all the materials you need, including a 16-ounce container of lime paint, a graduated mixing container, a wood stick for stirring the paint, a 9×12-foot plastic drop cloth, 3 rags, painter’s tape, and a 2-inch brush for application. And it’s under $40—can you believe it?
The kit provides detailed instructions on how to create the whitewash mixture with water and paint. It even outlines the exact mixing ratios for each level of coverage. The instructions will also walk you through both application methods (brush or cloth rag) depending on the finish you want.
RELATED POST: 6 Essential Steps to Hire a Home Improvement Contractor
Lime Paint: Fireplace Transformation
This is an example of a brick fireplace I painted with the Gianni limewash kit.
Since the brick was not in great shape, I opted for full coverage (no paint dilution). I started by cleaning the brick with warm water and soap, then wet it with a damp sponge. I applied the paint directly from the can with the paintbrush from the kit.
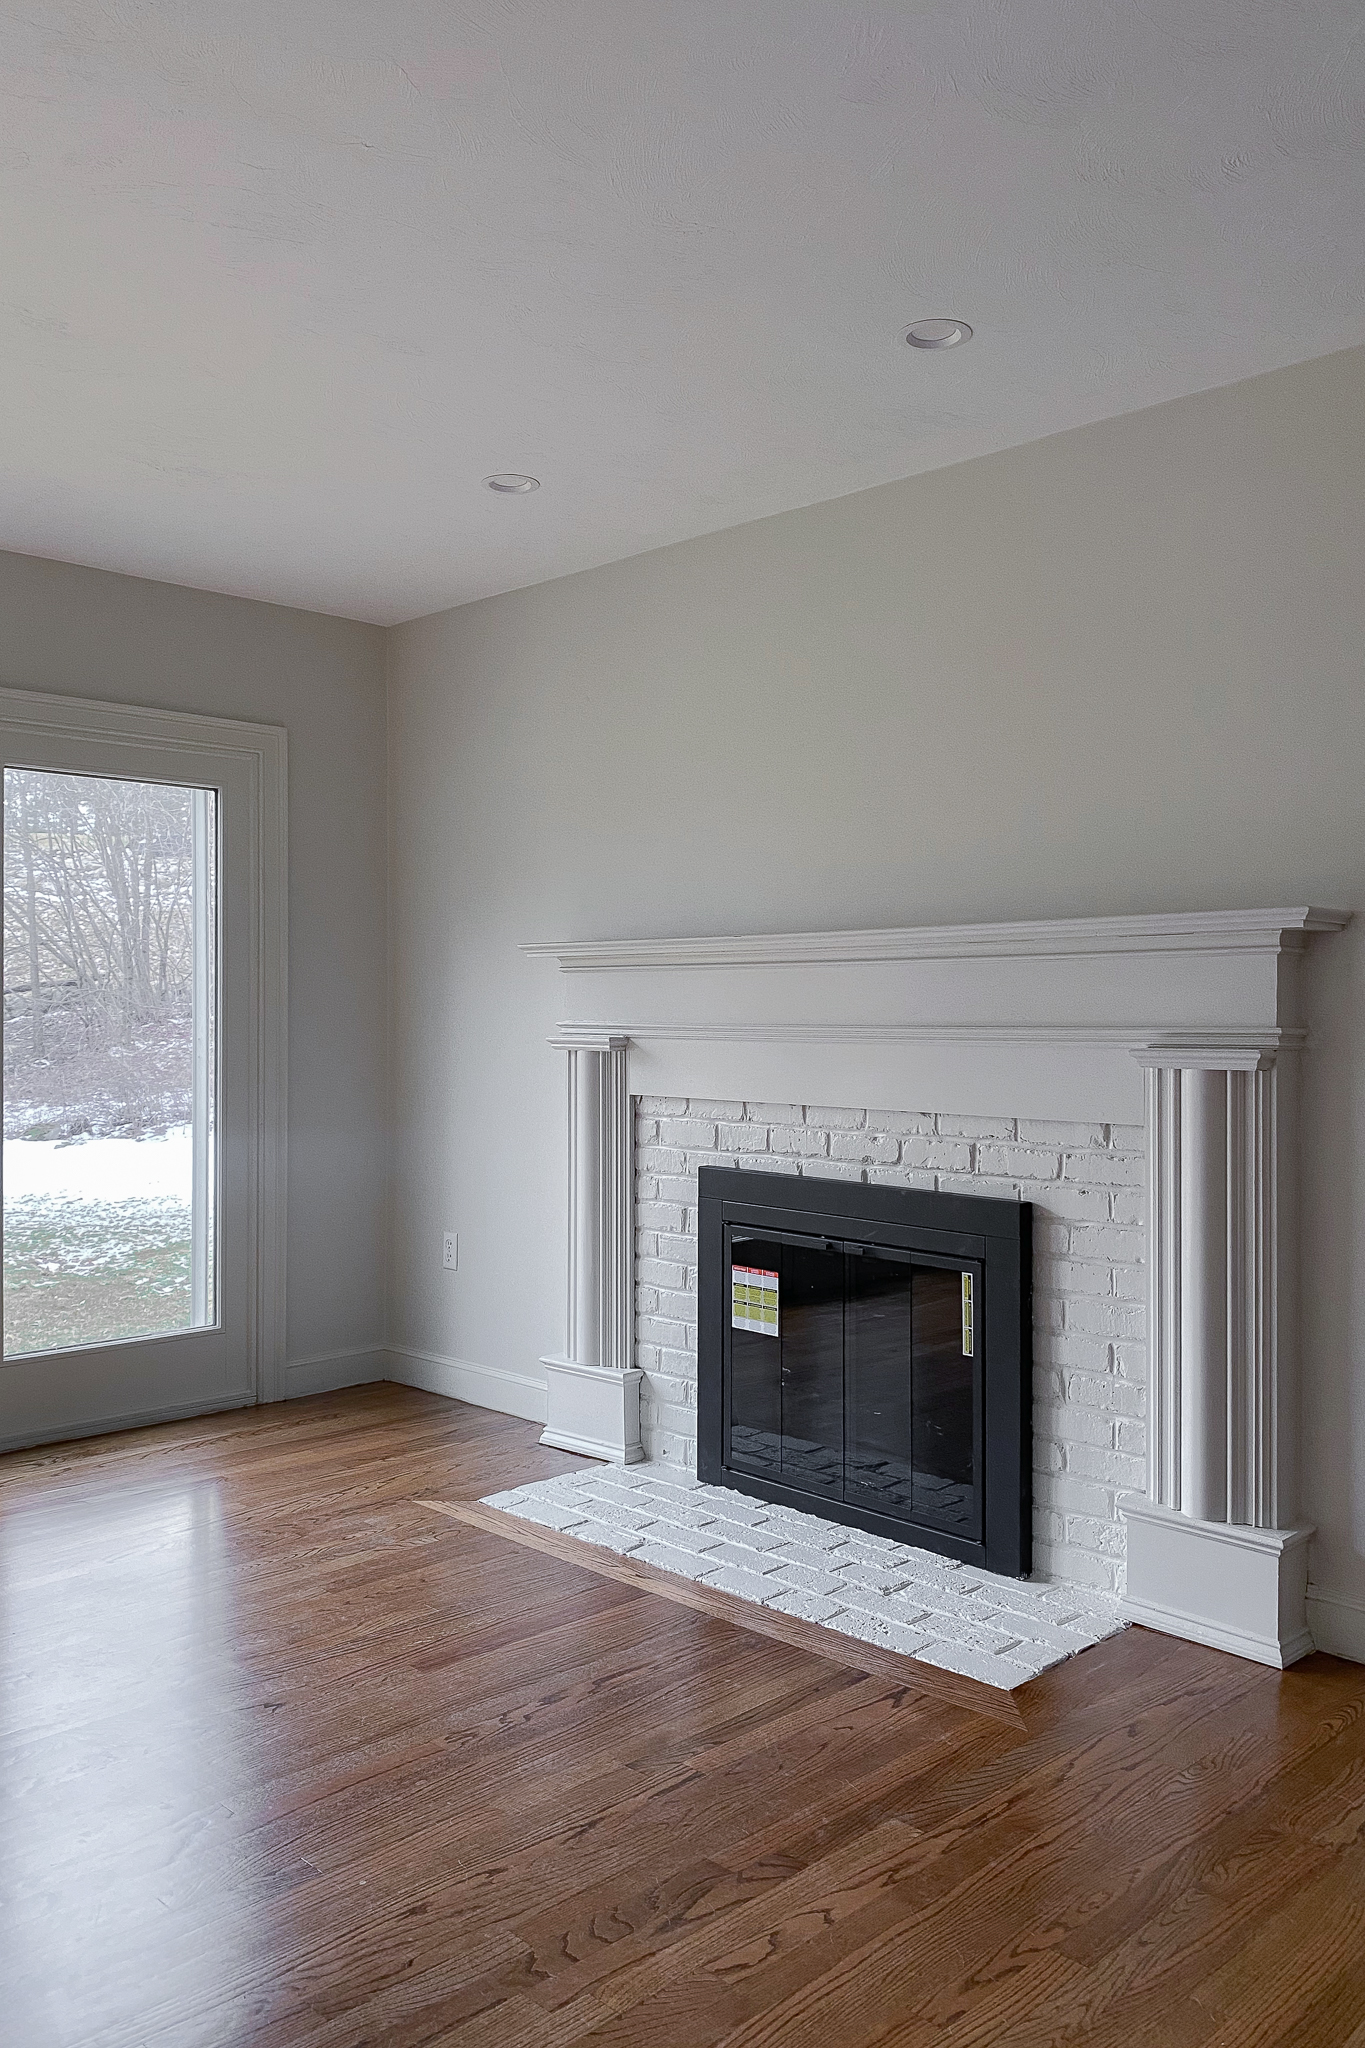
Then, I sanded the wooden mantle and applied primer and paint, following the steps outlined in the previous section. I used Benjamin Moore’s Pale Oak to complement the light color of the brick. Finally, my contractor finished the makeover by installing new fireplace doors from Home Depot. This step went beyond the brick fireplace renovation, but it made a huge impact on the room. If your fireplace doors are in good shape, skip this step.
Home Depot
Glass Fireplace Doors
Wow, who knew a fireplace transformation was this easy? All it takes is one weekend, a few supplies, and some elbow grease! Are you up for the challenge?
This post is all about red brick fireplace makeover ideas.


