*Beginner-Friendly* Guide to Installing Backsplash (It’s Easier Than You Think)
It’s no secret that tile backsplashes enhance the beauty and function of a kitchen, but what is a secret is the process of installing backsplash. Why don’t they teach us this in school?
Well, my mom and I finally took the leap of faith and installed my kitchen backsplash ourselves (*queue the pat on the back*). Now, we’re going to show you exactly how we did it so you can create the kitchen of your dreams. Trust me, if we can do it, so can you!

Let me guess: you’ve saved countless backsplash inspiration photos but haven’t gotten to the actual installation part. I know that phase all too well.
Whether it’s procrastination, imposter syndrome, DIY-intimidation (so real), or just the fear of failing, there’s an undeniable roadblock keeping you from creating your dream kitchen. My mom and I went through the same mental gymnastics with my small kitchen renovation, trying to figure out if we were even capable of installing backsplash, how much it would cost, how long it would take…the list goes on.
Meanwhile, our inspiration pictures were collecting dust on Pinterest.
After months of deliberation, we decided to go for it. And surprisingly, the process of installing backsplash was way easier than we ever thought. Now, it’s your turn to make your backsplash dreams come true one subway tile at a time. And we’ll be there with you every step of the way.
In this blog post, I’ll share the best beginner-friendly tile, how to build your tile installation toolkit (with prices included), and our simple step-by-step guide to installing backsplash.
Let’s get started!
Why We Chose Subway Tile as Beginner-DIYers
Before we get our hands dirty with adhesive, let’s cover the basics. There are so many tile options to choose from when it comes to kitchen backsplashes. Decision fatigue is no joke. If you’re new to tile installation like we were, I recommend using subway tile.
Subway tile is like the little black dress of backsplashes – it looks good with everything! Whether you love modern farmhouse or Scandinavian interior design style, you can’t go wrong with a classic subway tile in your kitchen.
Plus, it’s a no-brainer for beginner tilers. Here’s why we love it:
The Benefits of Subway Tile
How to Choose the Perfect Subway Tile for Your Home
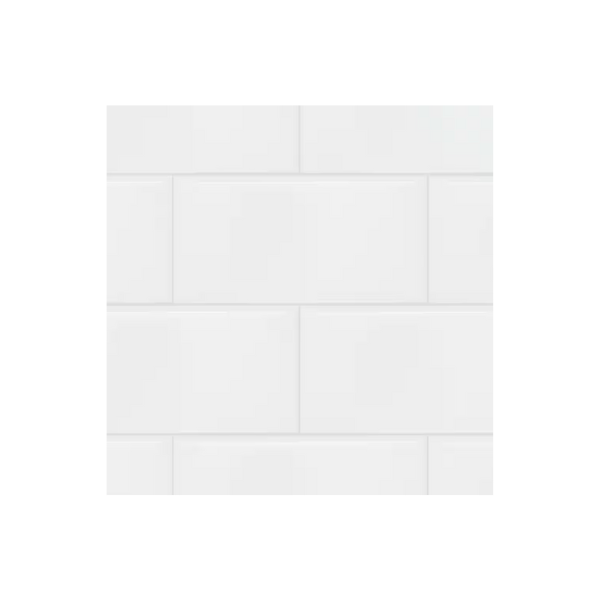
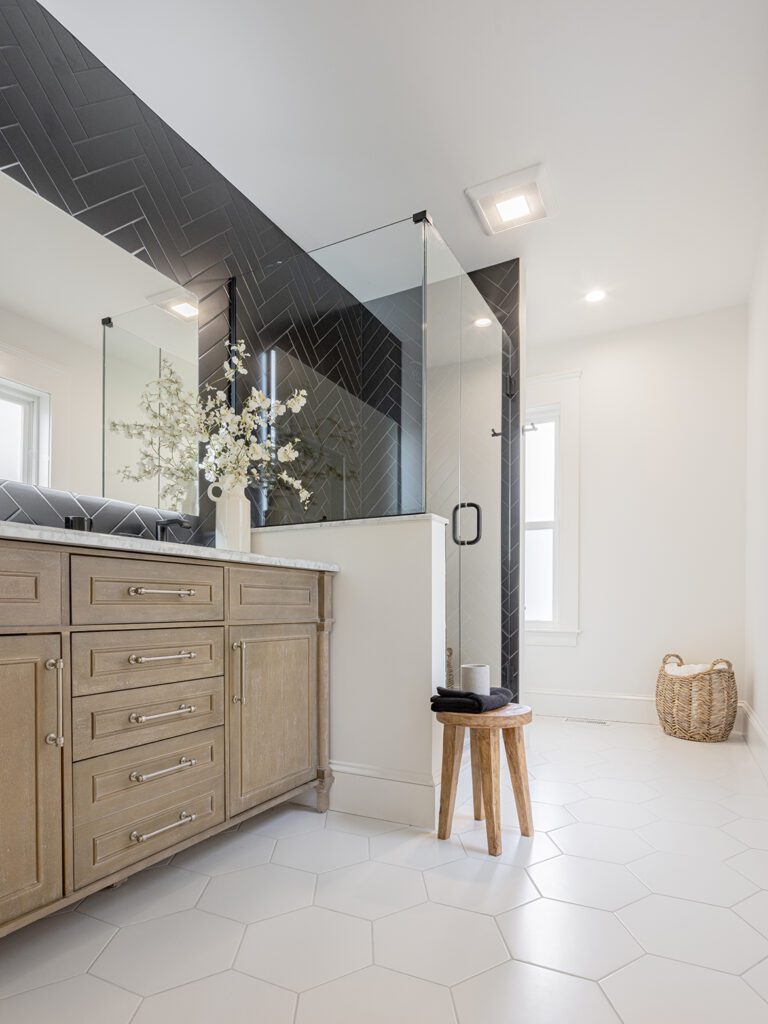
When planning my kitchen renovation, I opted for the classic white ceramic 3” x 6” subway tile we’ve all seen a million times. It’s boring, I know. But I already used it in my bathroom shower and wanted my small condo to feel cohesive. Plus, I was getting ready to rent my condo, so it didn’t make sense to invest in a higher-end, trendier option that I wouldn’t be able to enjoy.
At the end of the day, you have to choose the tile that works best for your design style, your lifestyle, and your budget.
Luckily, when it comes to subway tile, you have a lot of options to choose from. Dimensions vary from the classic 3″ x 6″ to other smaller and larger rectangular options, typically in 1:2 or 1:3 ratios. Just remember, the smaller the tile, the more grout lines. The more grout lines, the more maintenance.
I have a lot of opinions about grout colors and grout lines (check out my best tips on low-maintenance tile for a deeper dive), but TLDR: Avoid pure white grout if you hate constant cleaning. If you want a light colored grout, go for an off-white or light gray option. If you prefer a contrast, try pairing dark charcoal grout with a lighter subway tile. Darker grouts have the added bonus of highlighting your tile pattern while hiding dirt and grime.
RELATED POST: 5 Affordable Bathroom Upgrades That Won’t Break the Bank
Grout tends to dry lighter than it appears when wet, so I’d recommend testing a small amount and letting it dry before committing.
When choosing subway tile, also consider the finish. You could go the smooth, glossy route, which offers a shiny finish that’s easy to clean. Or you could go matte for a more modern look. And if you love the vintage style, you can’t go wrong with an irregular, textured subway tile.
Remember, there’s no wrong choice here. Grab some tile samples, test them out in your kitchen, and take your time choosing the tile and grout pairing that speaks to you.
The Ultimate Shopping List for Installing Backsplash
Grab your purse, we’re going shopping!
I’m sharing my exact tile installation toolkit plus the project cost so you know what to expect from the start.
And if I could offer one piece of advice before beginning, it’s this: Buy extras! Overestimate the amount of tile, spacers, grout, and adhesive you need to get the job done. Nothing kills momentum more than having to drop what you’re doing, change out of your messy clothes, and drive to Home Depot (for the second, third, or even fourth time).
Most stores will let you return unused tiles, so don’t stress about the additional cost.
Tile Installation Toolkit
The total tile backsplash installation cost was $336 for my small kitchen. My backsplash is only around 20 square feet, so the price will vary depending on the size of your kitchen.
RELATED POST: 6 Essential Steps to Hire the Best Home Improvement Contractor
To put that into perspective, if you were to hire professionals to do the job instead, you could expect to pay an average of $1,000 per 35 square feet of backsplash, according to 2025 data from Angi’s List. So if you’re working with a beginner-friendly tile like subway tile, it’s worth investing in your own time and materials.
Tile Toolkit
Surprisingly Easy Guide to Installing Backsplash
Prep Your Space for tile
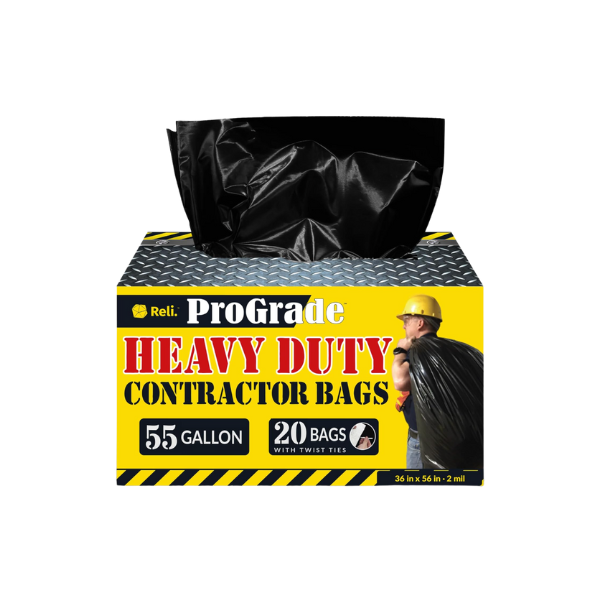
- Clear your countertops and place a heavy-duty trash bag (unopened) on the counter. This will protect your surface from any adhesive, grout, or scratches, and it’s easy to move around to different areas as you work. I find it stays in place on its own, but you can secure it with painter’s tape if needed.
- Turn off the power if you’re working around outlets and remove the cover plates. Put each plate and the corresponding screws in separate bags with labels so it’s easy to re-install them later.
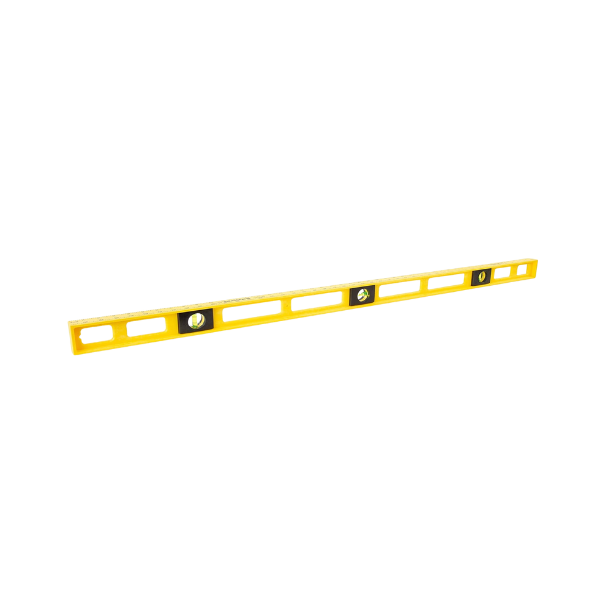
- Plan your layout. Measure the center of your wall and work outward. This ensures that any cut pieces at the edges will be symmetrical. Use your level or a laser level to draw vertical guide lines on your wall as reference points. Don’t forget to mark your starting point!
- Do a dry layout. Lay out a row of tiles on the counter with spacers to see how many whole tiles will fit, and where you need to make cuts. Play around with your layout and try to avoid any tiny pieces at the corners or edges
Install the Tile
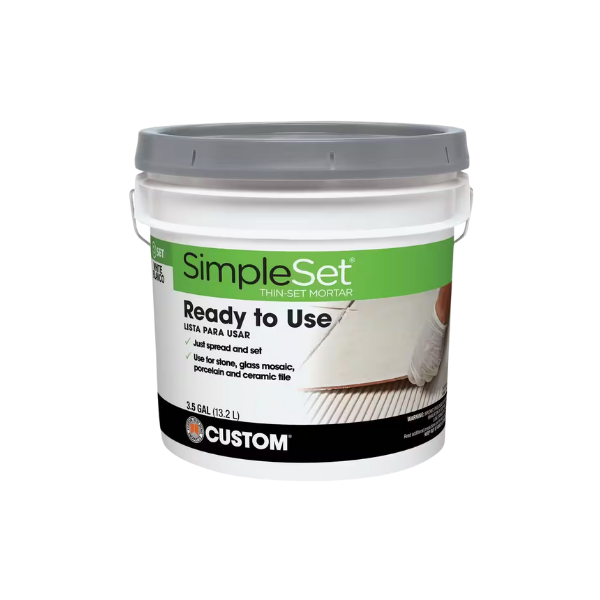
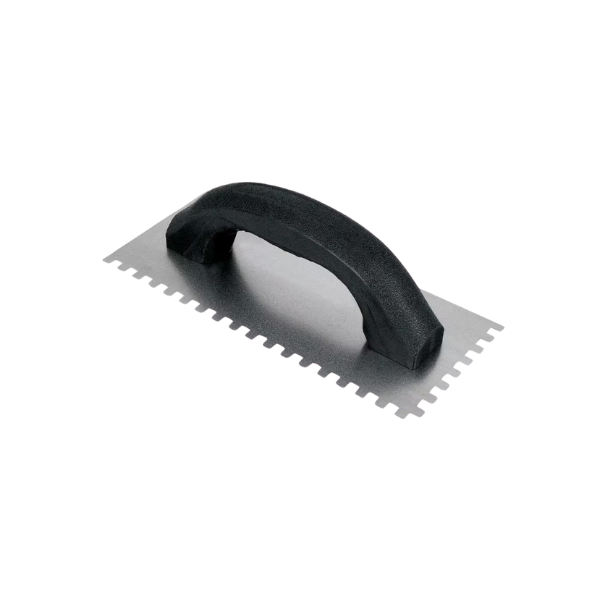
- As beginners working in a tight space, we found it easier to apply adhesive on each tile (“back buttering“) instead of directly on the wall. We used the notched trowel to apply an even coat of adhesive to the back of the tile, then used the notches to create linear ridges along the length of the tile. Alternatively, you can use the notched trowel to apply adhesive to a small section of wall and create the same linear ridges.
- Place your first tile at your predetermined starting point. Start with a full tile at the bottom center, right above the countertop, and press firmly for a few seconds.
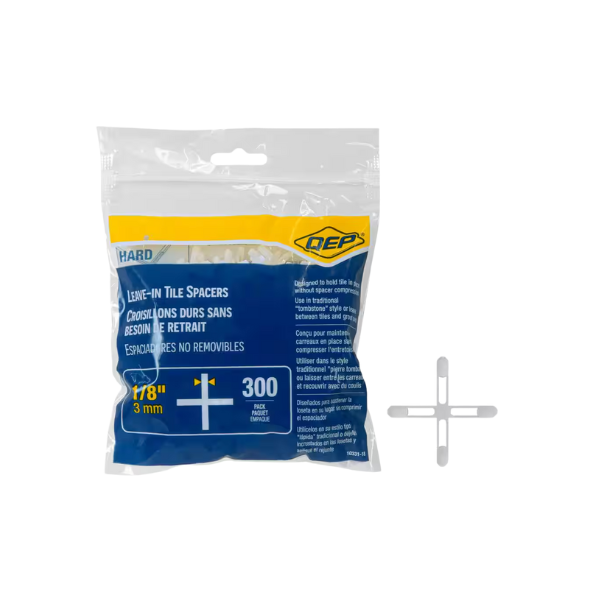
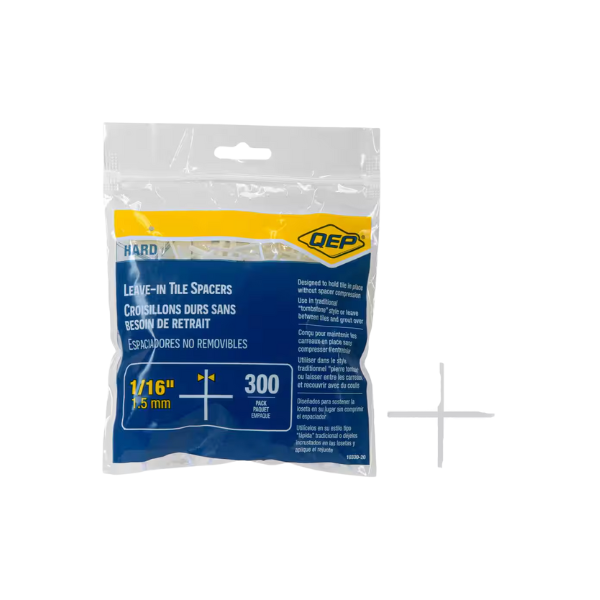
- Add your tile spacers on all sides of your tiles to maintain even grout lines.
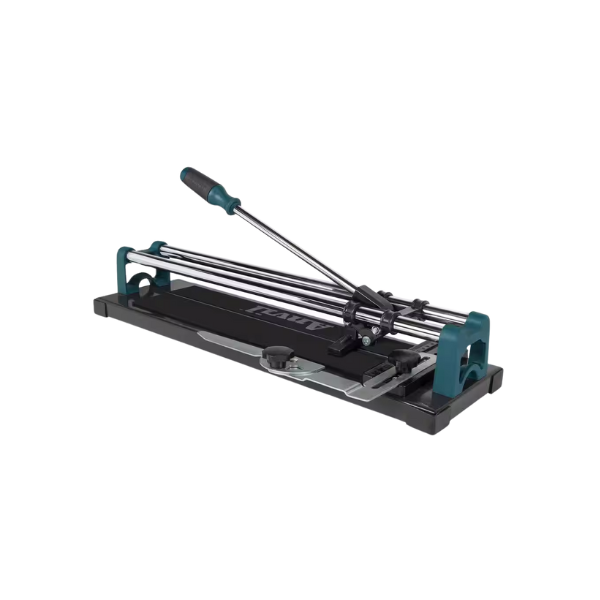
- Cut your subway tile to size using your tile cutter (or tile nipper for smaller cuts). We were able to do the majority of our cuts with our tile cutter, simply by scoring a line through the tile and snapping the two pieces. For more complex cuts (like corners or thin edges), I recommend renting a wet saw from Home Depot. Rentals start at $22 for 4 hours or $32 per day, perfect for a weekend project.
- Use your level every few feet to ensure the tile is straight. It’s easy to make minor errors as you go, which will only worsen if you don’t correct them early. Spacers are your best friend, so don’t be afraid to put more than you need!
- As you progress, be sure to remove any excess adhesive between the tiles with a damp cloth before it dries.
- Let the adhesive set according to the manufacturer’s instructions—usually 24 hours.
Finishing Touches
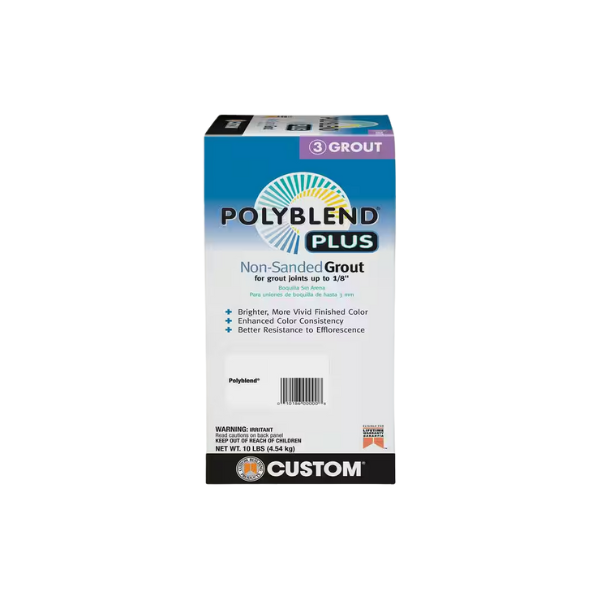
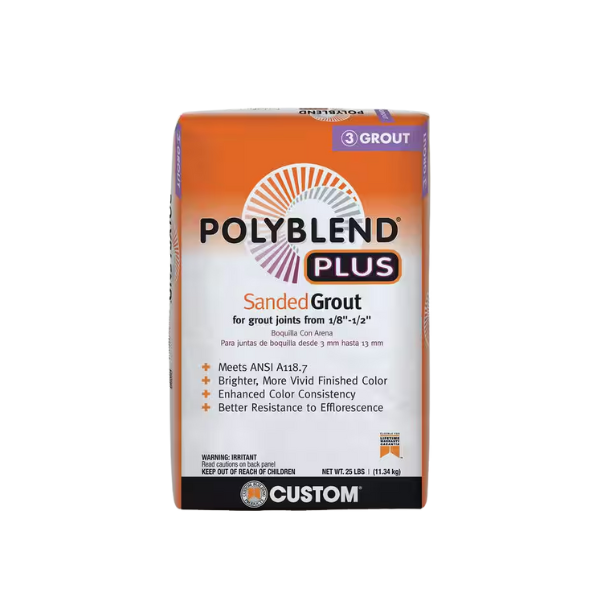
- Mix the grout according to the package instructions. For an even easier, beginner-friendly option, you can buy premixed grout instead of mixing the grout and water with a mortar mixer.
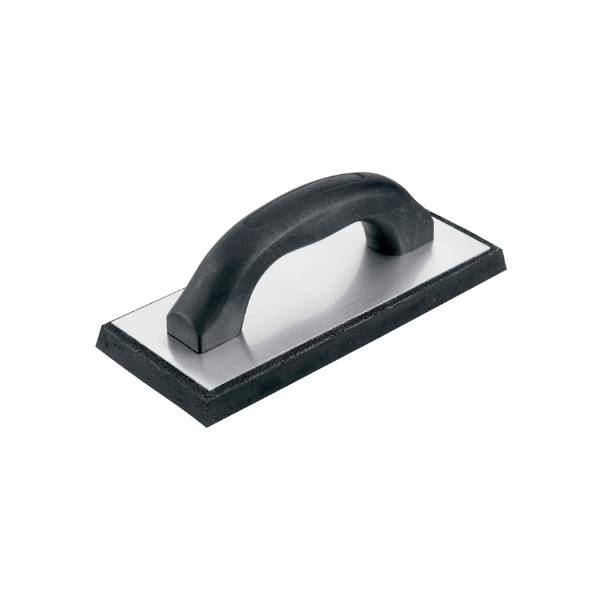
- Apply the grout using a rubber float, working at a 45-degree angle to push it into the joints. Make sure all spaces are completely filled.
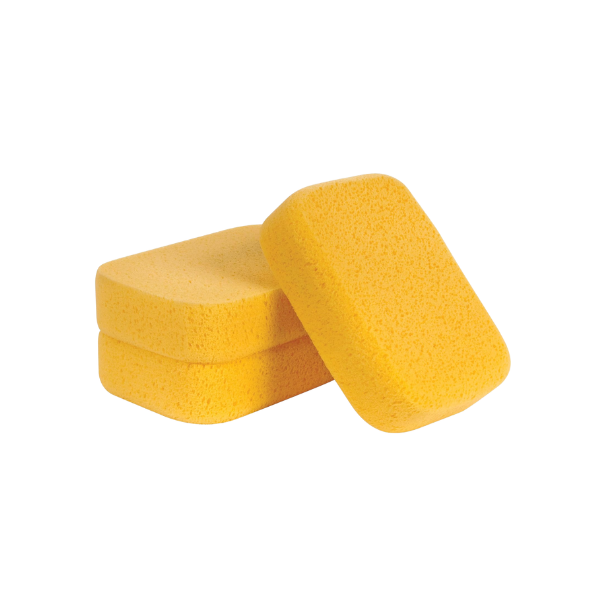
- Wait 15-20 minutes for the grout to dry, then use a damp sponge to gently wipe off the excess grout, rinsing your sponge periodically as you go.
- Use a microfiber cloth to clean the grout residue from the tile surface. Repeat this process a few times to ensure the tile is completely clean.
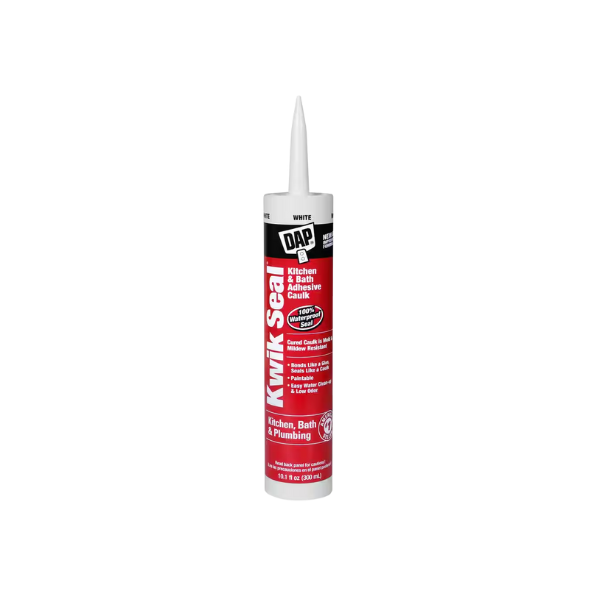
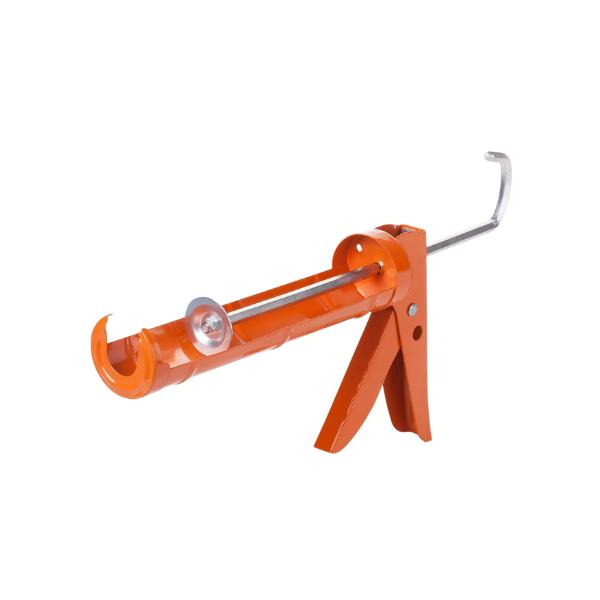
- Use a caulk gun to apply your choice of caulk (preferably the same color as the grout) between the countertop and the backsplash. Caulk is more flexible than grout, so it will be better able to absorb normal house settling without cracking.
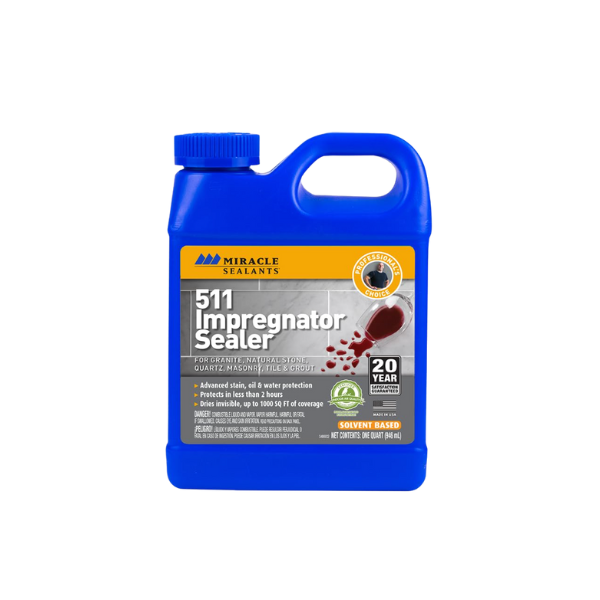
- After the curing period (usually 72 hours), seal the grout with a sealant to protect against stains and moisture.
- Once the sealant is dry, the last step is to reinstall the outlet covers. The trick here is to buy outlet extenders the same depth of the tile so the outlet cover sits on top of the new tile. Extenders only cost a few dollars at Home Depot, and they come in a variety of depths depending on your backsplash tile.
Creating a Kitchen That Feels Like You
There’s no better feeling than pointing at something in your house and saying, “Yeah, I did that.” Whether it’s hanging a picture frame or installing backsplash in your kitchen, you’re creating a space that reflects you. And you should feel proud of that!
Don’t let imposter syndrome or DIY-intimidation hold you back from building the home of your dreams. If we can do it, so can you. I can’t wait to see how your kitchen backsplash turns out. Tag @gdhomedesigns in your DIY project pictures so we can swoon with you!
Happy Tiling!
This post is all about installing backsplash.


