*Beginner-Friendly* Guide to Installing Backsplash (It’s Easier Than You Think)
If you’ve been thinking about installing backsplash for the first time, take this as your sign to go for it. Here’s how to nail it on your first try.
This post contains affiliate links. We may earn a small commission when you purchase through links on our post, at no cost to you. We only recommend products we would use ourselves, and all opinions expressed below are our own.

This is for the homeowner who’s been dreaming of a brand new kitchen backsplash but doesn’t want to outsource the work.
I was in the same boat last year. After painting my kitchen cabinets, updating the cabinet hardware, and replacing the plumbing and electrical fixtures, my kitchen renovation was almost complete. The only thing missing was the backsplash.
My mom and I kept going back and forth. Could we actually install the backsplash ourselves? How much would the project cost? How long would it take? What if we messed it up?
Eventually, we stopped overthinking and just started. And here’s what we learned. Installing backsplash isn’t nearly as hard as it looks. You just need to break it down into manageable steps.

In this guide, I’ll walk you through the exact process we followed from start to finish. The best beginner-friendly tile, the exact tools you need for installing backsplash, what it actually costs, and a simple step-by-step process that makes installation so much easier.
Why We Chose Subway Tile as Beginner DIYers
Before we get our hands dirty with adhesive, let’s cover the basics. There are so many tile options to choose from. And if you’re new to this (like we were), subway tile is the easiest place to start.
It’s simple, forgiving, and works with almost every design style. But more importantly, it removes unnecessary complexity from your first project. Here’s why it works so well. 👇
It Keeps Costs Low
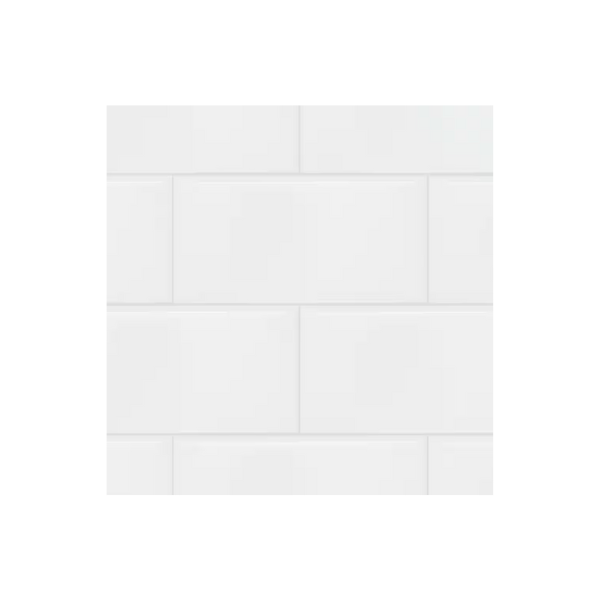
I bought my 3” x 6” white ceramic subway tile at Lowe’s for $0.15 per tile. You can calculate the amount you need directly on their website and pick up your order in store. It’s that easy.
Subway tile is one of the most cost-effective tile options, which helps take the edge off when installing backsplash tile DIY for the first time! If you break one piece, it’s not the end of the world.

Daltile
True White 3″ x 6″ Glossy Ceramic Subway Tile
Sold by the piece, so you can customize your order to your exact backsplash dimensions.
It Complements a Range of Styles
Subway tile has been used in interiors since the early 1900s, and it’s not going anywhere. Instead of choosing a trendy tile with a short lifespan, consider a classic choice like subway tile that will keep up with your evolving design style. You can go classic, modern, coastal, or transitional, depending on how you style it.
And when it comes to tile patterns, there’s no shortage of options. You can opt for the classic horizontal staggered or vertical stacked. If you’re feeling adventurous, you could even try a basketweave or herringbone pattern for a fun twist on the classic subway look.

Its Easy to Cut & Work With
The uniform rectangular shape and manageable size make cuts way easier. If you’re tiling a backsplash for beginners, don’t overlook this detail.
Chances are you’ll have to make quite a few cuts for your backsplash installation project. You might as well make it easy on yourself the first time around.
It’s Relatively Low Maintenance
The smooth, non-porous surface and uniform design make it really easy to clean. Because no one likes spending their weekends scrubbing their kitchen backsplash.

How to Choose the Right Subway Tile & Grout
When planning my kitchen renovation, I opted for the classic white ceramic 3” x 6” subway tile we’ve all seen a million times. It’s boring, I know.
But I already used it in my bathroom shower and wanted my home to feel cohesive. Plus, I was getting ready to rent my condo, so it didn’t make sense to invest in a higher-end, trendier option that I wouldn’t even be able to enjoy.
At the end of the day, you have to choose the tile that fits your design style, lifestyle, and budget.
Subway Tile Options
When it comes to subway tile, you have a lot of options to choose from. Colors range from the traditional True White to warmer neutrals and bright pops of color. Dimensions vary from the classic 3″ x 6″ to other smaller and larger rectangular options, typically in 1:2 or 1:3 ratios.
Just remember, the smaller the tile, the more grout lines. The more grout lines, the more maintenance.
And don’t forget about the tile finish. You can opt for a smooth and glossy finish for a clean, simple look (this is what I did). Or you could go matte for a more modern, minimalist design. And if you love the organic style, you can’t go wrong with an irregular, textured subway tile.

Grout Recommendations
I have a lot of opinions about grout colors and grout lines (I wrote all about it in my bathroom renovation series. Read the post here 👉The Best Tile for Showers if You Hate Scrubbing Grout). But TLDR: Avoid pure white grout if you want a low-maintenance kitchen backsplash.
I get it. White grout looks really crisp and clean. So if you really want to go that route, opt for an off-white or light gray instead. It gives a similar look without highlighting all the soap residue and mineral buildup you don’t want to see
If you want to create contrast, opt for a neutral grout color that’s a few shades darker than your tile. Not only will it highlight your tile pattern, but it will also hide that gross dirt and grime that builds up over time.
Remember, there’s no wrong choice here. Grab some tile samples, test them out in your kitchen, and take your time choosing the tile-and-grout pairing that aligns with your style and maintenance preferences.

Installing Backsplash: Your Exact Shopping List (With Prices)
Before you start installing backsplash on drywall, get everything you need upfront. I’m sharing my exact toolkit, along with the total tile backsplash installation cost, so you know what to expect from the start.
And if I could offer one piece of advice before you begin, it’s this: Buy extras! Overestimate the amount of tile, spacers, grout, and tile adhesive you need to get the job done. Nothing kills the vibe more than having to drop what you’re doing, change out of your messy clothes, and drive to Lowe’s (for the second, third, or even fourth time).
Most stores will let you return unused tiles, so don’t stress about the additional cost for now.


Installing Backsplash: Materials
- Subway tiles (calculate the square footage of the backsplash and add an extra 10% to account for cuts and the inevitable mistakes, starting at $0.15 each)
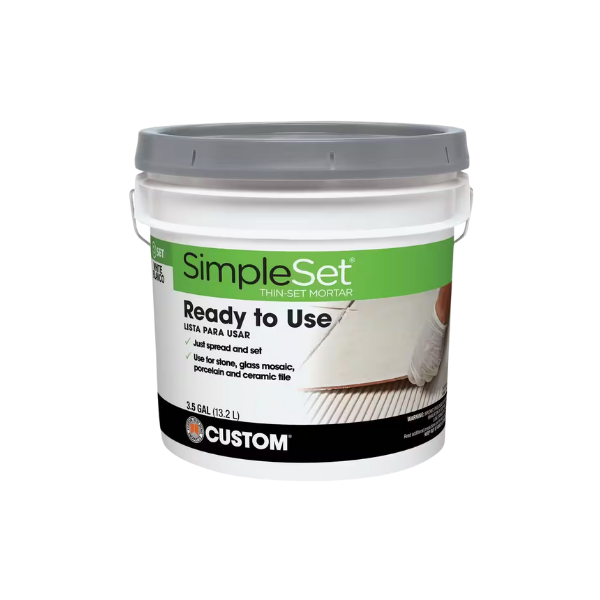
- Tile adhesive (premixed for beginners, $32.97)
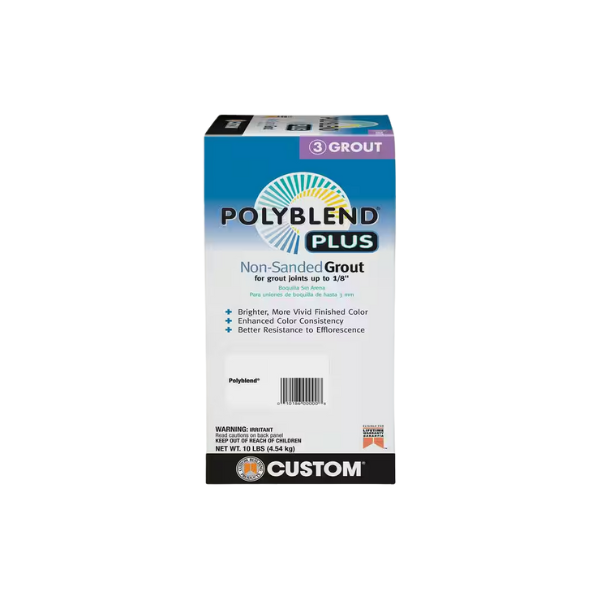
- Grout (sanded for joints larger than 1/8 inch, $19.48, unsanded for smaller joints, $18.48)
- Grout sealer (especially important for kitchens, on sale for $31.08)
- Caulk (matched to your grout color, $6.98)
- Caulking Gun ($9.89 each)

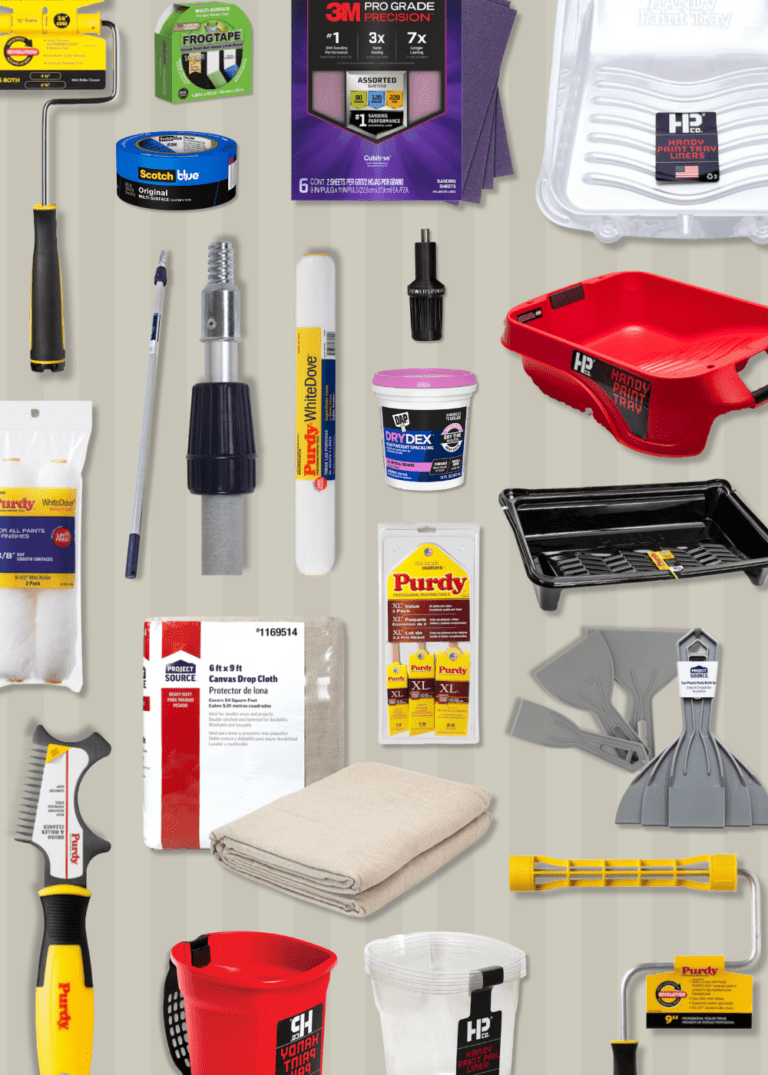
Installing Backplash: Tools
- Measuring tape (on sale for $12.43)
- Level ($29.85 each)
- Notched trowel ($5.98 each)
- Tile spacers (1/16″ or 1/8″ are common for subway tile, $4.57-$5.57 for a pack of 300)
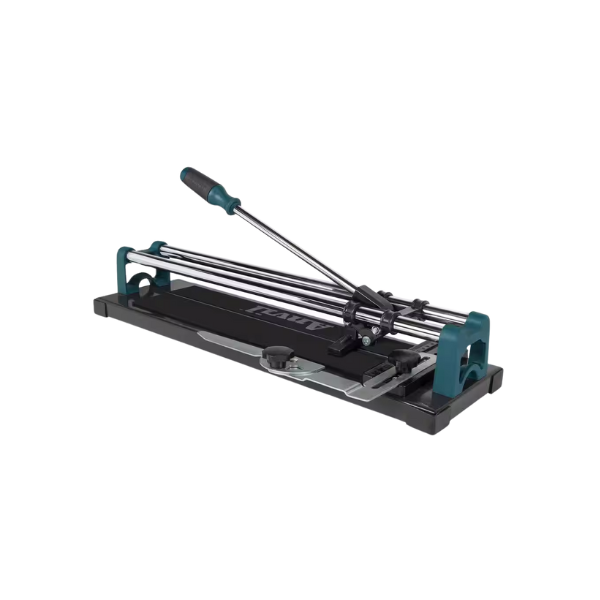
- Tile cutter (this is the one I used for simple cuts, $29.55) or wet saw (for more intricate cuts like L-cuts, U-cuts, or curved cuts, Home Depot rentals start at $22 for 4 hours)
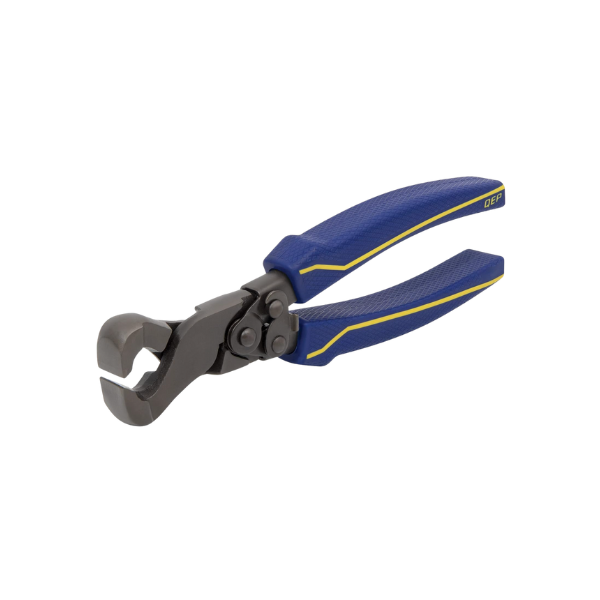
- Tile nippers (for small notches, $24.99)
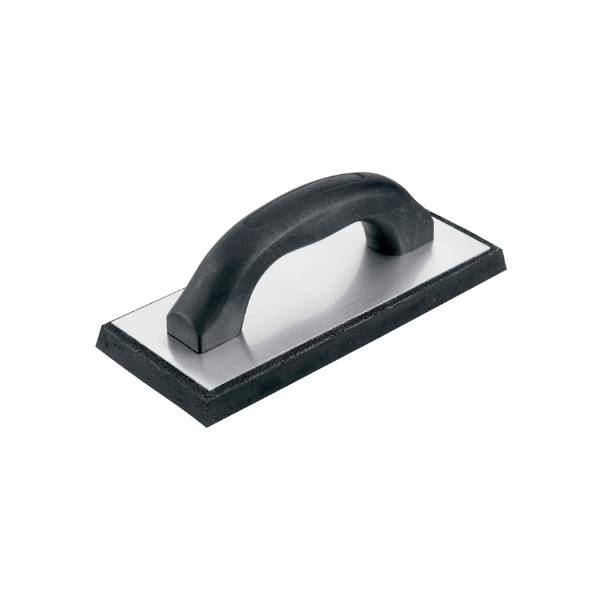
- Rubber Float (for grouting, $9.97)
- Mortar Mixer (attaches directly to your power drill, $15.97)
- 5-Gallon Bucket ($11.99 each)
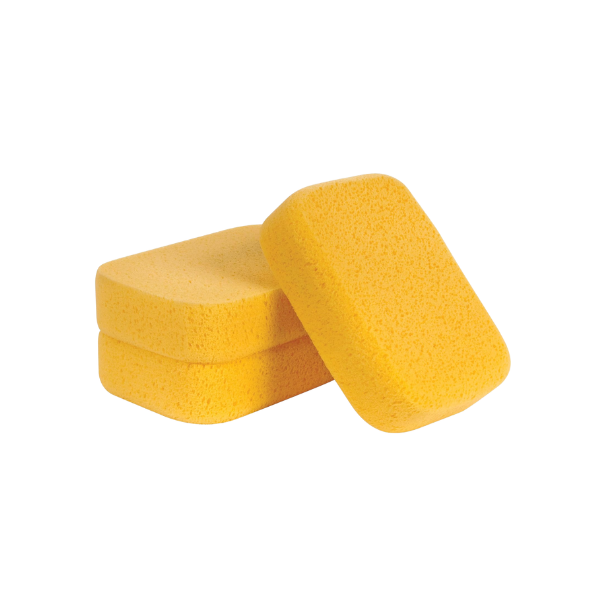
- Large Sponges ($1.66 each)
- Reusable Safety glasses ($3.99 each)
- Reusable Tiler Gloves ($3.49 per pair)
- Contractor Garbage Bags ($1.35 each)
My total tile backsplash installation cost was $336 for about 20 square feet, but the price will vary depending on your kitchen’s size.
To put that into perspective, if you were to hire professionals to do the job instead, you could expect to pay an average of $1,000 per 35 square feet of backsplash, according to 2026 data from Angi’s List. So if you’re working with a beginner-friendly tile like subway tile, it’s worth investing in your own time and materials.

Step-By-Step Guide to Installing Backsplash Tile
Now comes the fun part. Here are the exact steps we followed to get from concept to completion. Take your time with each step, and don’t be afraid to mess up (it happens to everyone!)
Prep Your Space for Tile (Steps 1-4)
- Step 1: Clear your countertops and place a heavy-duty contractor trash bag (unopened) on the counter. This will protect your surface from any adhesive, grout, or scratches, and it’s easy to move around to different areas as you work. I find it stays in place on its own, but you can secure it with painter’s tape if needed.
- Step 2: Turn off the power if you’re working around outlets and remove the cover plates. Put each plate and its corresponding screws in separate labeled bags so it’s easy to reinstall them later.
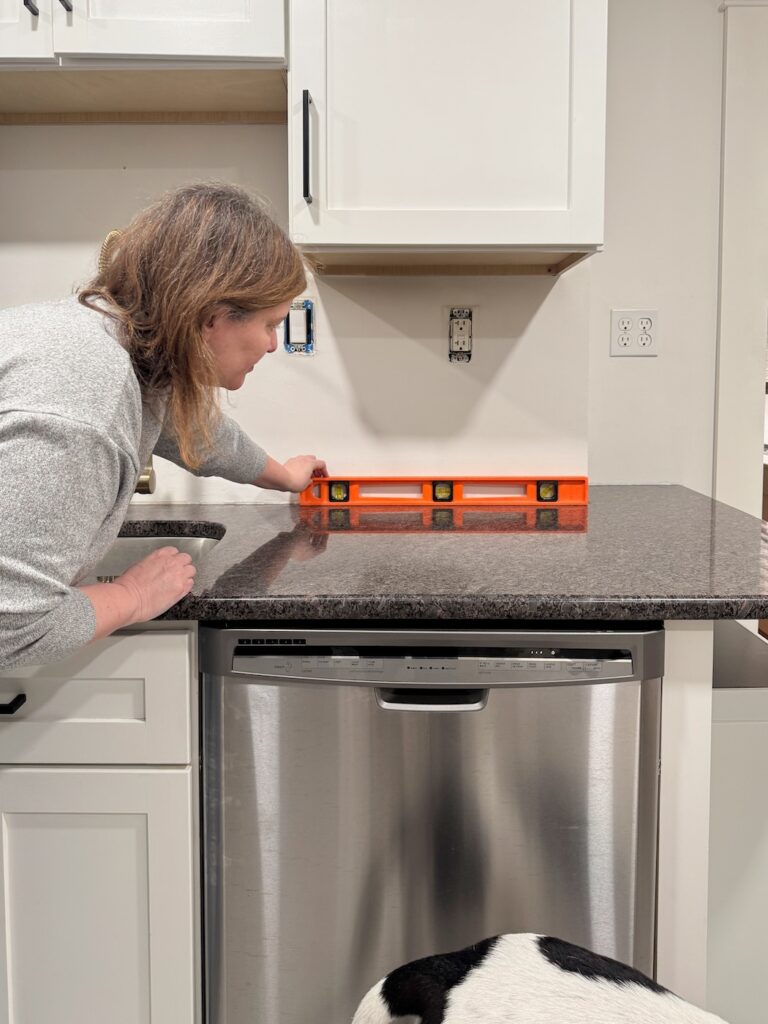
- Step 3: Plan your layout. Use your measuring tape to find the center of your wall and work outward. This ensures that any cut pieces at the edges will be symmetrical. Next, use your level or a laser level to draw vertical guide lines on your wall as reference points. Don’t forget to mark your starting point!
- Step 4: Do a dry layout. Lay out a row of tiles on the counter with spacers to see how many whole tiles will fit, and where you need to make cuts. Play around with your layout and try to avoid any tiny pieces at the corners or edges.
Installing Backsplash Tile (Steps 5-12)
- Step 5: Before you lay your first tile or make any cuts, make sure you put on your safety goggles and tiler gloves to protect your eyes and hands.
- Step 6: As beginners working in a tight space, we found it easier to apply adhesive to each tile (“back buttering“) rather than directly to the wall. We used the notched trowel to apply an even coat of tile adhesive to the back of the tile, then used the notches to create linear ridges along its length. Alternatively, you can use the notched trowel to apply adhesive to a small section of wall and create the same linear ridges.
- Step 7: Place your first tile at your predetermined starting point. Start with a full tile at the bottom center, right above the countertop, and press firmly for a few seconds.
- Step 8: Then add your tile spacers on all sides of your tiles to maintain even grout lines.
- Step 9: Cut your subway tile to size using your tile cutter (or tile nipper for smaller notches). We were able to do the majority of our cuts with our tile cutter, simply by scoring a line through the tile and snapping the 2 pieces. For more complex cuts (like corners or thin edges), I recommend renting a wet saw from Home Depot.
- Step 10: Use your level every few feet to ensure the tile is straight. It’s easy to make minor errors as you go, and they’ll only get worse if you don’t correct them in time.
- Step 11: As you progress, be sure to remove any excess adhesive between the tiles with a damp cloth or sponge before it dries.
- Step 12: Let the adhesive set according to the manufacturer’s instructions (usually 24 hours).

Add the Finishing Touches (Steps 13-19)
- Step 13: Mix the grout with water using a mortar mixer and a 5-gallon bucket, following the instructions on the package. For an even easier, beginner-friendly option, you can buy premixed grout.
- Step 14: Apply the grout using a rubber float, working at a 45-degree angle to push it into the joints. Make sure all spaces are completely filled.
- Step 15: Wait 15-20 minutes for the grout to dry, then use a damp large sponge to gently wipe off the excess grout, rinsing your sponge periodically as you go.
- Step 16: Use a clean sponge to clean the grout residue from the tile surface. Repeat this process a few times to ensure the tile is completely clean.
- Step 17: Use a caulking gun to apply your choice of caulk (preferably the same color as the grout) between the countertop and the backsplash. Caulk is more flexible than grout, so it will be better able to absorb normal house settling over time without cracking.
- Step 18: After the curing period (usually 72 hours), seal the grout with a grout sealer to protect against stains and moisture.
- Step 19: Once the sealant is dry, reinstall the outlet covers. The trick here is to buy outlet extenders that are the same depth as the tile, so the outlet cover sits on top of the new tile.

Installing Backsplash Is Easier Than You Think
There’s no better feeling than pointing at something in your house and saying, “Yeah, I did that.” Whether it’s hanging a picture frame or installing backsplash in your kitchen, you’re upgrading your home with your own two hands. And you should feel proud of that.
Don’t let imposter syndrome or DIY-intimidation hold you back from building the home of your dreams. If we can do it, so can you.
This post is all about installing backsplash for the first time!
Discover more DIy Home Projects:
- Wallpaper Installation 101: How to Nail Your Install on the First Try
- How to Create Paint Color Combinations That *Actually* Look Good Together
- Build Your Very Own Painting Toolkit for Under $225
- Transform Your Dated Brick Fireplace in One Weekend
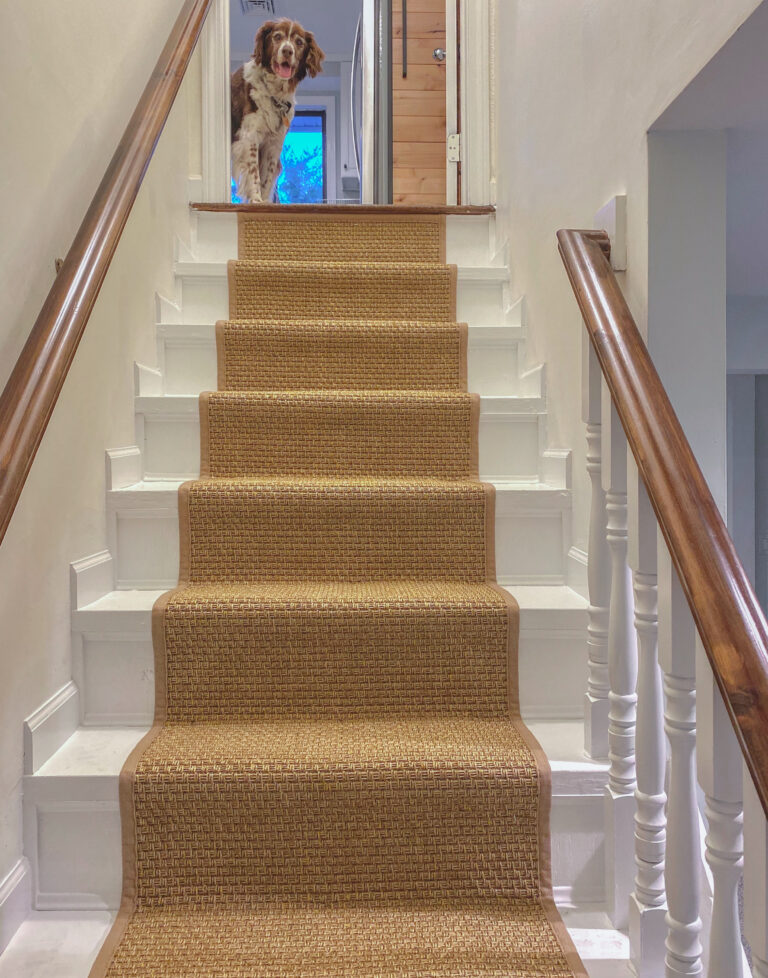
- How to Install a Carpet Runner on Stairs With Zero Experience