Installing Backsplash Tile: 7 Mistakes We Made So You Don’t Have To
Before you pick up your trowel, make sure you check out these 7 common mistakes to avoid when installing backsplash tile for the first time.
This post contains affiliate links. We may earn a small commission when you purchase through links on our post, at no cost to you. We only recommend products we would use ourselves, and all opinions expressed below are our own.

Back in 2025, I decided to tile my entire kitchen backsplash in a single weekend. Granted, I lived in a tiny condo with only 20 square feet of backsplash. But still. That was a pretty ambitious DIY project for a beginner tiler.
The time crunch led to rushed decisions when sourcing materials and installation mistakes I wish I could take back. Now that I’m on the other side and have lived with the backsplash for one year, I’m ready to share the mistakes I regret most from installing backsplash tile so you don’t make the same ones.
Save yourself the time, money, and stress I spent worrying about these seemingly minor details. Here are the 7 common mistakes I made when installing backsplash tile for the first time, and what I wish I had done instead.
Installing Backsplash Tile: 7 Beginner Mistakes to Avoid
This is for the beginner tiler who wants to get it right the first time. Or at least as close to right as possible. No uneven grout lines, no messy finishes, and definitely no missing materials. Here’s everything you need to avoid when installing backsplash tile, and what to do instead.

Mistake #1: Choosing the Wrong Size Tile Spacers
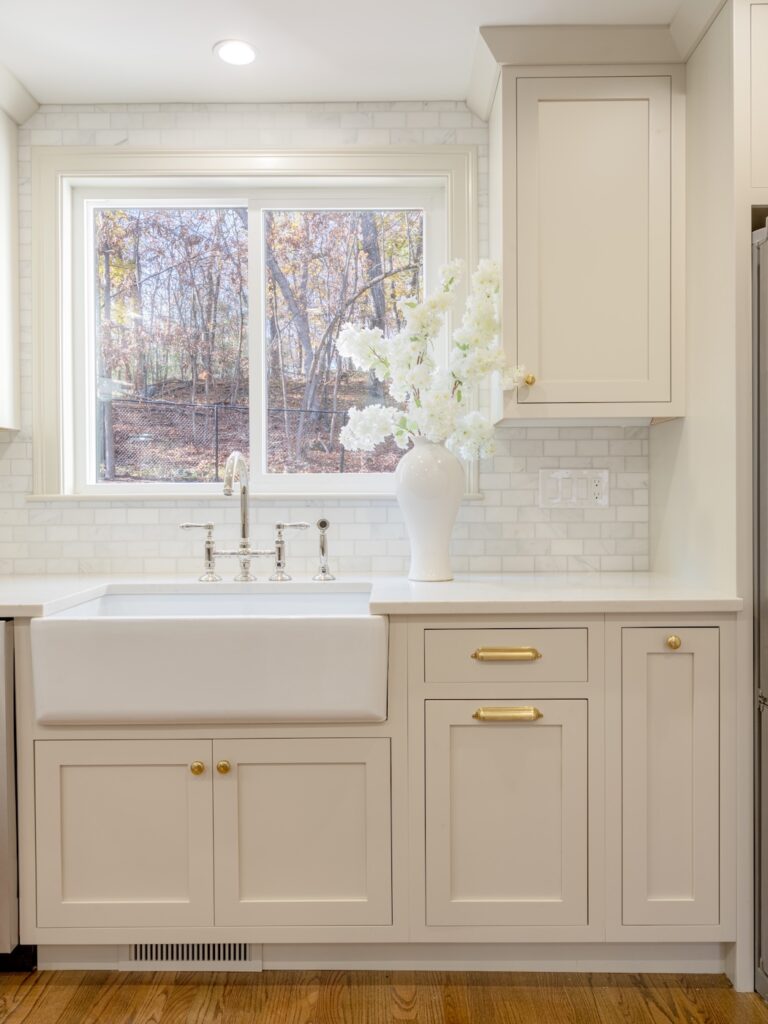
When I was researching what tile spacers to buy for my 3” x 6” subway tile, I read that the most common grout line widths were between 1/16” and 1/8”. So naturally, I thought either one would look good in my kitchen. I went with the 1/8” grout line, thinking it would be the standard, thin line I was used to seeing in subway tile installs. But no.
It turned out to be way thicker than I anticipated. And honestly, if I could do it all over again, I would size down to the 1/16” tile spacer. The lesson here is to always research the look of your tile with different grout line widths before committing to one spacer size.
I could’ve easily looked up “3”x6” white subway tile with 1/8” vs. 1/16” grout line” and verified if I liked the look, instead of just winging it. But instead, I assumed I knew what I was doing. And it wasn’t until I applied the grout that I realized the mistake I had made.
If you’re still deciding on tile and want to think ahead to maintenance, I also put together a guide on the best tile options if you want to avoid constant grout cleaning. Read the post here 👉 The Best Tile for Showers if You Hate Scrubbing Grout.

Mistake #2: Installing Backsplash Tile Without Looking Back
Once my mom and I got the hang of things, we were installing backsplash tile like there was no tomorrow. We worked in an assembly line fashion, with one of us back-buttering the tile and the other sticking it to the wall and adding the spacers.
But the one thing we didn’t do was consistently check our work. We waited too long to review our joints and make sure everything was straight. And boy did we regret it. Once we finally looked back, we noticed some unevenly spaced tiles and crooked joints that we had to rush to fix.
Here’s the thing. If you wait too long to fix an issue, it might impact the next tile and the one after that. As the scale increases, so does your installation problem.
Thankfully, we were able to correct our uneven application and add more spacers to set the tiles into place. But if we could do it again, we would make a habit of checking our work consistently. It would’ve saved us so much time and stress.

Mistake #3: Spending Too Much Time Back Buttering
Before installing backsplash tile with adhesive, my mom and I watched a few YouTube tutorials and read some DIY home renovation blogs to familiarize ourselves with the different tile installation techniques.
Expert tilers recommended a method that involved applying adhesive directly to the wall and using a notched trowel to create ribs. Easy enough, right?


Wrong. When my mom and I tested this technique for ourselves, we couldn’t get it right. The tiles didn’t stay in place, the adhesive hardened before we even finished the first section, and we were completely out of our element.
We decided to cut our losses and switch to back buttering instead. This method involves applying adhesive directly to the back of the tile, using the notched trowel to create vertical ribs down the length of the tile, then sticking it directly to the wall.
We found back buttering to be much more beginner-friendly, but it took so long. Every single tile required careful consideration, and it felt like we were never making any progress.

If I could do it all again, I would spend more time learning to apply the adhesive directly to the wall rather than to each individual tile. Taking a little more time on the front end to learn a faster technique would’ve saved us hours of work on the back end.
If you want to learn more about installing backsplash tile, I created a beginner-friendly guide that walks you through the entire process from prep to grout. Read the post here 👉 Beginner-Friendly Guide to Installing Backsplash (It’s Easier Than You Think).
Mistake #4: Not Using Enough Tile Spacers
Tile spacers are one of the most affordable components in any tile installation toolkit. And they’re also one of the most important. They’re in charge of holding everything together while the adhesive sets.
In most of the YouTube and blog tutorials I saw, tilers used 2 spacers on the long side of the 3”x6” subway tile and 1 to 2 spacers on the smaller side. So I did the same.
But since I was installing backsplash tile on drywall that had seen better days (for context, my condo was over 120 years old), I quickly realized that 1 to 2 spacers per side were simply not enough to keep the tile straight.

As I was checking my work and fixing crooked tiles, I added more and more spacers to ensure an even installation. It worked wonders.
My advice? Don’t skimp on the spacers, especially if you’re installing backsplash tile over damaged drywall. They’re cheap, easy to use, and make a noticeable difference in your final result.
Mistake #5: Assuming We Could Use a Tile Cutter for “L” Cuts
Since my mom and I were working with a standard 3”x6” ceramic subway tile, we assumed we could use a tile cutter for all of our cuts. We were wrong.
The standard tile cutter is great for straight-line cuts, but impossible to use for “L” cuts (i.e., installing backsplash tile around outlet). We tried every possible way to make a clean “L” cut, but the only thing we succeeded in doing was wasting a dozen tiles.
I even tried using a tile nipper, but that didn’t work either. We later learned that we needed a wet saw or an angled grinder to make more precise “L” cuts, which we could’ve easily rented from Home Depot had we known.

The moral of the story is to double-check what equipment you’ll need for your specific project before starting. Otherwise, you’ll hit a dead end in the middle of the project and end up extending your timeline. I don’t recommend.
Mistake #6: Rushing the Grout Application
Once you’re on the grout application stage, you’re in the home stretch. Don’t rush through this step like my mom and I did.
We made the mistake of treating it like a quick, finishing touch. We mixed too much grout at once, worked quickly, and didn’t give ourselves enough time to clean as we went. The result was uneven grout lines and way more cleanup than we bargained for.
Especially when installing backsplash tile in kitchen, where the lighting is bright and unforgiving, even minor errors look like major mistakes.
If I could do it again, I would break the space into small sections and move slowly. Apply the grout with a rubber float, press it fully into the joints, and wipe it down with a large, wet sponge before it starts to harden.

Mistake #7: Skipping the Cleaning Step
I thought I had to clean my kitchen once after installing backsplash tile, but I was so wrong. The post-tiling clean-up happens in stages.
After grouting, wipe down the tile. Then a haze will show up once it dries. Clean it again. And again after that. We didn’t realize how important this step was, so we rushed through it and assumed we were good to go.
But once the light hit the backsplash the next morning, every streak, smudge, and leftover haze was visible. So plan for multiple passes. Use a clean, large sponge, fresh water, and work slowly. It makes a huge difference in your final result.

Installing Backsplash Tile the Right Way
Installing backsplash tile is all in the details. That’s what makes this project tricky. It’s not necessarily about skill level but more about the accumulation of details.
So before you start your first installation project, make sure you have the right tools for your specific tile and space, work through each step slowly, and remember to check your work as you go. It’s impossible to avoid every mistake when installing backsplash tile for the first time, but this will give you a better starting point than the one I had.
This post is all about common mistakes to avoid when installing backsplash tile.
Get Even more Kitchen Renovation Guides:
- How to Start a Kitchen Renovation Without Overthinking Every Decision
- Your *Beginner-Friendly* Guide to Installing Backsplash (It’s Easier Than You Think)
- Marble Kitchen Backsplash: How to Choose Between Tile, Mosaics & Slabs
- 19 Kitchen Renovation Tips That Will Save You Time, Money & Headaches
- Kitchen Designing 101: How to Plan a Functional Kitchen Layout