19 Kitchen Renovation Tips That Can Actually Save You Thousands
It’s no secret that kitchen renovations are a big undertaking, but with the right kitchen renovation tips in your back pocket, you’ll be ready to tackle each step in the process like a pro.
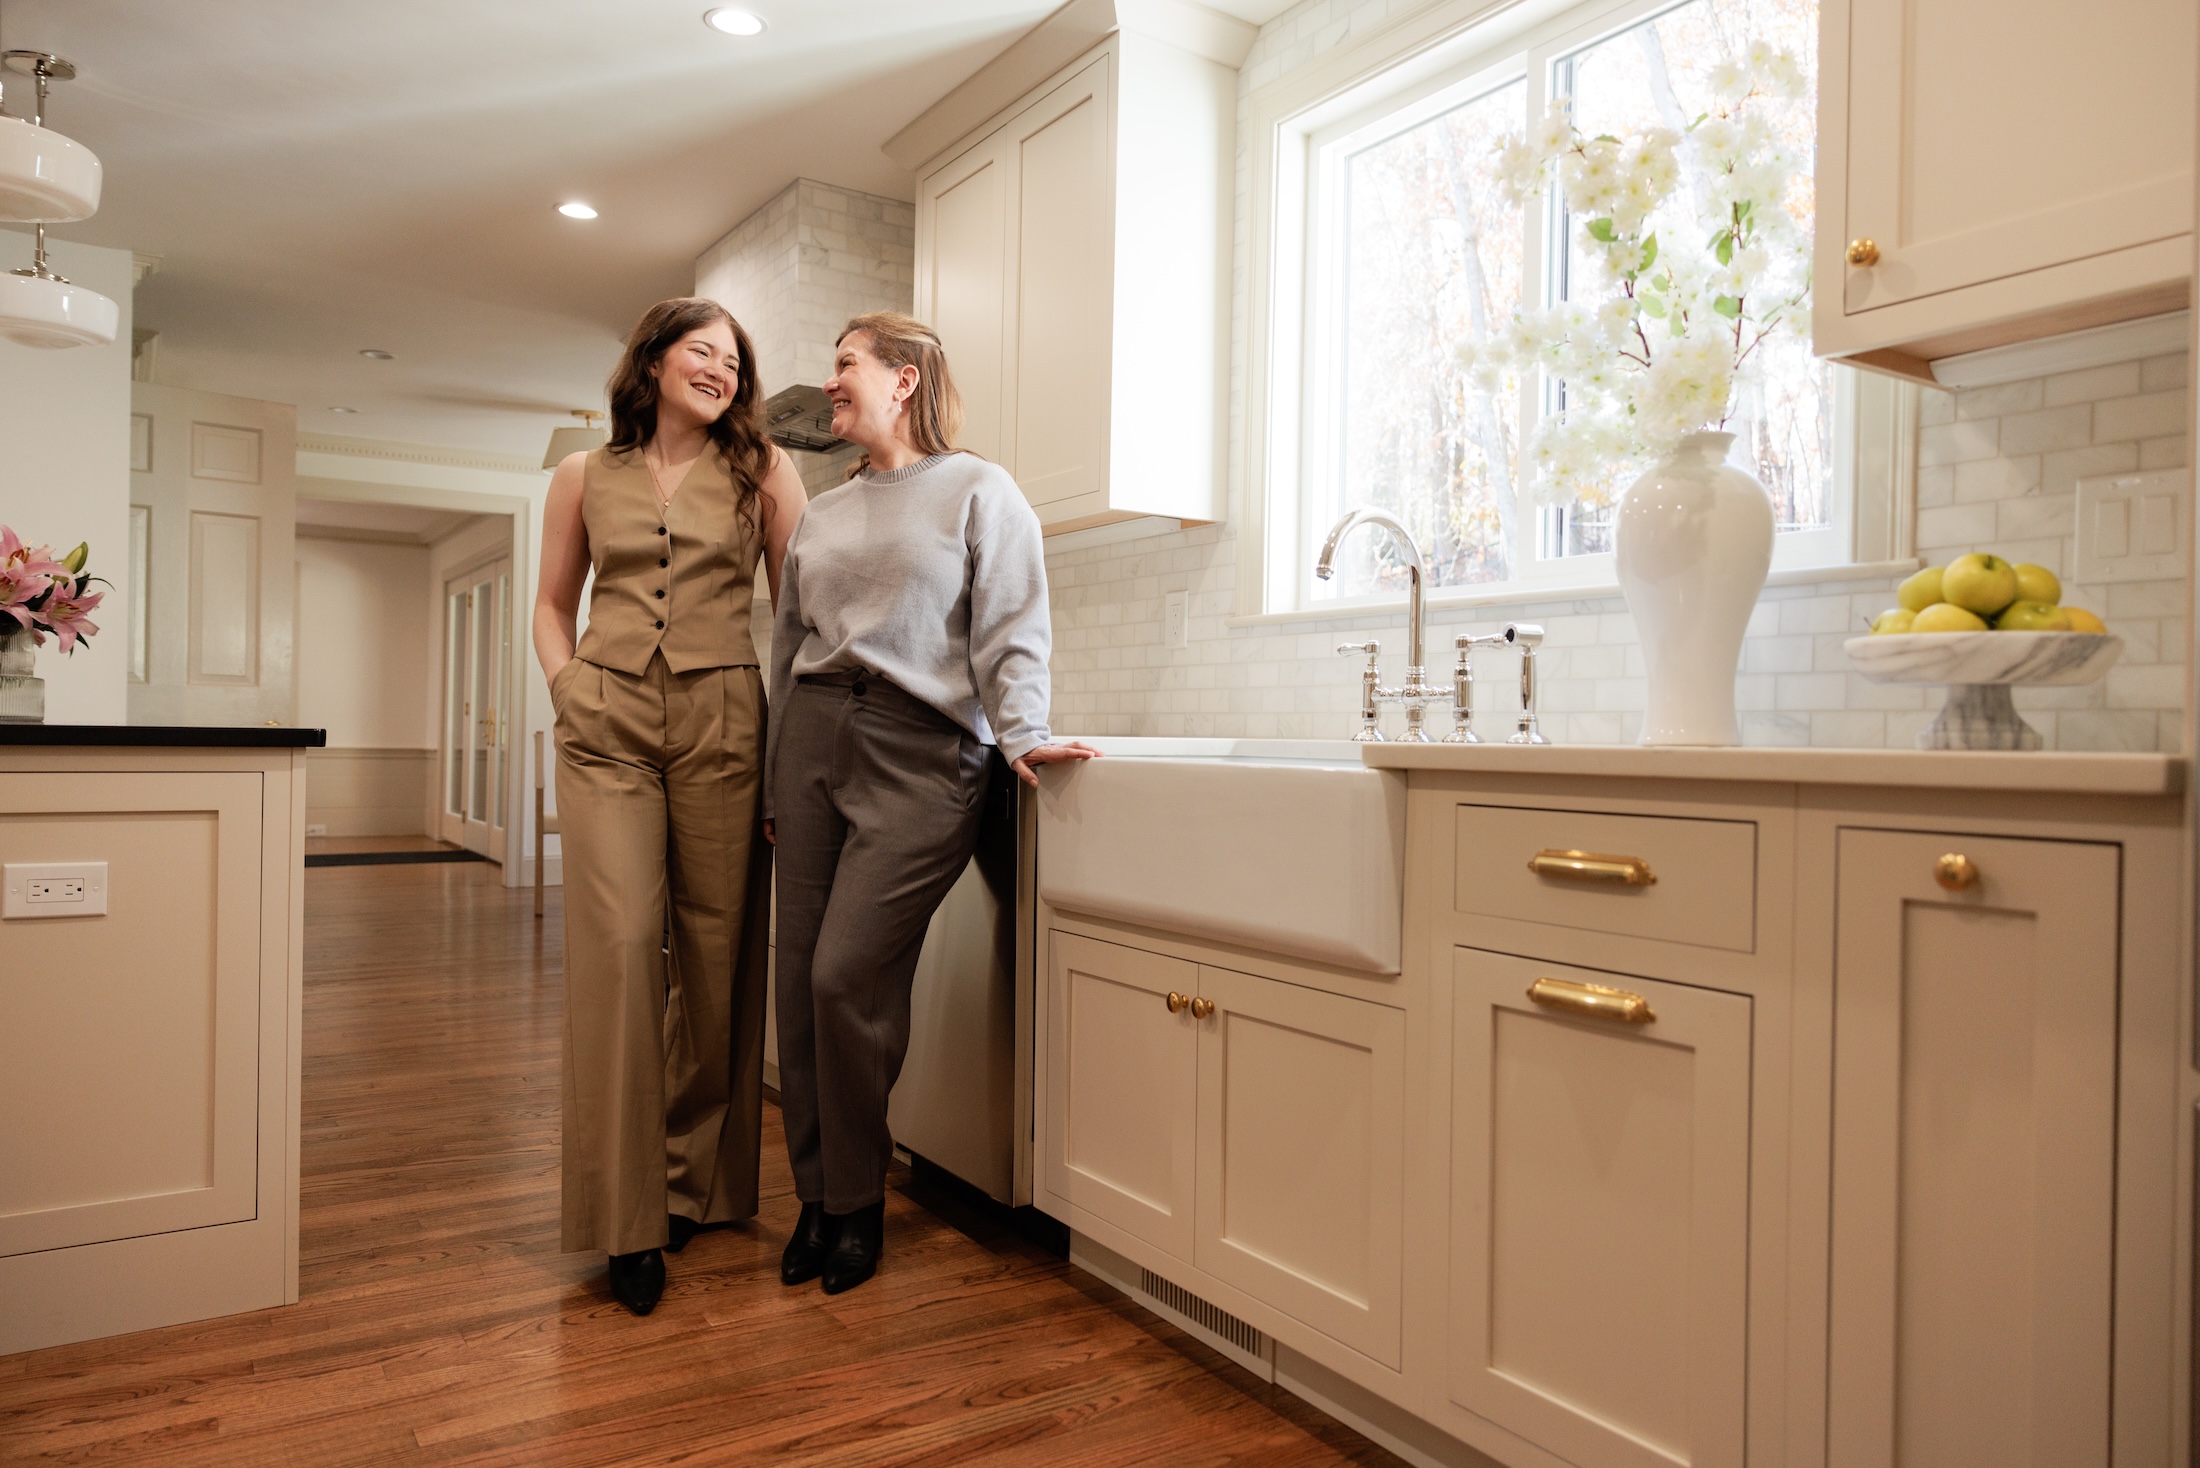
The kitchen is the heart of your home. It’s the workstation for your best recipes, the homework zone for your kid’s late-night science project, the gathering spot for your family dinners, and the backdrop for your favorite holiday memories.
It only makes sense to get this one right.
I’ve spent years transforming dated kitchens into beautiful, functional spaces that work for avid cooks and hosting aficionados alike. And along the way, I’ve made my fair share of mistakes.
One too many meltdowns, a few out-of-control budgets, and dozens of design decisions I still cringe at today.
Now that I’m on the other side of those mistakes, I’m ready to share my top kitchen renovation tips and tricks so you can move through the process more smoothly than I did.
19 Kitchen Renovation Tips I Wish I Knew Earlier
If you’re dreaming of a kitchen layout that flows with your routines, cabinet storage that fits all your cooking supplies, and kitchen appliances that look and function beautifully, these kitchen remodel tips are here to help you get there.
Here’s how to simplify the kitchen renovation process so your budget, timeline, and design vision actually go according to plan.

1. Get Your Measurements Right
Before you kick off your kitchen renovation, measure the full width, height, and depth of your kitchen. I’ve seen homeowners make the mistake of relying solely on a simple floor plan for their design decisions, but height plays a big role in the space too.
Designing vertically creates more storage opportunities and maximizes every square inch of space, especially if you plan to add upper cabinets or a freestanding pantry.
Your floor plan should include the exact dimensions of every wall, window, and doorway. Cabinet suppliers and your general contractor will need these before anything can be ordered or quoted. Here’s a really simple kitchen measurement guide to get you started.
2. Choose Your Kitchen Appliances First
Before you order cabinets or finalize countertops, pick your appliances. It sounds backwards, I know, but this timeline is really important.
Here’s why. Cabinet suppliers typically request the appliance specs before finalizing the cabinet order, so they leave enough room in the design for each appliance.
Your plumber and electrician also need the appliance specs early so they can rough in the correct gas, water, and electrical lines.
Beyond logistics, appliance placement directly affects the flow of your kitchen. The goal is to create a kitchen work triangle with your refrigerator, stove, and sink within 4 to 9 feet of each other to maximize efficiency and workflow. So the earlier you can nail this down, the better.
3. Reconsider the Floating Shelves
I hate to be the bearer of bad news… but those floating shelves taking over your social media algorithm aren’t as idyllic as they seem.
They collect dust faster than most Swifferers can handle, they expose your dishes to cooking grease and grime, and they’re smaller than most cabinets, which limits your storage options.
I recommend avoiding them altogether and sticking to closed storage options, like upper cabinets. Closed storage keeps things cleaner, more organized, and easier to maintain over the long term.
If you really love the floating shelves look, consider adding one or two in a strategic spot, like above a coffee station or in a dead corner, rather than replacing all your upper cabinets with less practical storage.
4. Prioritize Timelessness Over Trends
Kitchen renovations are expensive. So choose design elements you’ll love today and in ten years.
Don’t get me wrong, I love a pop of color in the kitchen or a fun pattern on the backsplash, but I can’t guarantee I’ll love it in a few years. Instead of committing to a trend, stick to the classics and add personality with things you can change without a contractor (a bold pendant light, trendy cabinet hardware, a colorful runner…you get the drill).
5. Follow the Right Kitchen Renovation Timeline
Getting the timeline right can save you months of delays and thousands in budget overruns. Here’s the correct sequence for any kitchen remodel:
Kitchen Renovation Tips: Order of Events
6. Research the Required Permits & Inspections
Work with your general contractor and the local building department to determine the required permits and inspections for your kitchen renovation, so there are no surprises. Skipping this step could lead to higher costs later, like fines, forced removal of unpermitted work, and headaches when selling.
Most kitchen renovations require permits when work involves electrical, plumbing, or structural changes. Cosmetic updates like painting cabinets or swapping hardware typically don’t. But if you’re moving a sink, adding a new circuit, or relocating a gas line, expect to pull permits.
Permit costs vary by city and county, but you can expect to pay anywhere between $500 and $1,500 for kitchen renovation permits depending on the scope of work. These costs should be included in your contractor quote, so keep an eye out for that line item.
And if a contractor tells you permits aren’t necessary, that’s a potential red flag. Here’s everything else you should look out for before signing any contracts. Read the post here 👉 Hiring a Home Renovation Contractor? Watch Out for These 7 Red Flags.
7. Save on Small Appliances, Splurge on Big Ones
Kitchen renovation budgets are a constant balancing act. To keep costs in check, I recommend establishing where you want to splurge and where you want to save early in the process.
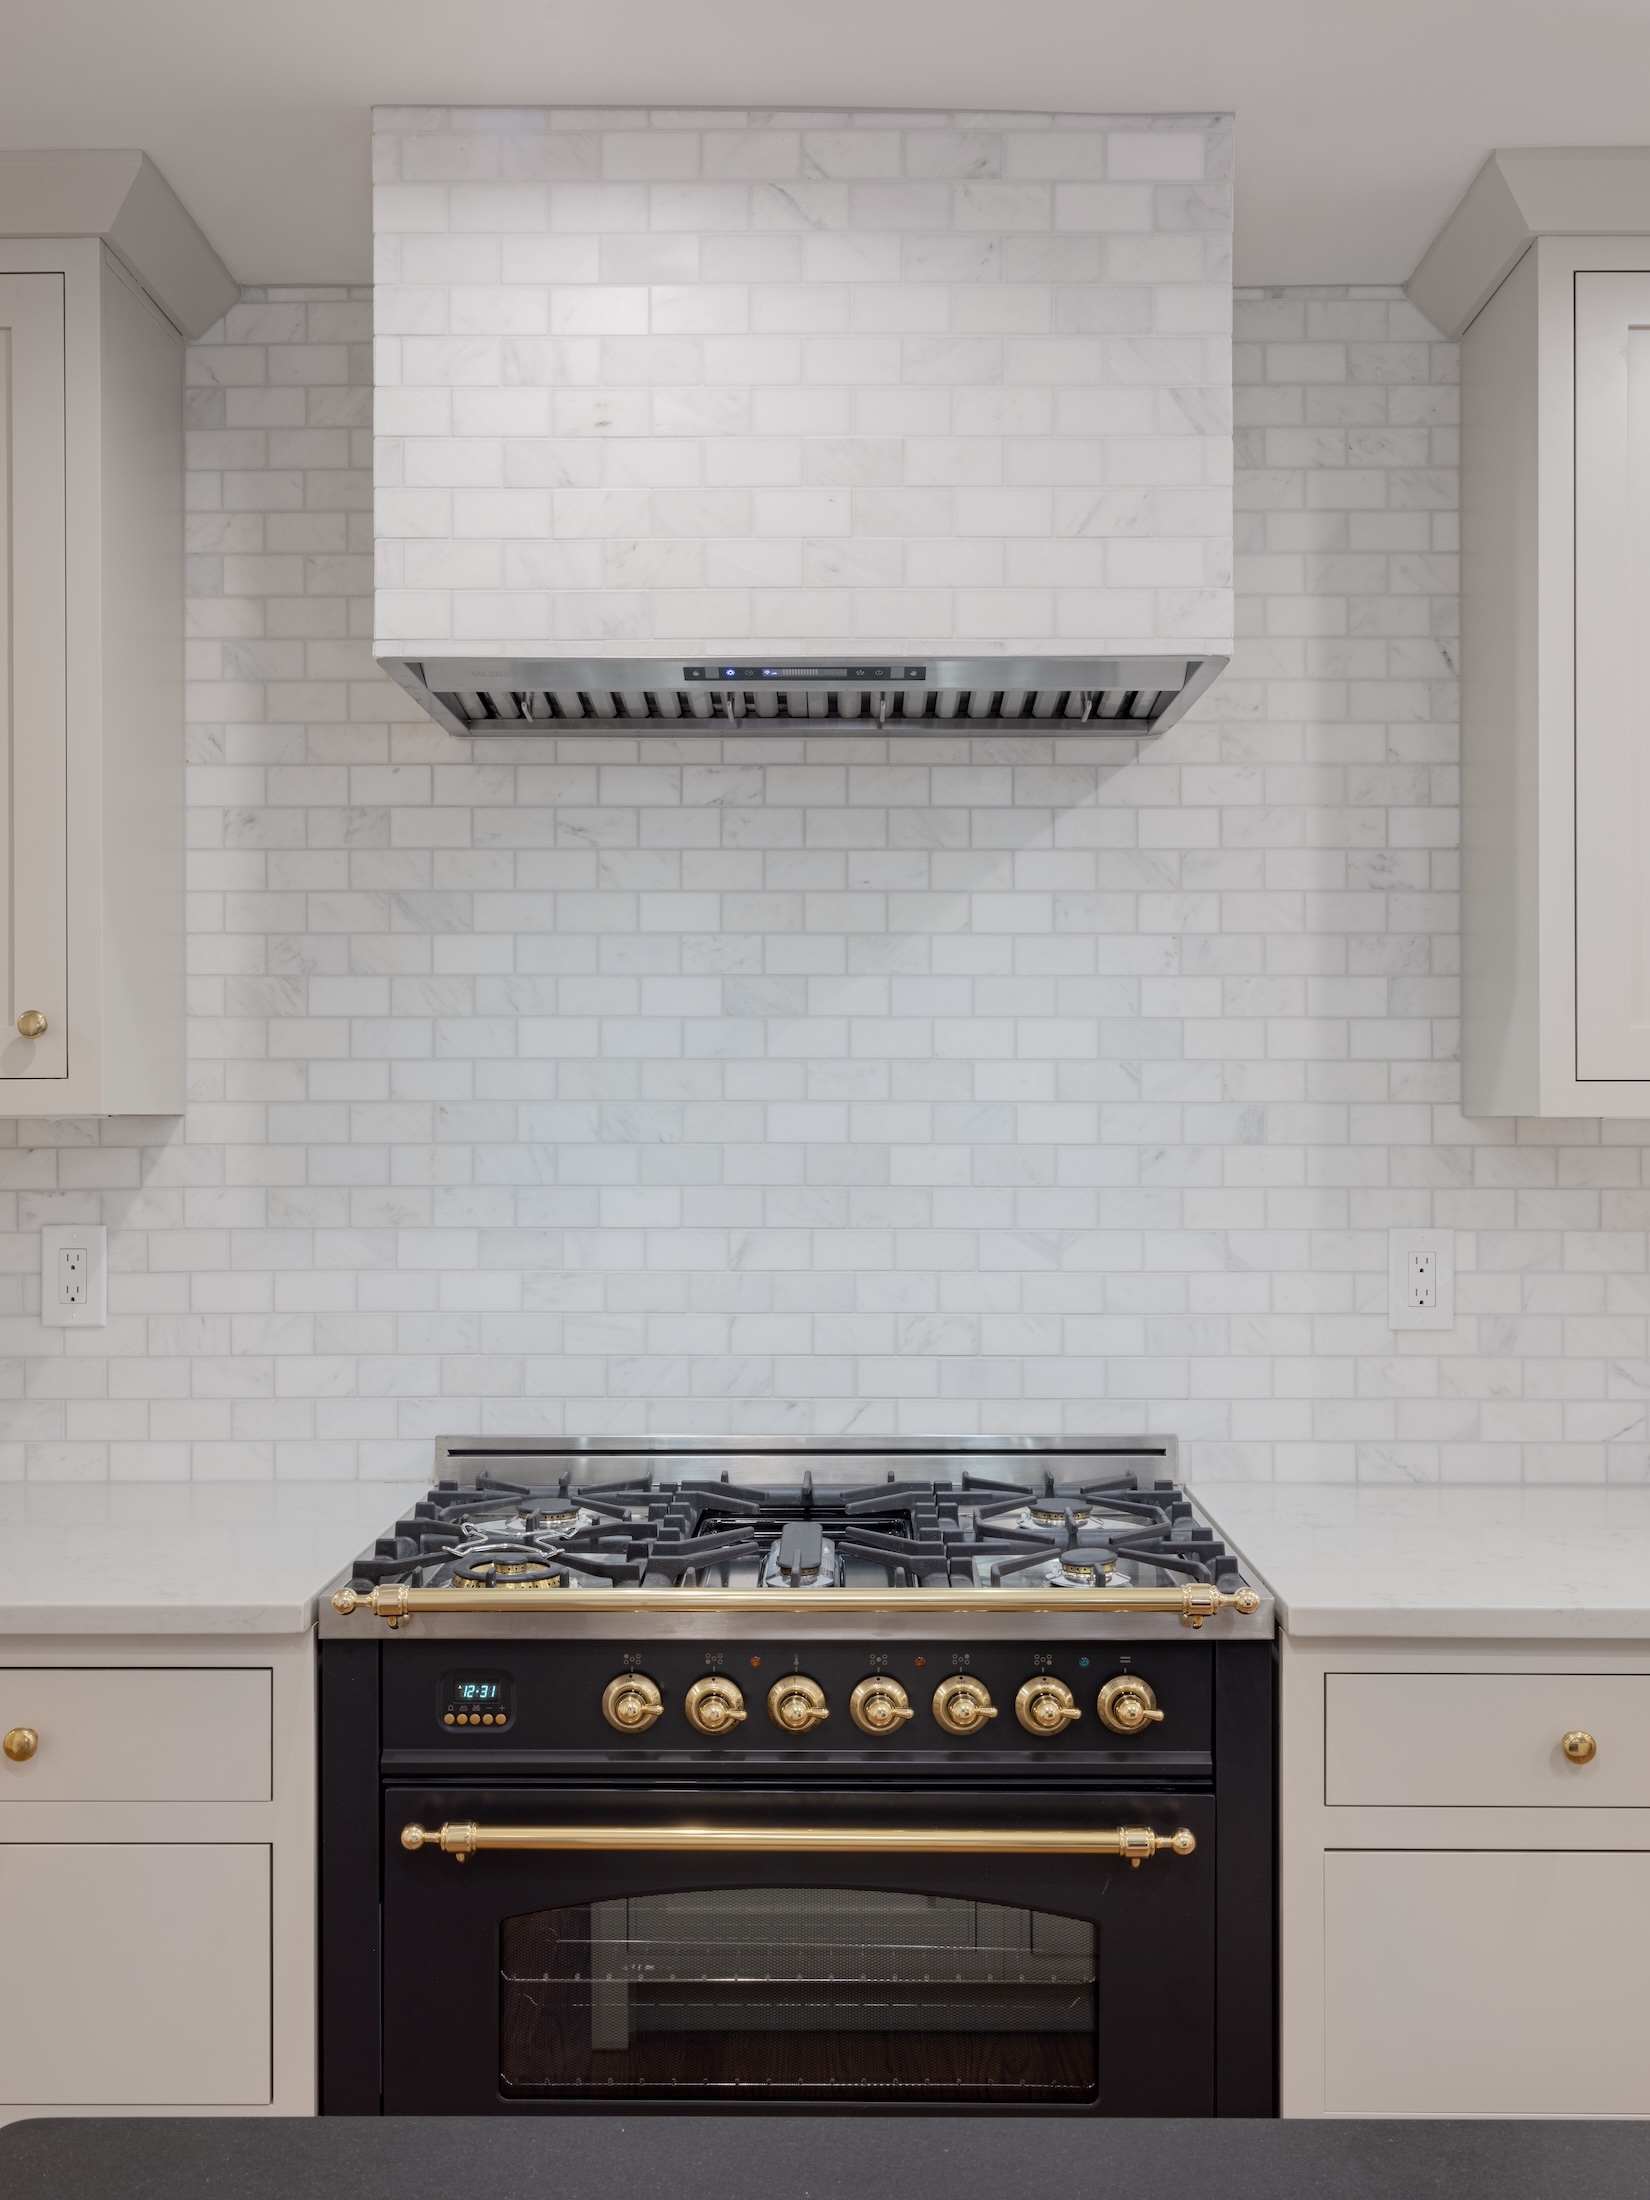
Kitchen appliances (like the refrigerator, stove, and dishwasher) are the workhorses of your kitchen. I’m a big believer in investing in high-quality appliances that will stand the test of time and save you money in the long run.
You can keep costs down by saving on smaller kitchen appliances (like toasters, coffee machines, and air fryers) that are easier to replace and typically have shorter lifespans.
8. Save on Electrical Fixtures, Splurge on Plumbing Fixtures
Like kitchen appliances, plumbing fixtures are vital to your kitchen’s design and function. Although they’re typically more expensive than electrical fixtures, I still recommend investing in high-quality, durable plumbing fixtures so you don’t end up paying for costly maintenance down the road.
To keep costs manageable, opt for more affordable electrical fixtures that can be easily replaced and upgraded down the road.
9. Save on Cabinet Hardware, Splurge on Cabinets
My final save-and-splurge rec focuses on the look and functionality of your cabinets (this is one of the best kitchen renovation ideas on a budget IMO!)
Take a second to think about how many times a day you open and close a kitchen cabinet. It’s a lot, right? With all that constant use, you need quality cabinets that can keep up.
When selecting new cabinets, focus on those built with solid materials (think wood boxes and a combination of wood and MDF doors), soft-close hinges, and dovetail drawer boxes. They hold up better over time, even with daily use.
Hardware, on the other hand, is easy to change when they break or your style changes. You can swap them out in under ten minutes and completely change the look of your kitchen. So save on hardware, splurge on cabinets.
10. Balance Storage & Work Areas
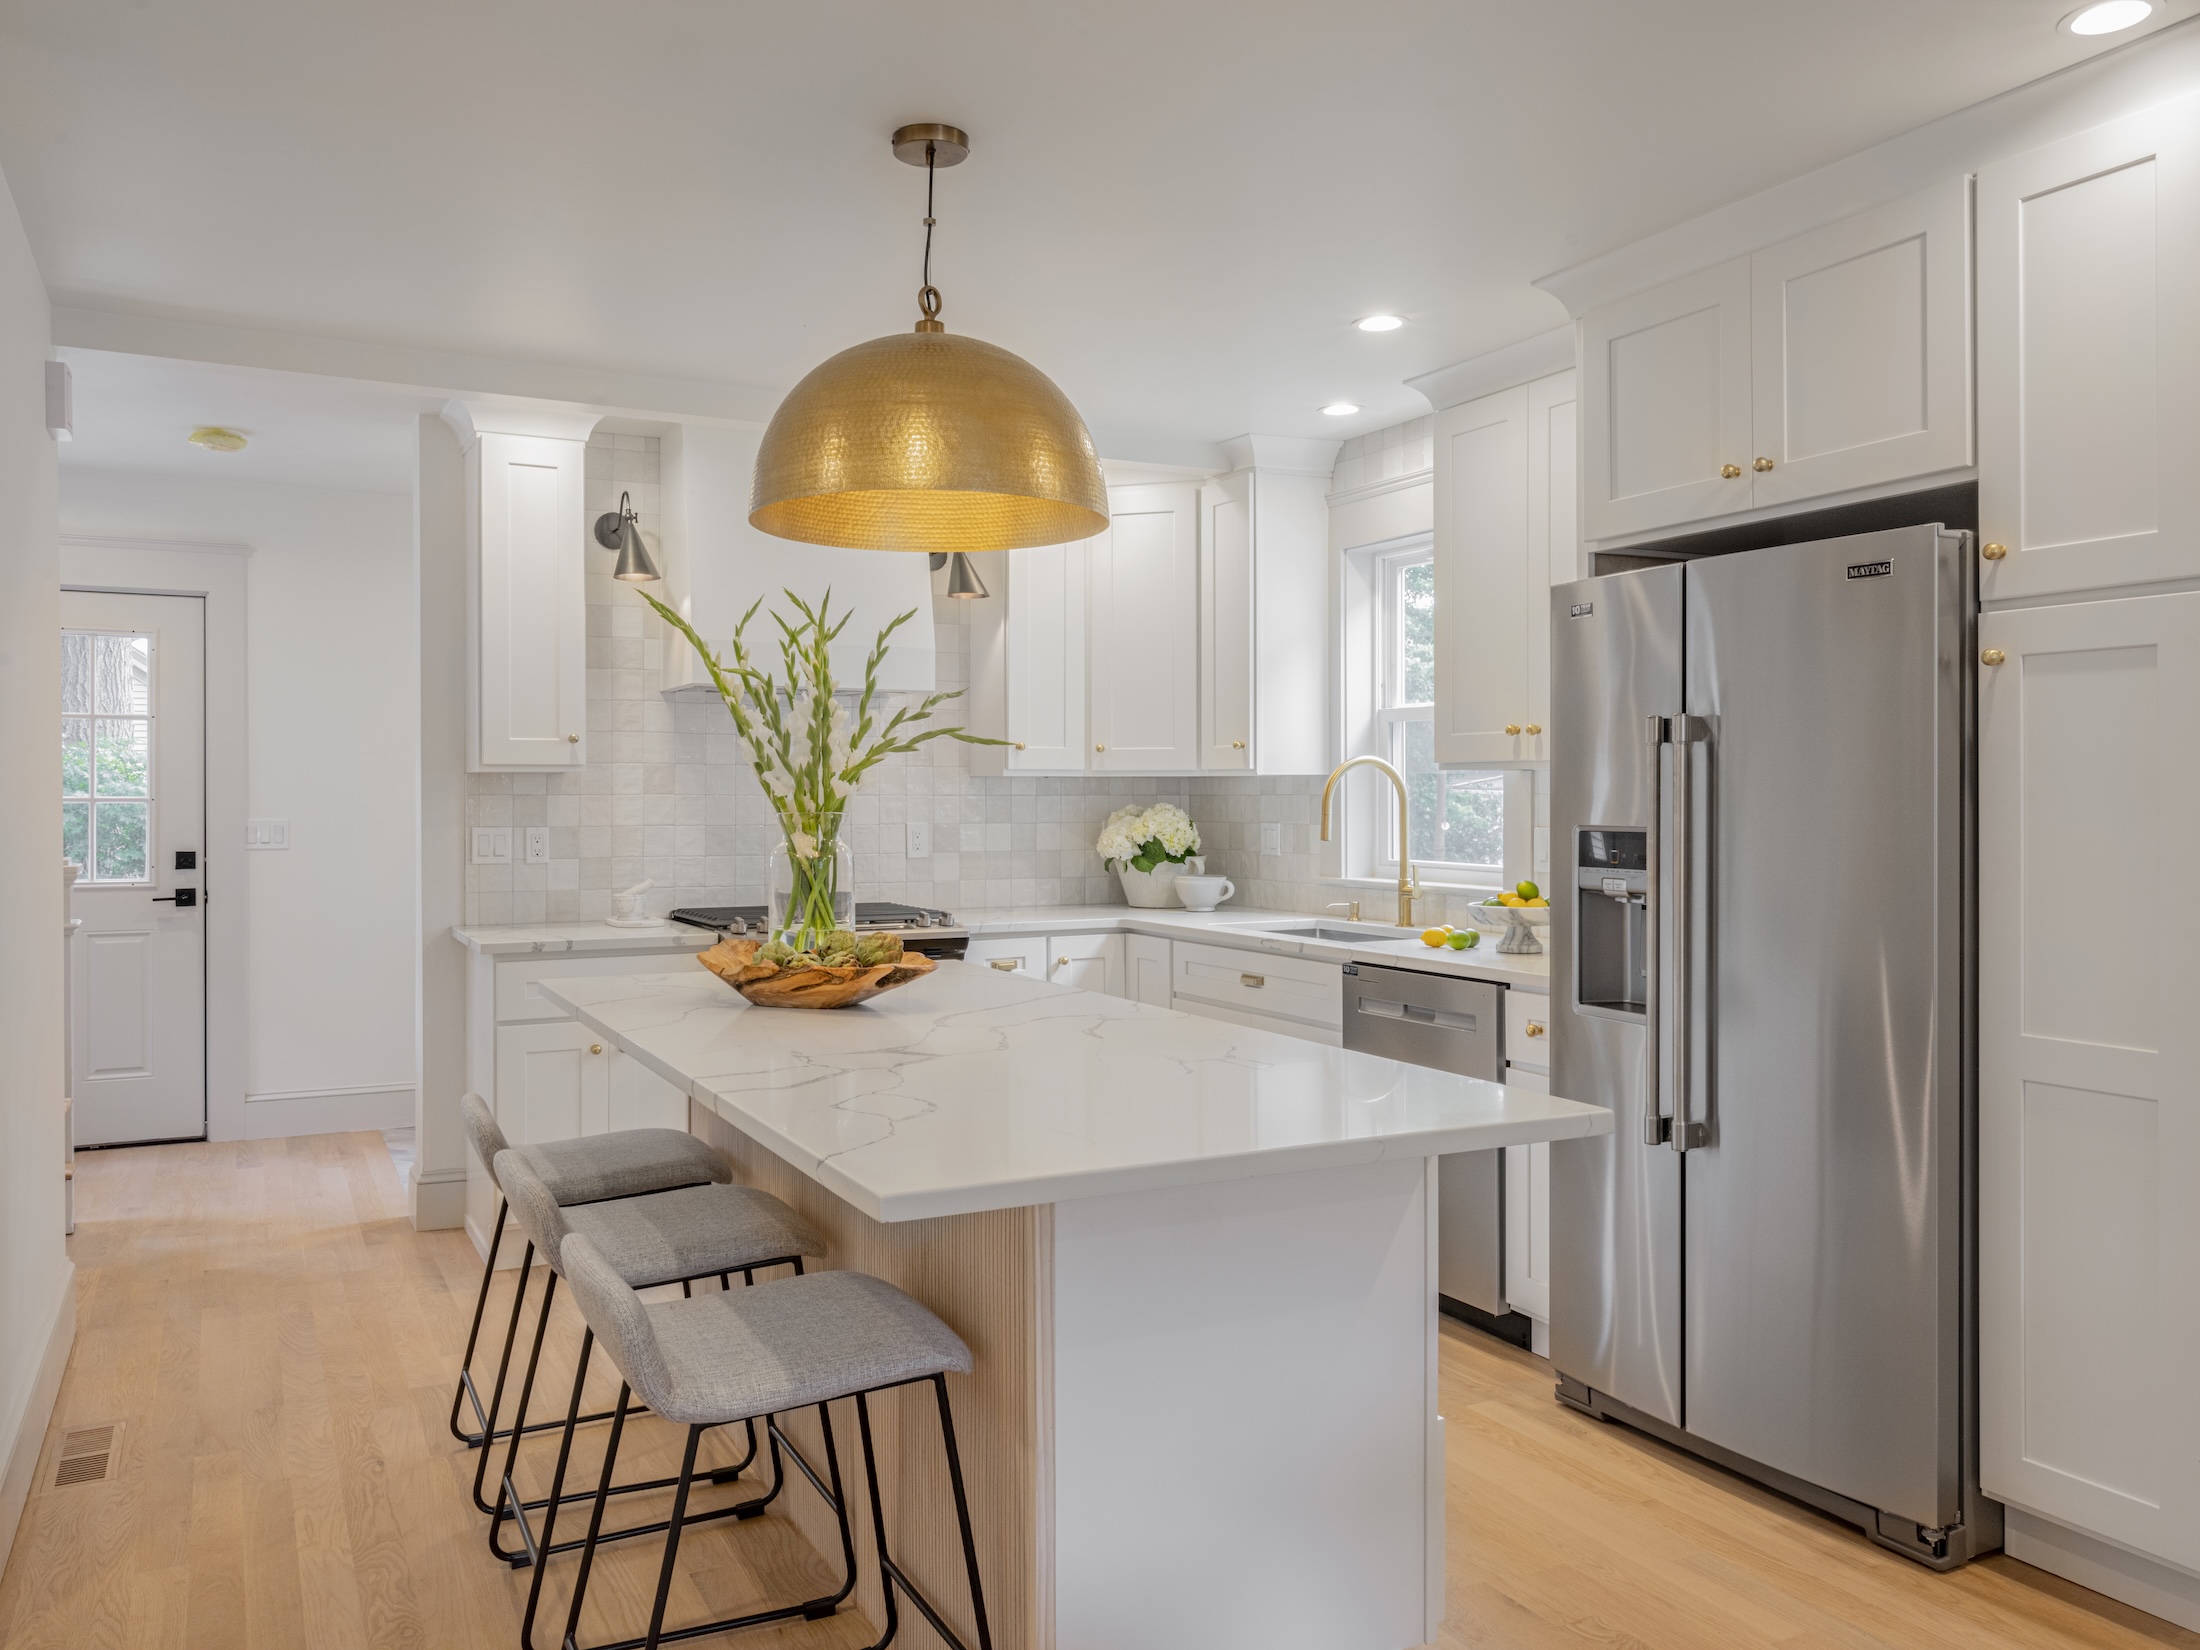
When planning your kitchen design, consider what’s most important to you. Some homeowners prioritize storage, others care more about their workstation. For most, it’s a balance between the two.
Sometimes, the best kitchen renovation advice is to just get creative. Here are a few ways to maximize storage and workspace:
- Opt for a countertop-depth upper cabinet in tight spots instead of a standard size.
- Choose an island with built-in storage underneath.
- Use the full ceiling height for cabinetry instead of leaving a gap above.
- Install a tall pantry cabinet instead of a row of upper cabinets if storage is a priority.
Think through your actual daily kitchen routine and design for that. The layout should reflect how you actually cook, not just how you want the space to look.
11. Don’t Put Your Sink in the Island
If you’re considering putting your kitchen sink in your island…don’t. I made this mistake early in my renovation career, and I still regret it to this day.
Don’t get me wrong, it looks sleek in the right design. But in practice, it means your drying rack, dish soap, and dirty dishes are the centerpiece of your kitchen. Save yourself the mess and stress, and keep your sink in the perimeter of your kitchen (ideally near your dishwasher).
12. Kitchen Islands Over Peninsulas, Every Time
When planning your kitchen layout, avoid peninsulas at all costs. A peninsula is connected to the wall at one end, so traffic can only flow around it from one or two sides. This creates constant bottlenecks, especially when there’s more than one cook in the kitchen. It also limits how you can configure seating and storage.
Trust me, I grew up in a dysfunctional peninsula kitchen, so I’ve experienced the struggle firsthand. Instead of this design disaster, opt for a freestanding island that promotes a natural circular traffic flow, works on all four sides, and offers more flexibility for seating, prep space, and storage underneath.

13. Consider the Cost & Maintenance of Your Countertops
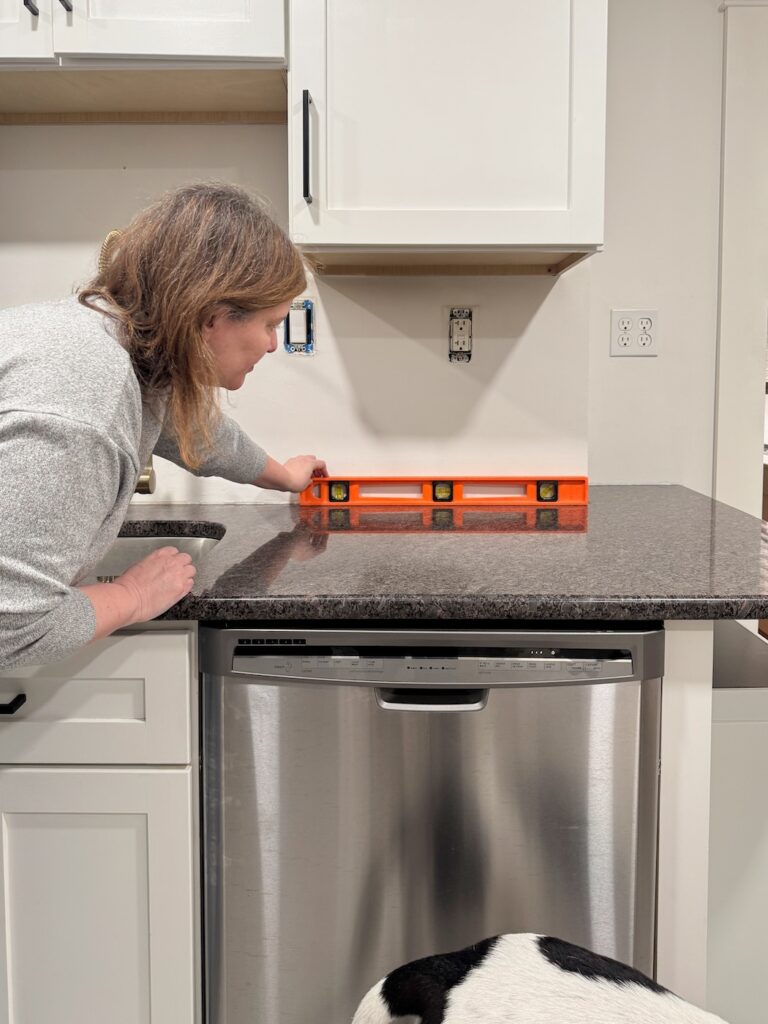
Like kitchen cabinets, countertops are a balance between cost and function. You could opt for a budget-friendly option, like a butcher block counter, but it requires a lot of upkeep and tends to have a shorter lifespan compared to natural stone. On the other hand, you can splurge on marble, but it’s both high-maintenance and high-cost.
My advice? Think about how you use your kitchen. If you’re an avid cook, consider a granite countertop over a more sensitive material like marble. If you love interior design, opt for the marble of your dreams and be prepared to compromise on the upkeep. It’s a give-and-take, but so worth it in the end.
14. Balance Two-Toned Kitchens
If you love the two-toned cabinet look, this one’s for you! Concentrate the darker-toned cabinets on the bottom and the lighter-toned cabinets on top to make your kitchen feel bigger.
The lower cabinets are visually heavier, so painting them in a deeper tone like navy, forest green, charcoal, or warm black will ground the space. The lighter upper cabinets keep the room from feeling heavy or closed in.
This is especially important in smaller kitchens because the lighter-toned cabinets reflect more light and make the ceiling feel higher. Dark upper cabinets tend to have the opposite effect.
Whatever combination you choose, make sure the undertones work together (warm with warm, cool with cool, or either with neutral!)
15. Support the Countertop Overhang
If you’re adding bar seating along your island, the countertop will need to extend beyond the cabinet base. Typically, any stone overhang measuring 12 inches or less will not require a support (10 inches for marble). But beyond that, you may need brackets, corbels, or pillars to support your countertop’s weight.
Talk to your stone fabricator before your island is finalized. They’ll tell you exactly what support your specific countertop requires.
16. Leave Enough Room for the Walkways
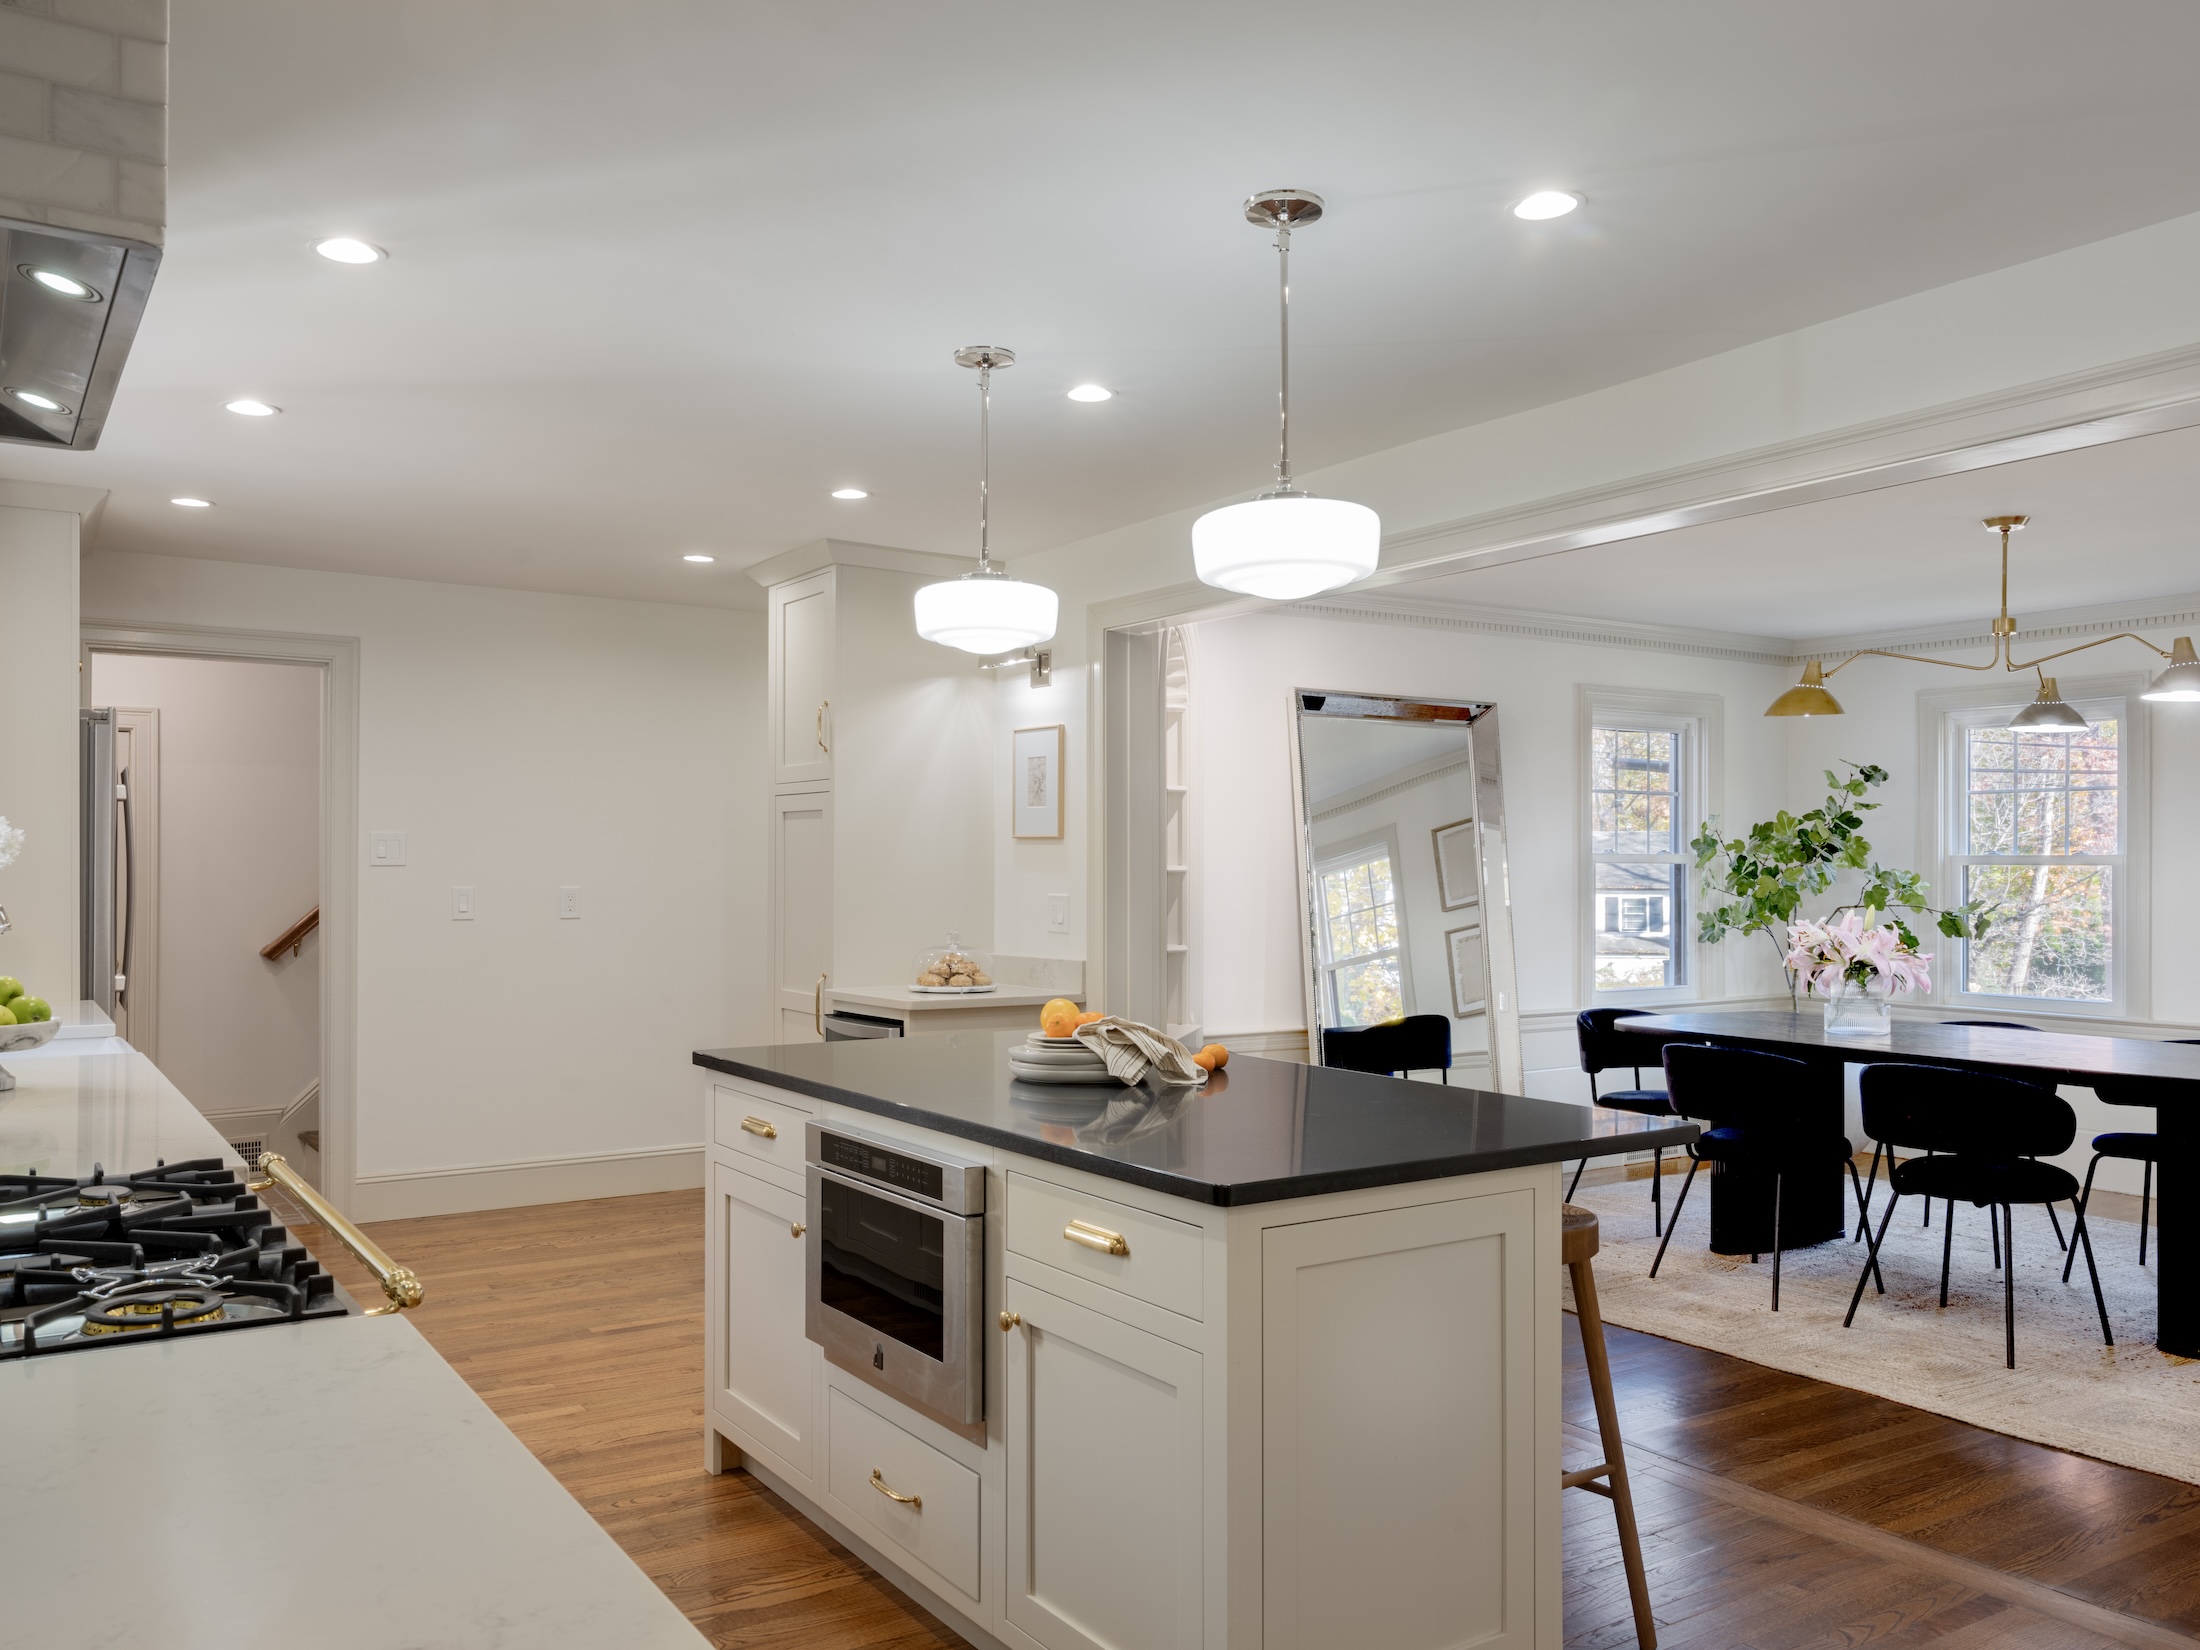
When planning your kitchen layout, make sure you leave enough space for comfortable walkways between the perimeter of the kitchen and the island.
The standard walkway width ranges between 36 and 48 inches. That clearance accounts for things like open appliance doors (dishwasher, oven, refrigerator), two people passing each other, and normal kitchen traffic flow.
If you’re still stuck on your kitchen design, I created an easy-to-follow guide for designing a functional kitchen layout you actually like. Read the post here 👉 Kitchen Designing 101: How to Plan a Functional Layout.
17. Leave Enough Room Under the Pendants
I love kitchen pendants, but I hate hitting my head on them. To avoid injuries in the kitchen, here’s an easy design rule to get your hanging height right every time.
The bottom of the pendant should be 30 to 36 inches above the countertop for standard 8-foot ceilings. If you have higher ceilings (I’m jealous), hang your pendants 3 inches higher for every additional foot.
18. Mix Cabinet Hardware for a Custom Look
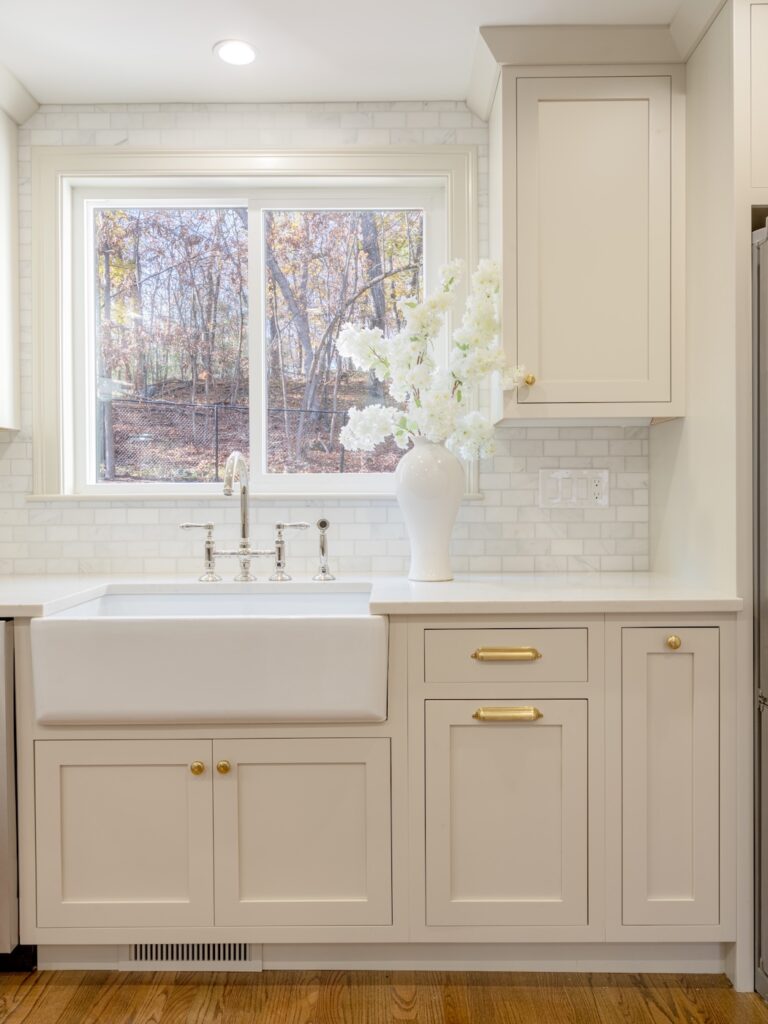
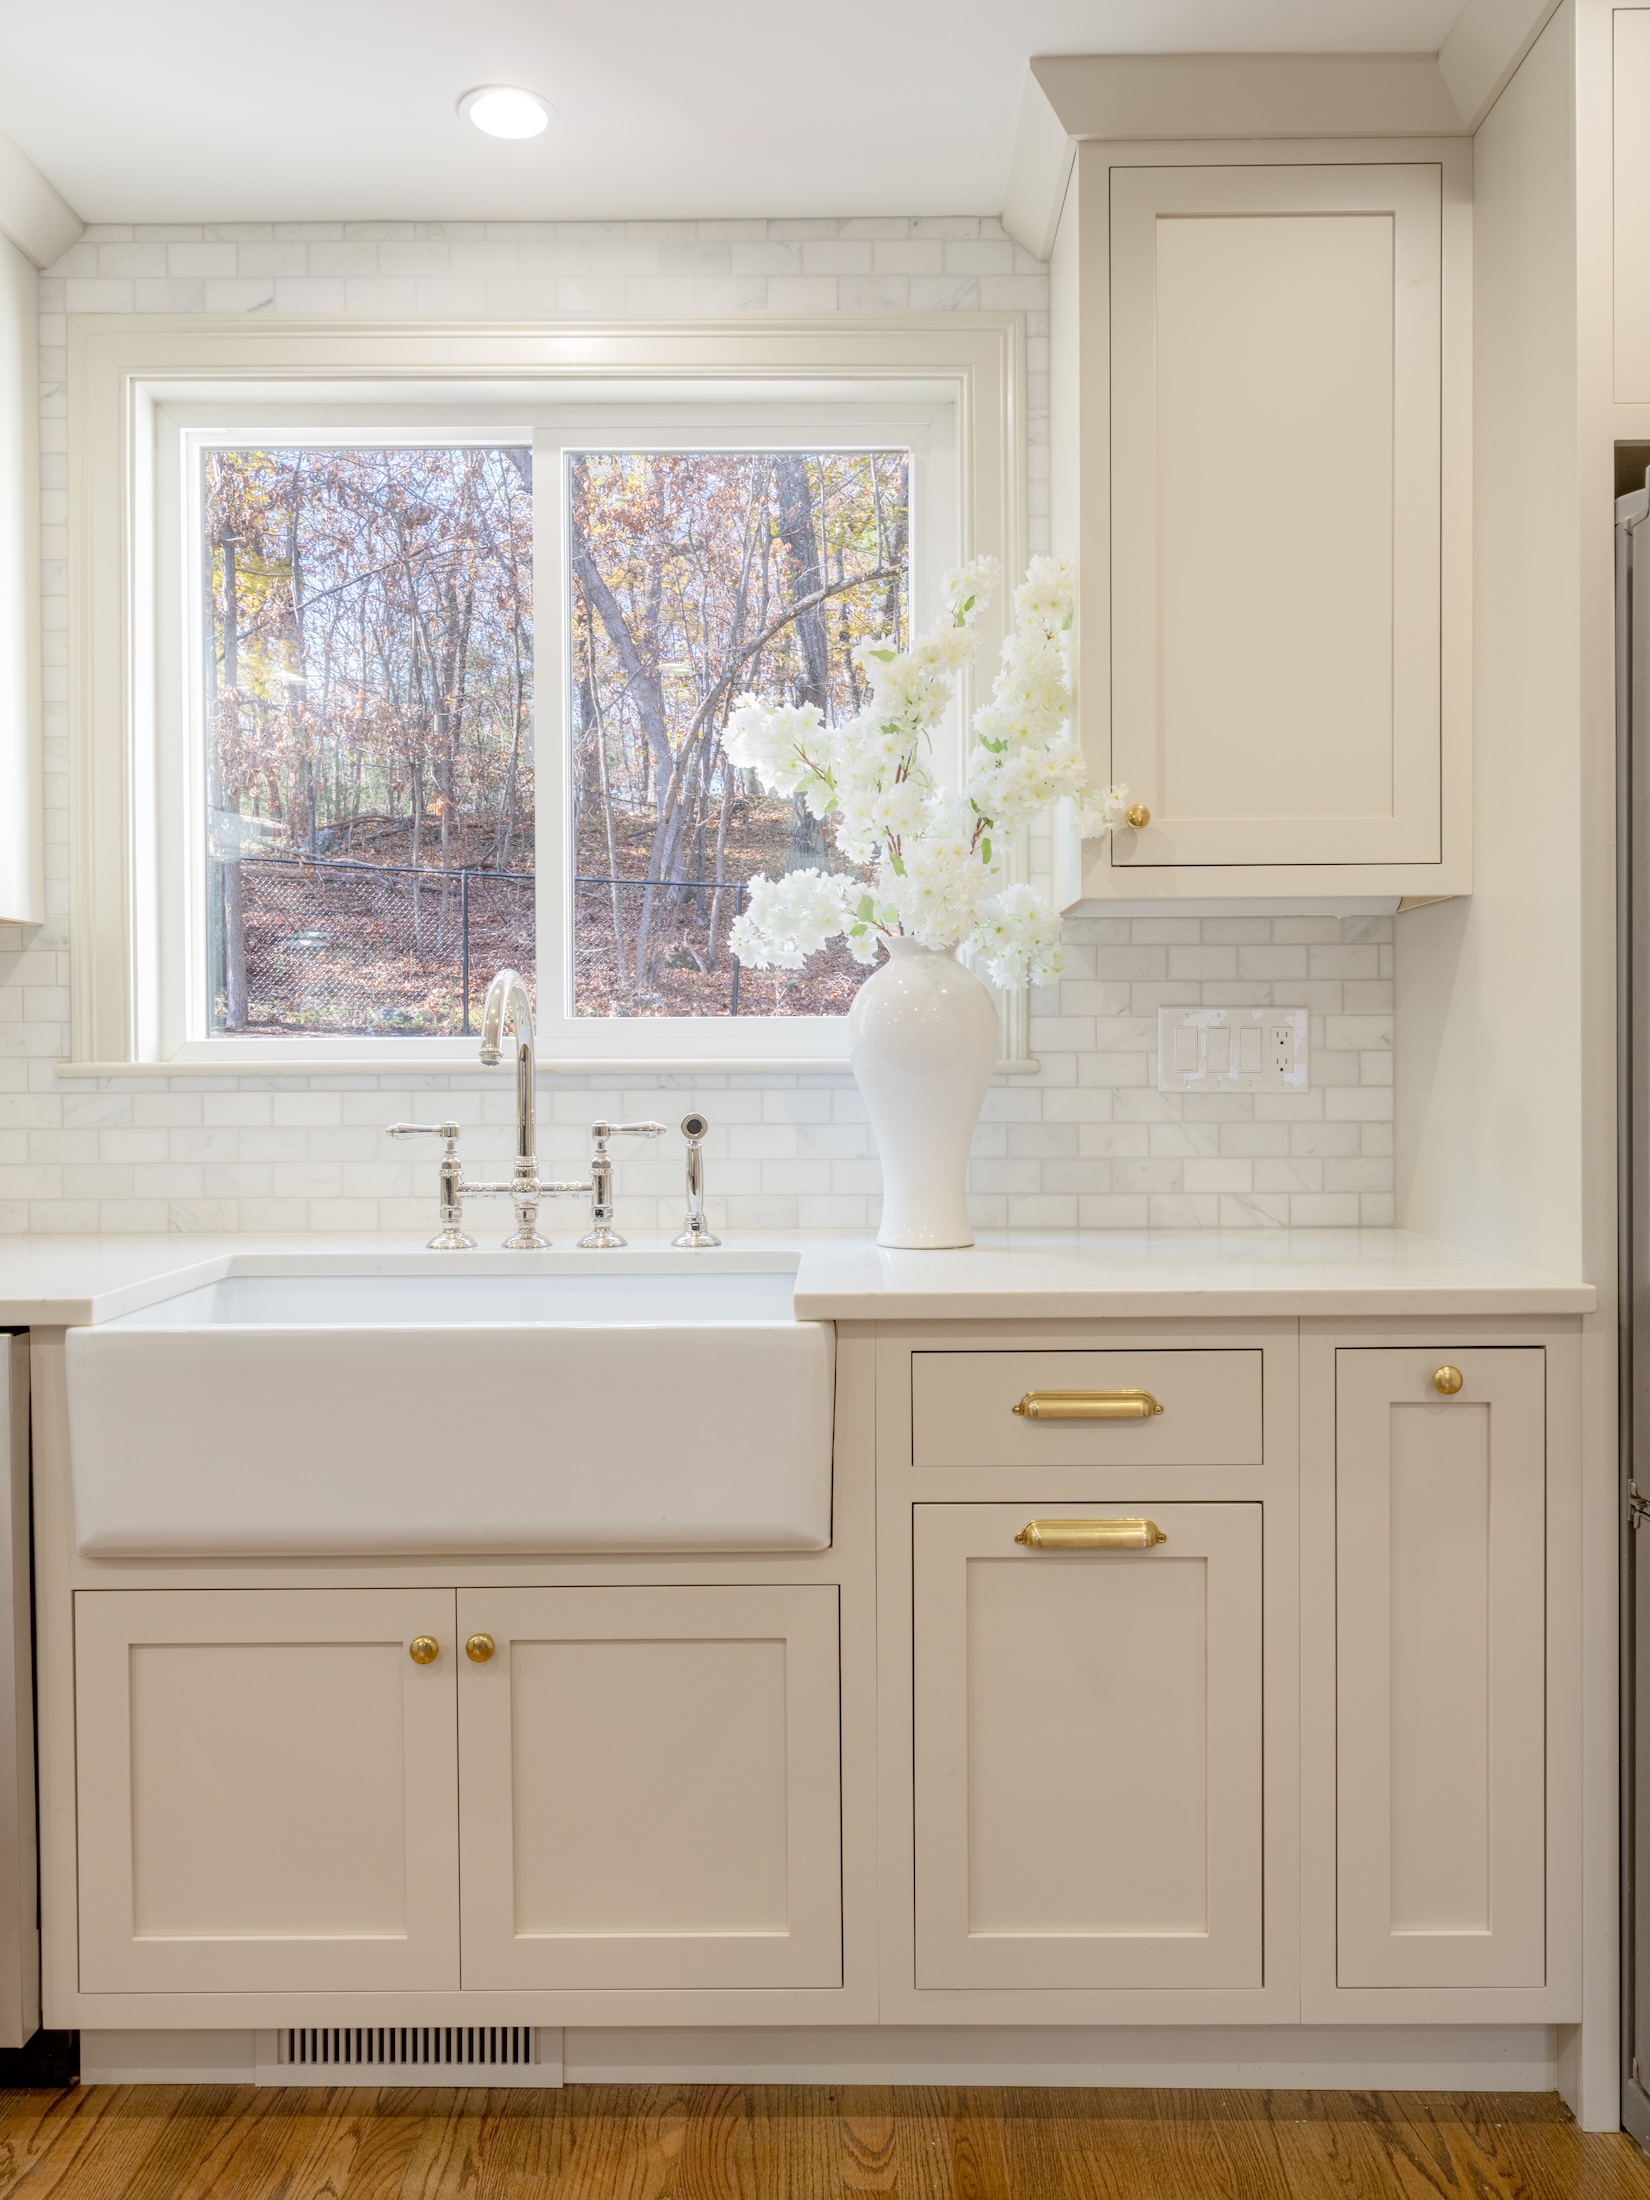
One of the easiest DIY kitchen renovation tips for making a kitchen look more custom without a bigger budget is to mix cabinet hardware styles (knobs, drawer pulls, bin pulls, etc.) within the same metal finish.
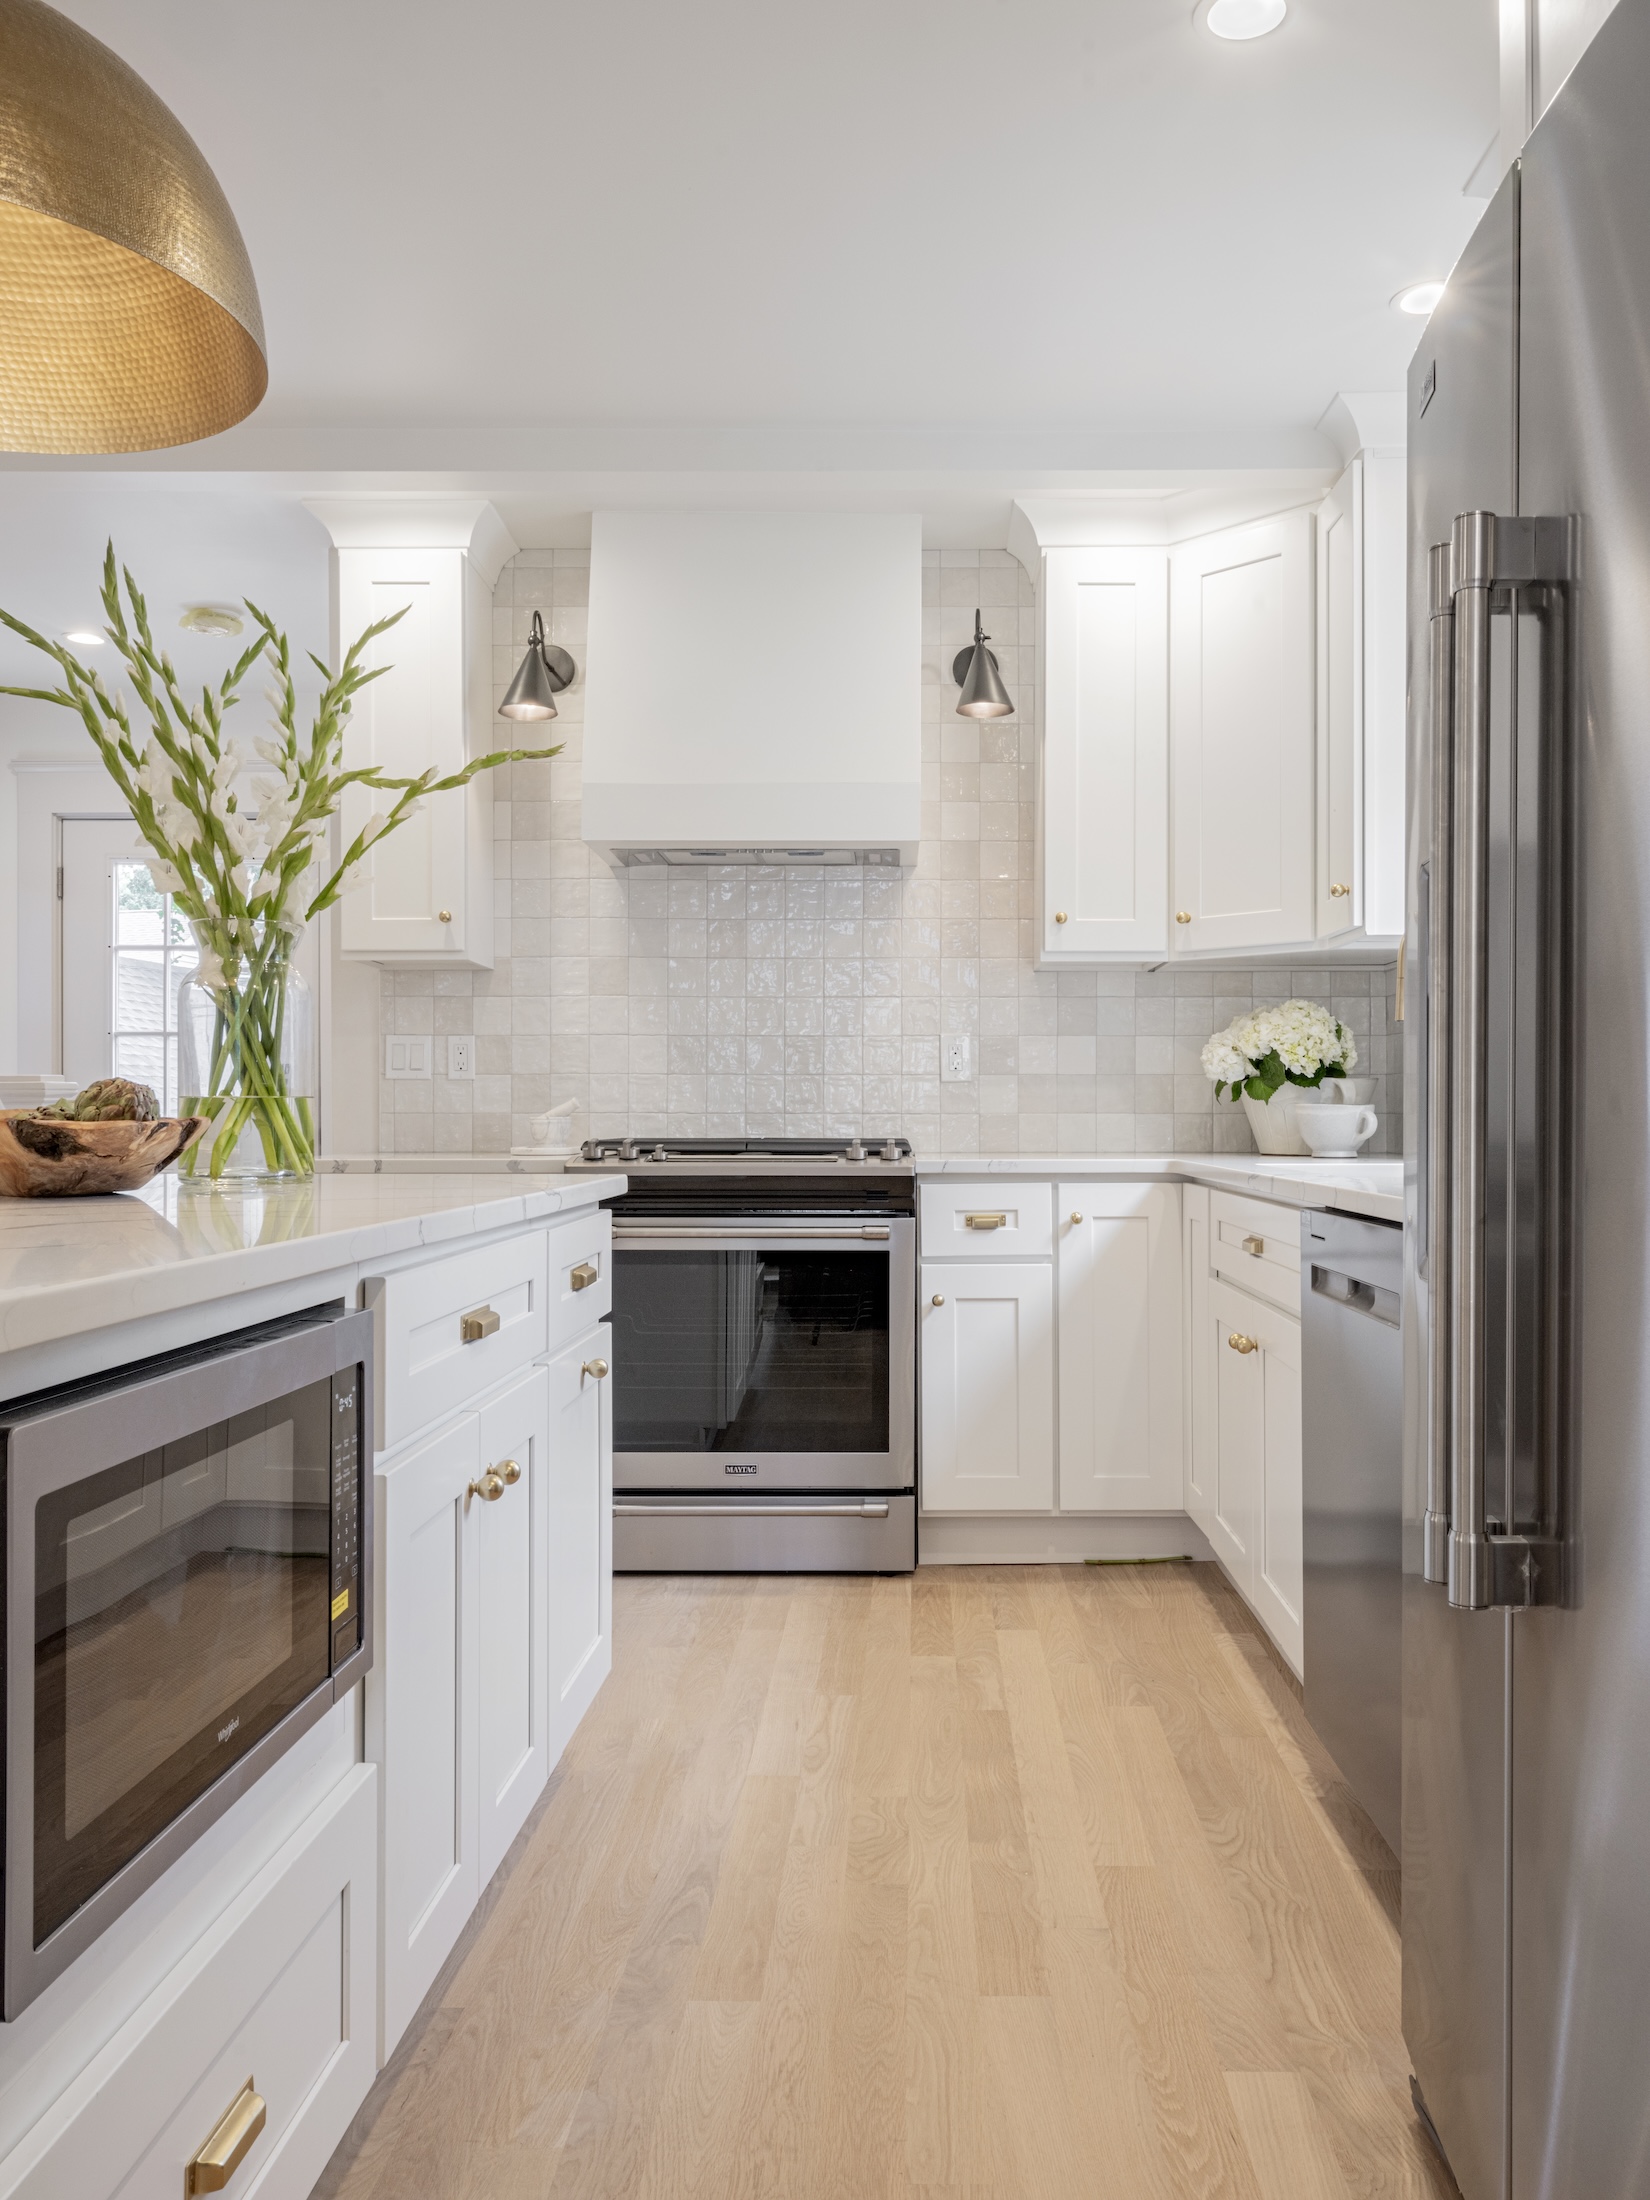
Think a polished nickel bin pull on the drawers and a polished nickel knob on the doors. Or an antique brass pull on the lower drawers and an antique brass latch on the upper cabinets. The variation adds visual interest and makes the kitchen feel more considered and personal.
The kitchen pictured below is a great example of this. I opted for a polished brass finish on all my cabinet hardware and bought a variety of pulls and knobs to create a custom look.
19. Mix Metal Finishes in Your Fixtures
One of my favorite kitchen renovation tips is to mix metals in your fixtures and hardware. While your cabinet hardware stays in one consistent finish, your light fixtures and plumbing fixtures don’t have to match each other.
Here are the three rules I always follow when mixing metals in the kitchen:
- Limit metals to two or three finishes max.
- Repeat each metal finish at least twice so the mix feels deliberate, not accidental.
- Keep all the plumbing fixtures the same finish.
From there, experiment with different combinations until you find one you like. My current fav is polished nickel and unlacquered brass! If you haven’t tried it yet, this is your sign to give it a go.
Kitchen Renovation Survival Tips Worth Remembering
No one is born knowing how to renovate a kitchen. But with the right kitchen renovation tips in hand, the project becomes a lot more manageable.
Work through the order of events carefully. Make appliance decisions before cabinet decisions. Prioritize function and durability in the materials you’ll live with long-term. And save the trendy choices for the things you can easily (and cheaply) swap out later.
If you’re still in the early stages and figuring out your renovation budget, I’ve put together a beginner-friendly guide to help you build a budget you can actually stick to. Read the post here 👉 How to Create Your First Home Renovation Budget from Scratch.
This post is all about the best kitchen renovation tips!
Get even more kitchen renovation guides:
- How to Plan a Kitchen Renovation *Without* Overthinking
- We Made These 7 Tile Installation Mistakes So You Don’t Have To
- Marble Kitchen Backsplash: How to Choose Between Tile, Mosaics & Slabs
- *Beginner-Friendly* Guide to Installing Backsplash (It’s Easier Than You Think)
- How to Plan a Functional Kitchen Layout That Looks Good