Wallpaper Installation 101: How to Nail Your Install on the First Try
Wallpaper installation looks easy in theory. But in practice, it’s hard to get right on the first go. Here are the wallpaper installation tips I wish someone had told me before I hung my first strip, and the mistakes you need to avoid.
This post contains affiliate links. We may earn a small commission when you purchase through links on our post, at no cost to you. We only recommend products we would use ourselves, and all opinions expressed below are our own.

Over the last 5 years, I’ve installed peel-and-stick wallpaper in a laundry room, grasscloth wallpaper in my dining room, and traditional wallpaper in my powder bathroom. And if I’ve learned one thing from these projects, it’s this: Your wallpaper is only as good as your prep.
If you’re planning your first wallpaper installation DIY and want to skip the dreaded *trial-and-error* phase, this guide is for you. I’m breaking down the exact process that took me years to perfect so you don’t have to learn the hard way.
From building your wallpaper installation kit to adding the finishing touches to your project, these are the 7 steps every beginner needs to know before they crack open their first roll.
Wallpaper Installation Made Easy: 7 Steps to Success
Let’s face it. Wallpaper installation can feel…intimidating. Especially for beginners.
If you rush through the process, you’ll end up with peeling edges, misaligned patterns, and seams that bother you every time you walk past them. Ask me how I know. But if you wait too long to start, the pressure only gets worse.
The key is to break the process into manageable steps, so you’re only focusing on one decision at a time. Here’s everything you need to get started.

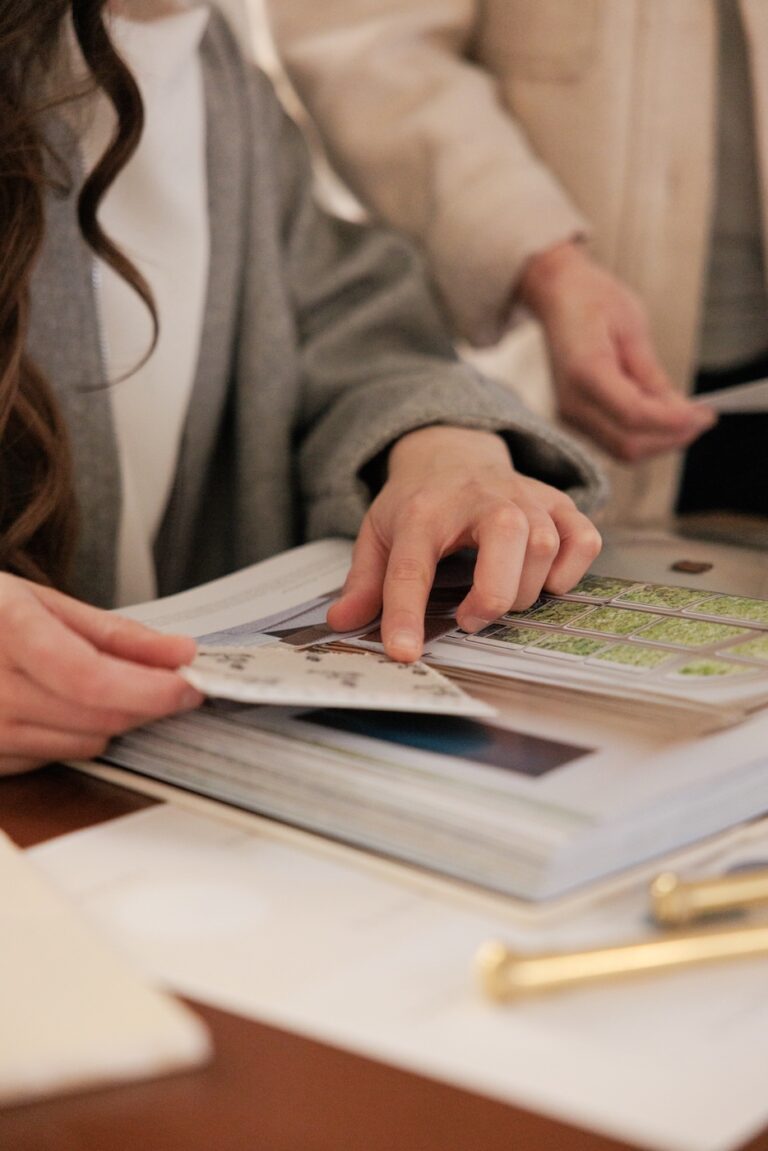
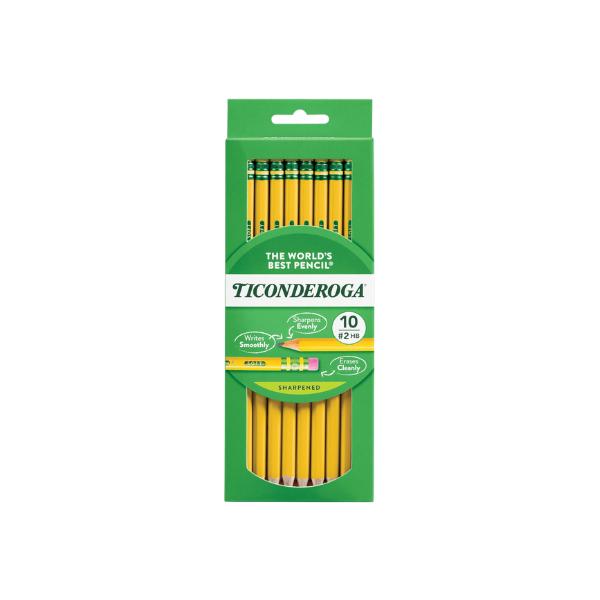
1. Pick the Best Wallpaper for Your Skill Level
Before you add a wallpaper to your virtual cart, take a minute to consider which type of wallpaper actually makes sense for your space, budget, skill level, and design goals. Most wallpaper falls into 4 main categories:
Traditional Wallpaper (for the Classic DIYer)
- Requires wallpaper paste for installation
- Wide range of patterns and colors available
- Typically the most affordable option
- Best for permanent installations
Pre-pasted Wallpaper (for the Not-So-Patient DIYer)
- Adhesive activates with water
- Generally easier to install (and more forgiving) than traditional wallpaper
- Mid-range price option
Peel-and-Stick Wallpaper (for the Renter or Beginner DIYer)
- Temporarily adheres without paste
- Easiest to install and remove (as the name suggests)
- Allows you to reposition during installation
- Usually more expensive
Grasscloth/Natural Fiber Wallpaper (for the Experienced DIYer)
- Textured wallpaper made from natural materials
- Usually the most expensive option
- Adds depth and dimension to a room

If this is your first wallpaper installation, I usually recommend starting with peel-and-stick or pre-pasted wallpaper. Both options give you flexibility during installation, making the learning curve way less steep.
It also helps to think about the who and how of the room. Who uses the space? How does the room actually function day-to-day?
For example, if you’re installing wallpaper in a bathroom or high-moisture space, look for a vinyl or vinyl-coated paper that can handle humidity. If you’re designing a kids’ bedroom or playroom, washable wallpaper is a much safer bet once the crayons (inevitably) come out.
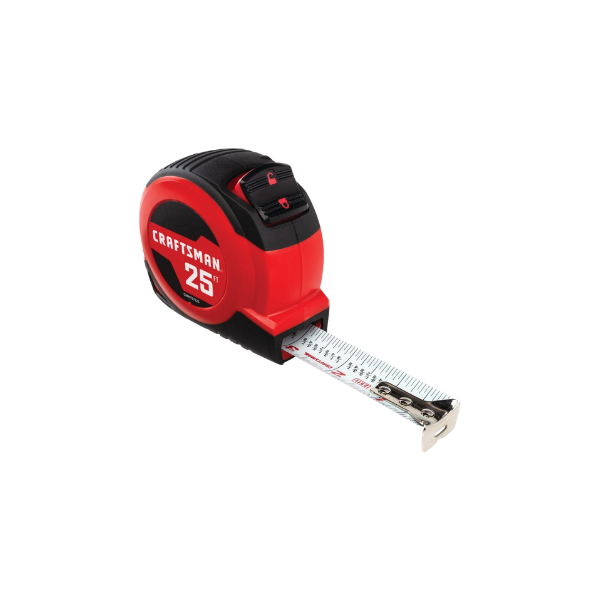
2. Get the Exact Measurements
Nothing is worse than running out of wallpaper a few feet before the finish line. Especially if it’s a custom print or low-stock product.
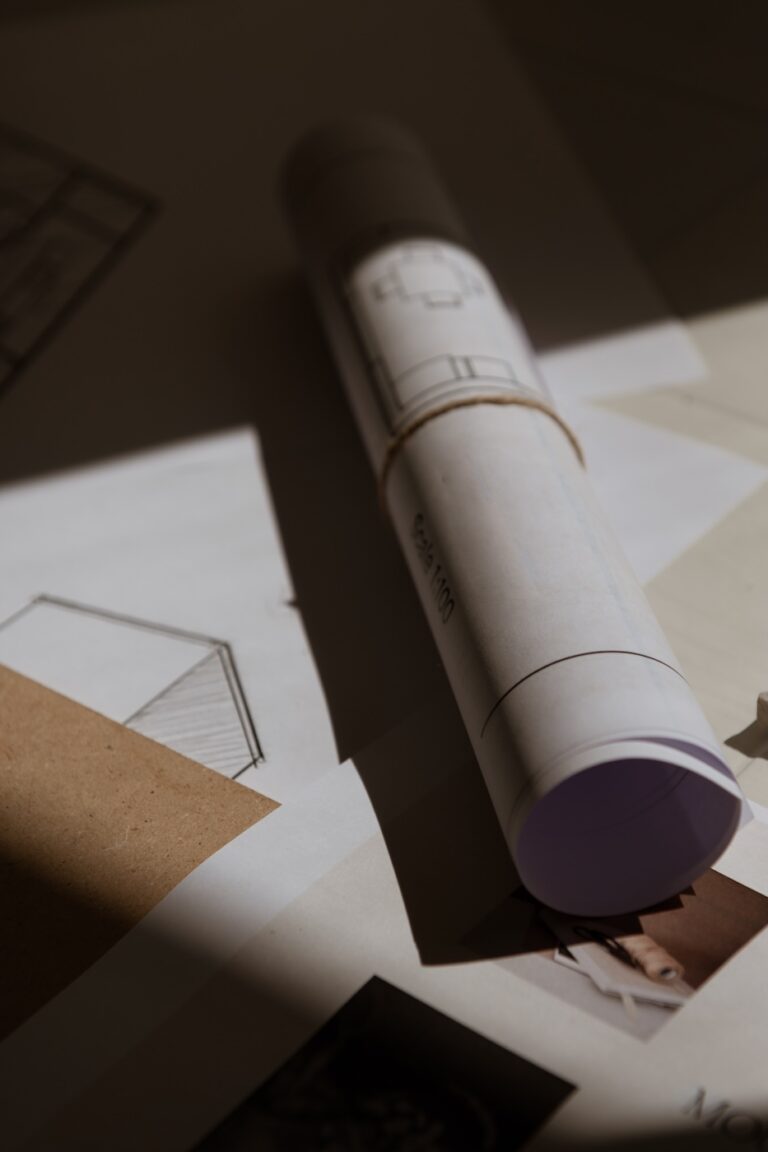
This mistake is completely avoidable if you take a few extra minutes to measure properly before ordering. Here’s the exact measurement formula I use to get the right wallpaper amount every time:
- Measure the height of your walls from floor to ceiling (round up to the nearest whole number).
- Measure the width of each wall you plan to cover, then add the widths to get the total horizontal coverage (round up to the nearest whole number).
- Multiply the wall height by the horizontal coverage to get the total square footage.
- Subtract the square footage of openings like doors, windows, fireplaces, and built-ins.
- Divide that number by the width of your wallpaper roll. Most rolls are between 21” to 27” wide.
- Round up to the nearest whole number.
- Add at least 10% extra to account for pattern matching, mistakes, and future repairs.
Planning Tip
Always check the pattern repeat listed in the wallpaper specifications. Large pattern repeats require more material because each strip has to line up perfectly with the previous one. That extra trimming adds up quickly, so it’s better to plan for a little waste up front than to place an emergency order down the line.
Most wallpaper is sold by the roll, with standard rolls covering about 35 square feet. That said, roll sizes can vary depending on the manufacturer, so always double-check the specs before buying.

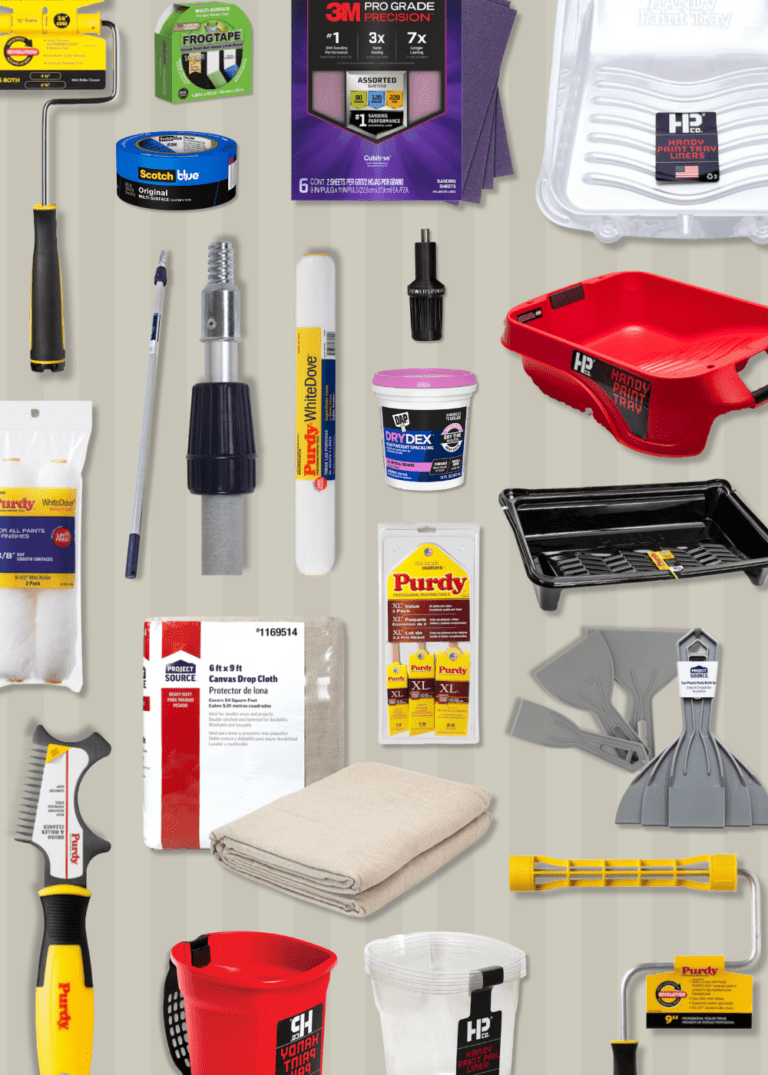
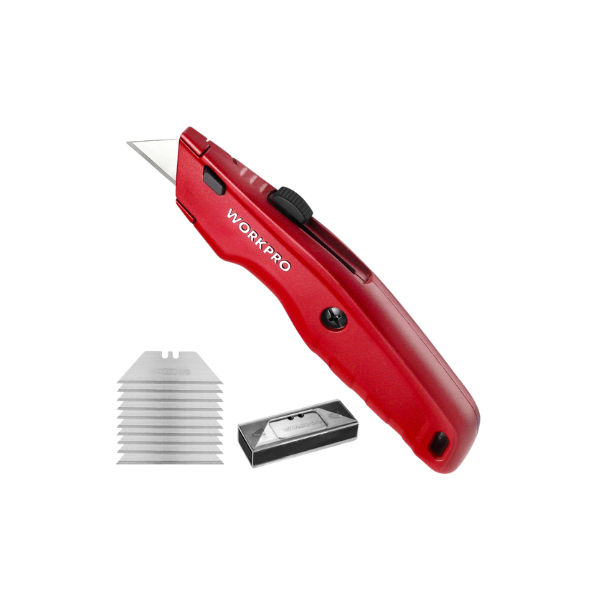
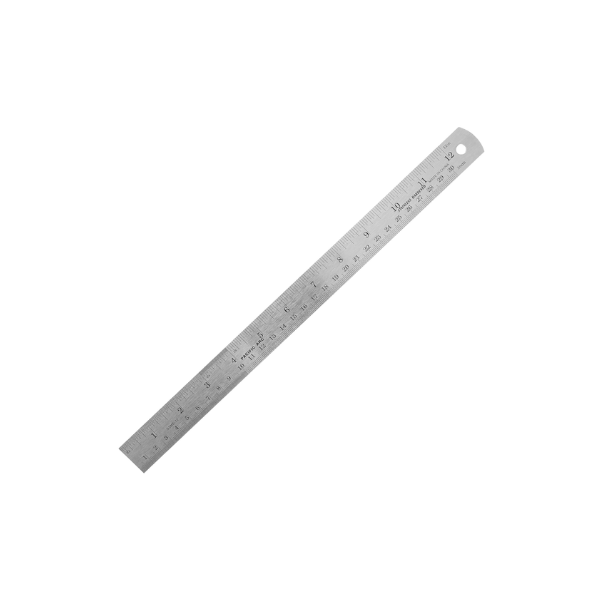
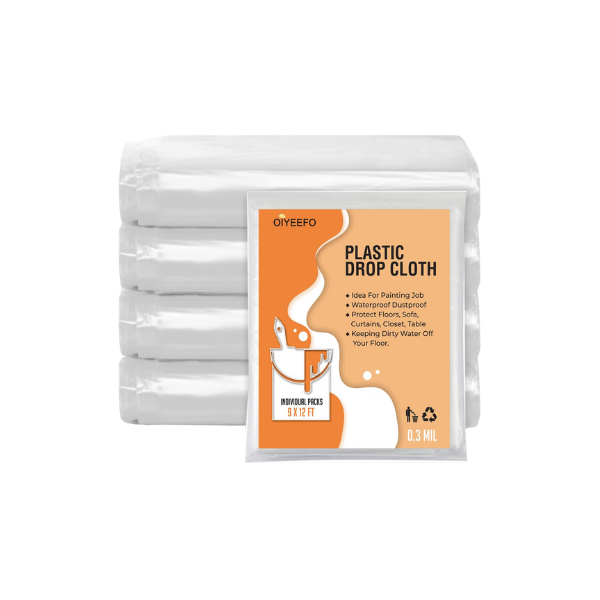
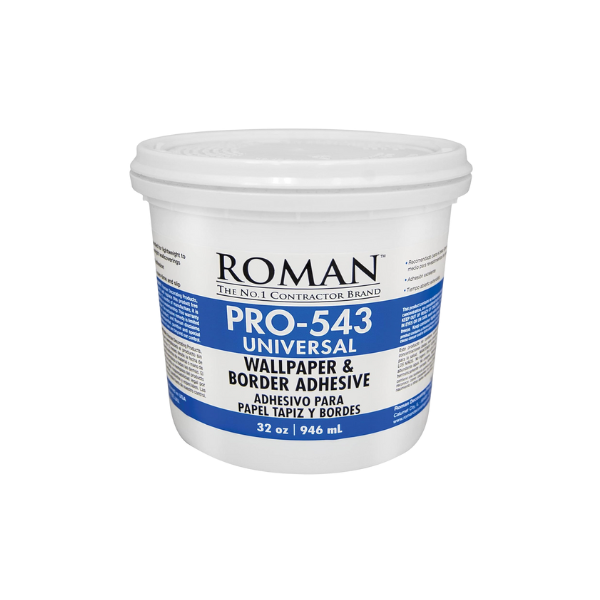
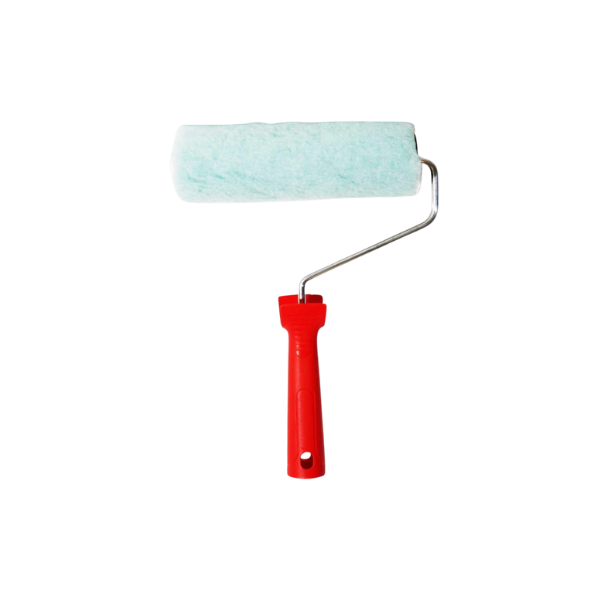
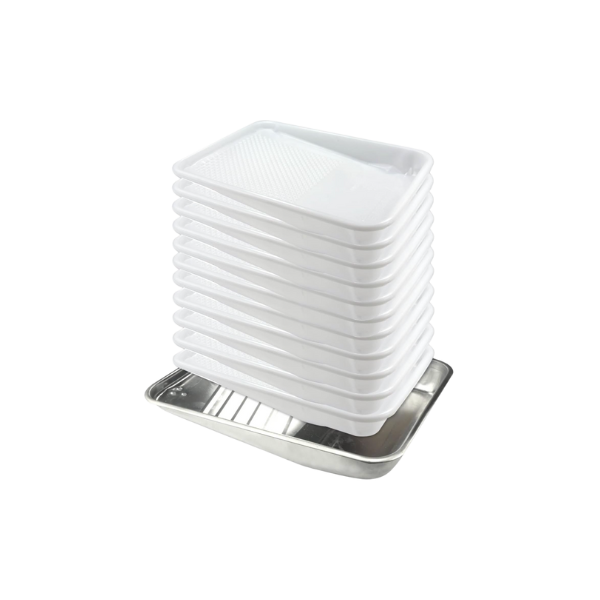
3. Build Your Wallpaper Installation Kit
Your wallpaper installation project is only as good as your tools. Here’s everything you need to have on hand for an easy and seamless install:
Wallpaper Installation Tools
It sounds like a lot, but most of these are basic tools you may already have at home. And if you don’t, there are inexpensive wallpaper installation kits that include pretty much everything you need. I used this wallpaper installation kit when I was just starting out, and I still rely on it for smaller jobs.


4. Prep Your Walls the Right Way
Wall prep is the key to smooth finishes and long-lasting results. Your walls need to be clean, smooth, and completely dry before you start. Here’s exactly how to do it.
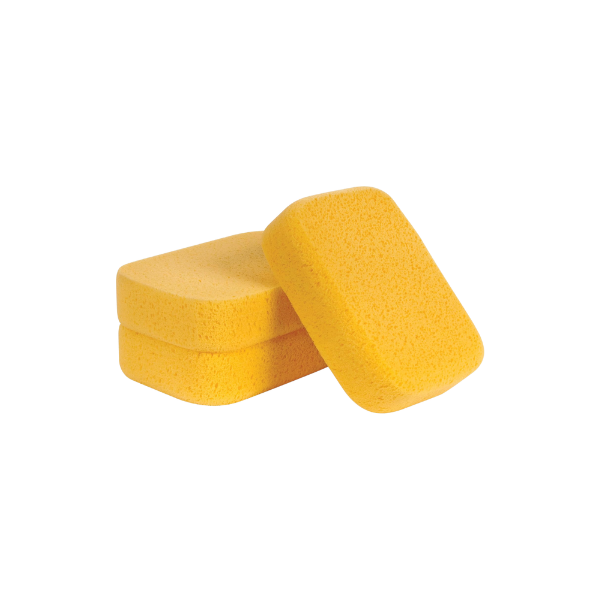
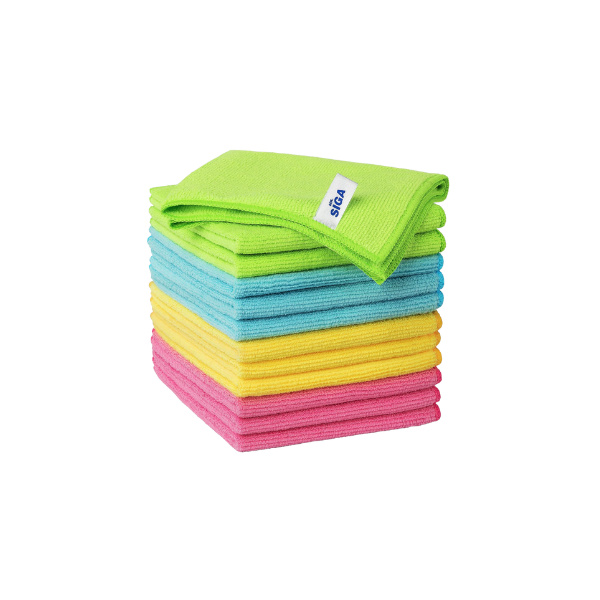
Start by cleaning your walls with warm water, mild soap, and a sponge or microfiber cloth to remove dust, grease, and any other residue. Even walls that look clean can have a thin layer of buildup that prevents wallpaper adhesive from sticking properly. So don’t skip this step.
Next, patch any holes or imperfections with spackling compound or joint compound. Once that dries, sand it down with 120-grit sandpaper, then follow up with 220-grit for a smooth finish.

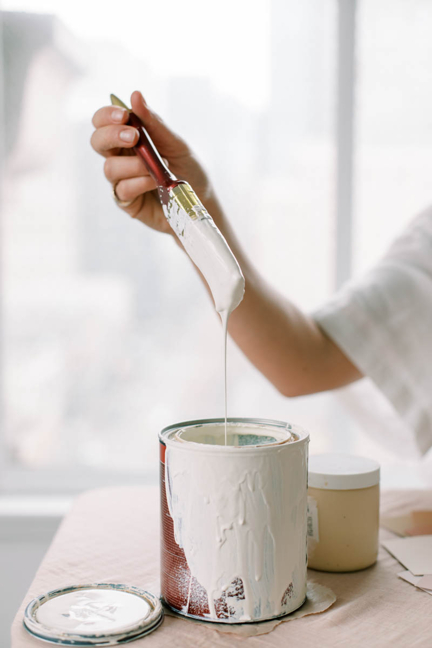
If your walls have a glossy paint finish, lightly sand the surface so the wallpaper adhesive has something to grip. And if you just painted your walls, give the paint at least 4 weeks to fully cure before installing wallpaper.
If you want to take the prep work one step further, you can apply a wallpaper primer. Wallpaper primer helps protect the wall from moisture, prevents the paper from shrinking as it dries, and creates an even surface for the adhesive to bond to. I usually skip this step when I’m working with a smooth, sealed surface, but in other situations it’s a helpful extra layer.
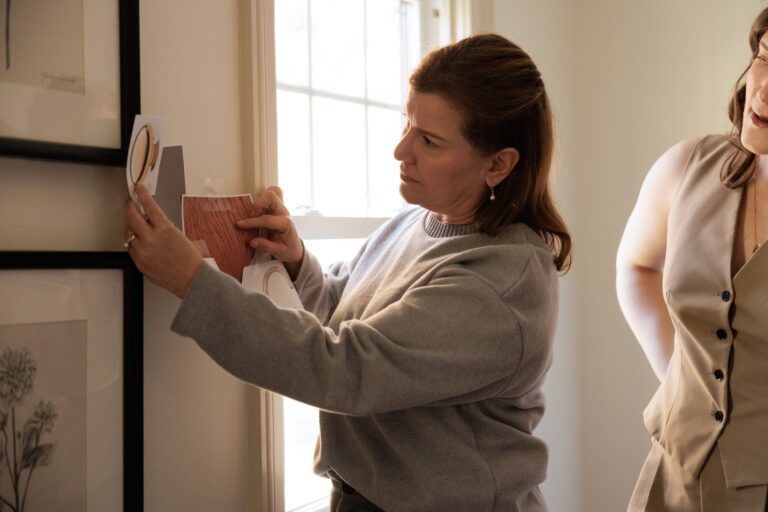
5. Strategize Your Wallpaper Layout
Planning your cuts is essential, especially when working with patterned wallpaper or rooms with prominent features like fireplaces or built-ins. These are the best tips I’ve picked up after years of trial and error:
Find Your Starting Point
Choose a starting location that makes the seams less noticeable.
- For focal walls, measure the center of the wall and work outward symmetrically
- For full rooms, start in the least visible corner so any minor pattern mismatch ends up in a discreet spot.
- In rooms with multiple doorways or windows, start on the wall with the fewest obstructions

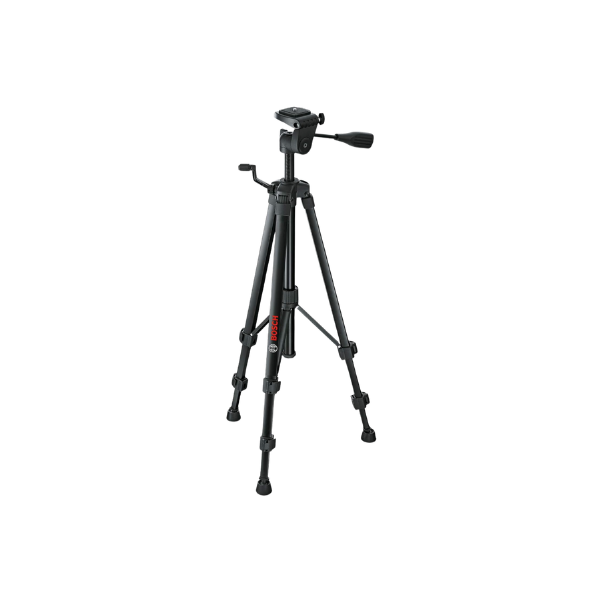
Create Your Vertical Plumb Line
Walls are rarely *perfectly* straight, so your first strip needs its own guide.
- Measure the width of your wallpaper from your starting corner using a measuring tape
- Mark that measurement at both the ceiling (a step ladder is really helpful here) and the floor with a pencil
- Use a laser level and tripod (or a standard level), a straightedge, and a pencil to draw a perfectly vertical line connecting those points
This line will guide your first strip placement.
Plan the Pattern Placement
Before you start cutting, lay out 3 or 4 strips of wallpaper on the floor. This helps you understand how the pattern repeats before gluing anything.
- Center the most prominent part of the wallpaper design on focal points (like above the fireplace mantle)
- Mark the ceiling and baseboard locations where key pattern elements should align
- Add about 4″ to each strip (2″ for ceiling trim, 2″ for baseboard trim)
Take the time to measure twice (or even 3 times) and cut once. The better you plan, the better you install.

6. Master the Application Technique
Once your walls are prepped and your layout is planned, it’s time for the actual wallpaper installation. The exact process will depend on the type of wallpaper you’re using.
Pre-Pasted Wallpaper:
- Cut strips to length, adding 4 inches for trimming
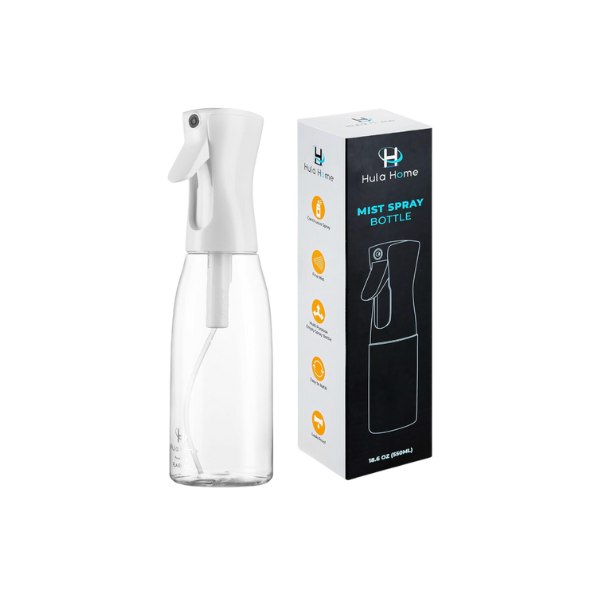
- Activate the adhesive using your spray water bottle
- Book the paper by loosely folding it, adhesive side to adhesive side, after wetting
- Let it rest for the *manufacturer-recommended time*, usually 1-5 minutes
- Starting at the top, align your wallpaper with your plumb line
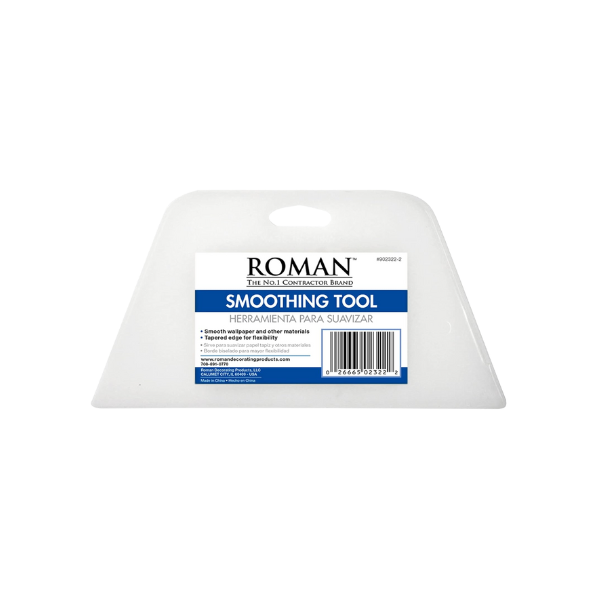
- Smooth outward from the center using your wallpaper smoothing tool
- Trim excess at the ceiling and baseboards using your utility knife
Peel-and-Stick Wallpaper:
- Cut strips to length, adding 2 inches for trimming
- Peel back the first 10 to 12 inches of backing
- Align the top with your ceiling and your plumb line
- Smooth the exposed adhesive portion against the wall using your smoothing tool
- Continue peeling the backing and smoothing the wallpaper down in small, 12-inch increments
- Work slowly and smooth out air bubbles as you go
- Trim excess at the top and bottom using your utility knife

Traditional Wallpaper:
- Cut strips to length, adding 4 inches for trimming
- Apply wallpaper adhesive using an adhesive roller and roller tray to the back of the paper (or directly to the wall if recommended by the manufacturer)
- Book the paper by folding it pasted side to pasted side
- Allow it to rest for the manufacturer-recommended time
- Unfold the top portion and align it with your plumb line
- Smooth from the center outward using your smoothing tool, working your way down in 12-inch increments
- Wipe away any excess paste immediately with a damp sponge
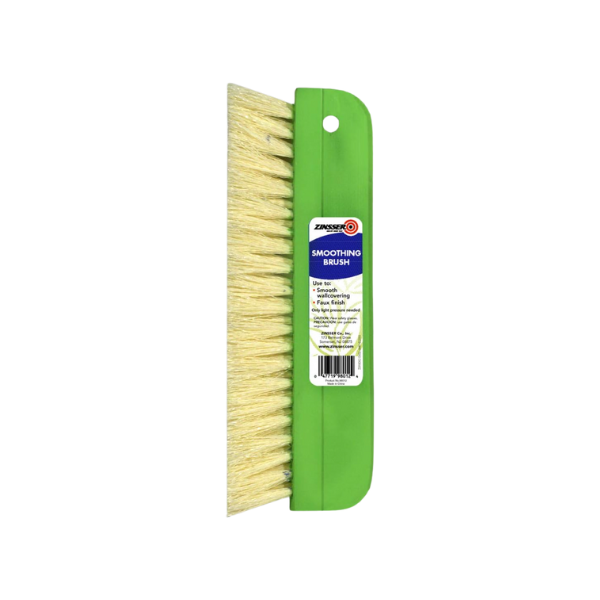
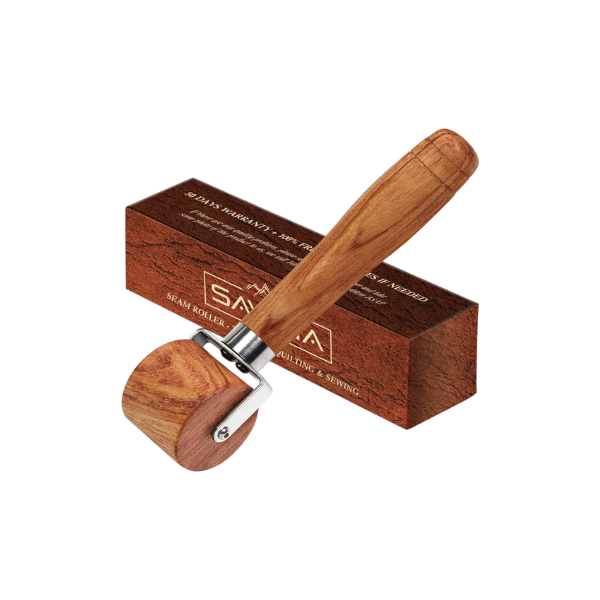
Regardless of the wallpaper type, finish each strip by gently running a seam roller along the edges. This helps the seams adhere properly without damaging the paper.
7. Give Your Wallpaper Time to Settle
Once your wallpaper installation project is complete, resist the urge to hang artwork or push furniture back against the walls. Leave the walls alone for at least 24 to 48 hours so the adhesive can fully cure and the paper can settle properly.
During this time:
- Keep windows closed to prevent drafts that might affect drying
- Maintain normal room temperature
- Avoid touching or cleaning the wallpaper
- Keep an eye out for any bubbles or seams that need attention
Small air bubbles usually work themselves out as the adhesive dries. If a bubble sticks around, gently smooth it out with your wallpaper smoothing tool. You can also puncture the bubble with a fine pin and press the air out. If you notice a seam starting to lift, apply a small amount of seam adhesive with a cotton swab and press it back into place.

Your Wallpaper Installation Questions, Answered
Can I install wallpaper in my bathroom? Absolutely! Just make sure to select a wallpaper that’s suitable for high-moisture areas. Vinyl and vinyl-coated options are best.
How long does wallpaper installation take? For a standard 10×12-foot room, budget about 4 to 8 hours for installation if you’re a beginner. Professional installers might complete it in 2 to 4 hours. Complex patterns or challenging room configurations will definitely add time.
Should I hire a professional wallpaper installation service? You may want to consider a professional wallpaper installation service if:
- You’re using expensive or delicate wallpaper
- Your walls have significant imperfections
- Your room has a lot of windows, corners, or architectural details
Professional wallpaper installation cost typically ranges between $30 to $80 per hour, depending on your location and the complexity of your project.
Wallpaper Installation Done Right
Wallpaper installation is a skill and an art. Your first attempt may not be perfect, and that’s completely okay.
Whether you’re papering an accent wall or an entire room, the key is to take it step by step and give yourself plenty of time to prep. The more you practice, the easier it will become.
This post is all about wallpaper installation for beginners!
Get even more DIY Project Guides: