Red Brick Fireplace Makeover Ideas: 2 Really Easy Weekend DIYs
Transform your dated fireplace in just one weekend with these two *tried-and-tested* red brick fireplace makeover ideas fit for all DIY levels.
This post contains affiliate links. We may earn a small commission when you purchase through links on our post, at no cost to you. We only recommend products we would use ourselves, and all opinions expressed below are our own.

A red brick fireplace can define the entire mood of your room. When done right, your fireplace can add warmth, character, and that classic old-world charm. But left unchecked, it can make the whole room feel dark, heavy, and dated.
As a Massachusetts-based home renovator specializing in older homes, I’ve encountered my fair share of brick fireplaces. Most older homes were built with wood-burning fireplaces to help residents survive the cold winters. But today, those same fireplaces are usually less about function and more about design impact. The challenge is knowing how to update them without stripping away all of their character.
After working through plenty of older homes, I’ve found that the easiest fireplace updates usually come down to two things: softening the brick (easy to do in one weekend) or adding more structure around it (a way more complicated project). Both can completely change the way your living room feels, and the former is actually really simple to do on your own.
So if you’re ready to upgrade your fireplace and transform your home, here are two (surprisingly easy) red brick fireplace makeover ideas that will soften the look of your brick, integrate your fireplace into your existing home design, and enhance the focal point of your room.
Brick Fireplace Paint vs. Lime Wash: Which Is Right for Your Space
Acrylic brick fireplace paint gives you full, even coverage. It’s the better choice if your brick is really discolored, cracked, or clashing with your current decor. It’s also the go-to for a modern brick fireplace, a black brick fireplace, or a color-drenched living room. But keep in mind, once it’s applied, it’s not easy to reverse.
Brick fireplace whitewash (lime paint) lets the brick’s texture and character show through while softening the color. It’s more breathable, more forgiving to apply, and creates a softer, layered finish. If your brick is in good shape and you just want to tone down the red, lime wash is the smarter starting point.

Both methods work for a 70s brick fireplace, a full-wall brick fireplace makeover, or a floor-to-ceiling brick fireplace. The finish just looks different. Scroll down to the before-and-after’s to see them side by side.
DIY #1: Paint Your Red Brick Fireplace With Acrylic
Acrylic paint is the fastest and most affordable way to transform a dated red brick fireplace. It gives you a clean, modern result and works with almost any color palette.
You might be thinking, “Painting the brick removes all the original character!” And you’re not wrong. Not everyone loves the idea of painting brick. It obscures the stone’s natural beauty, and it isn’t easy to reverse once you start.
But the truth is, brick isn’t always salvageable. Depending on your home’s age and condition, the brick may be cracked, discolored, or spalling. In some cases, the stone might be in great shape, but the red brick color clashes with your home’s decor or style.
If any of this resonates with you, painting might be your best option. Here’s a quick exercise to determine whether acrylic is the right choice for your home:
Lime has a thinner consistency, allowing you to control the coverage. You can opt for a whitewash, allowing the brick to show through, or increase the paint ratio for full coverage. And unlike acrylic, it doesn’t produce harmful vapors during application, which is a nice bonus when you’re working indoors.
When to Use Acrylic Paint:
- Your brick is cracked, discolored, or spalling but still structurally sound
- The red tones clash with your current decor (and no amount of styling can fix it)
- You want a cohesive, color-drenched look
- You need a quick, beginner-friendly project that can get done in one weekend
What to Know About Acrylic Brick Fireplace Paint Before You Start
Before you pick up your paintbrush, let’s go through the major pros and cons of painting your red brick fireplace with acrylic paint.
Pros of Acrylic Paint
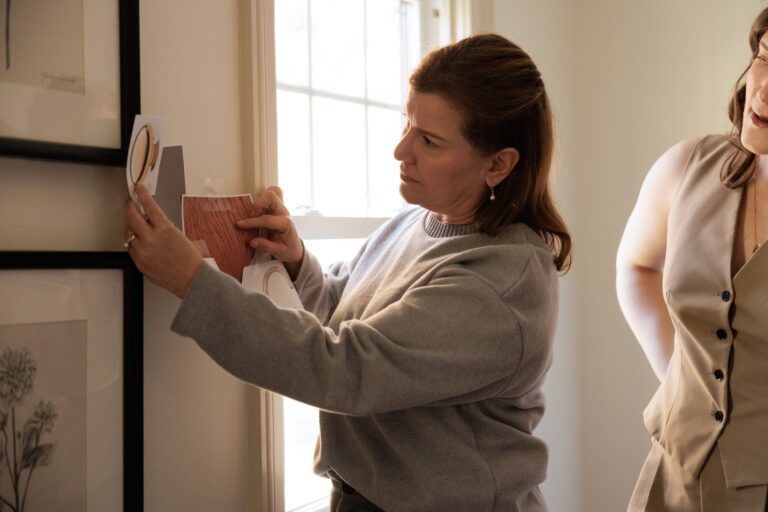
Acrylic paint comes in countless colors, allowing you to customize your fireplace to match your exact design vision. You can select your favorite Benjamin Moore, Sherwin Williams, or Farrow & Ball paint color, or swatch a few options to find your favorite.

And speaking of swatches, I did a deep dive on my foolproof paint swatching process that gives you the exact color you want every time. Read the post here 👉 How to Nail Your Paint Color On the First Try.
Painting Tip
When painting with acrylics, we typically use the same paint color for the brick and the mantle. This technique allows the eye to see the fireplace as a whole rather than broken down into its components. It’s a fresh, modern look and pairs well with a range of decor styles.
Cons of Acrylic Paint
The downside of acrylic paint is that it’s more prone to chipping. Acrylic paint creates a barrier on the brick surface, trapping moisture and causing cracks in the paint over time. It may require periodic touch-ups, so keep maintenance in mind before making your final decision.
How to Paint Brick With Acrylic Paint
Here’s the exact step-by-step process we used on our renovation projects. It takes less than a weekend and about $45- $65 in supplies.

Here’s What You’ll Need
- Dawn dish soap (or any liquid dish soap)
- 220-grit sandpaper (for the wood mantle)
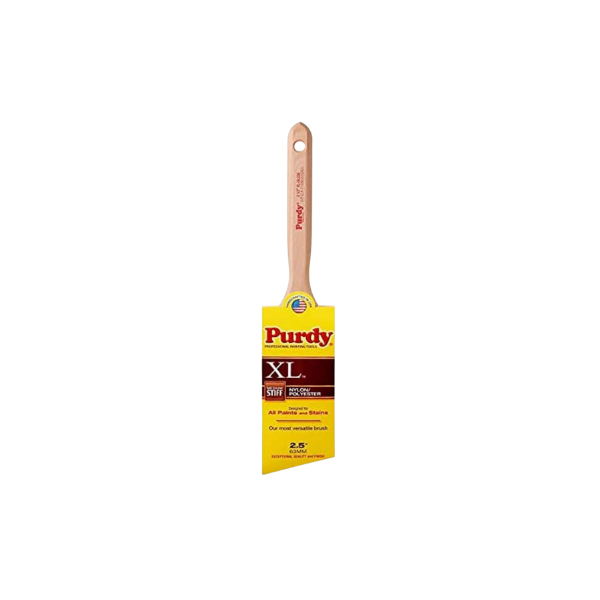
- 2-inch angled paintbrush
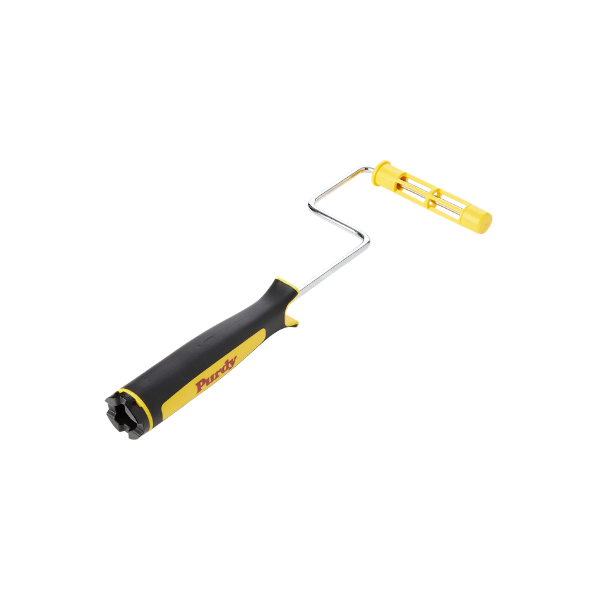
- Mini paint roller frame
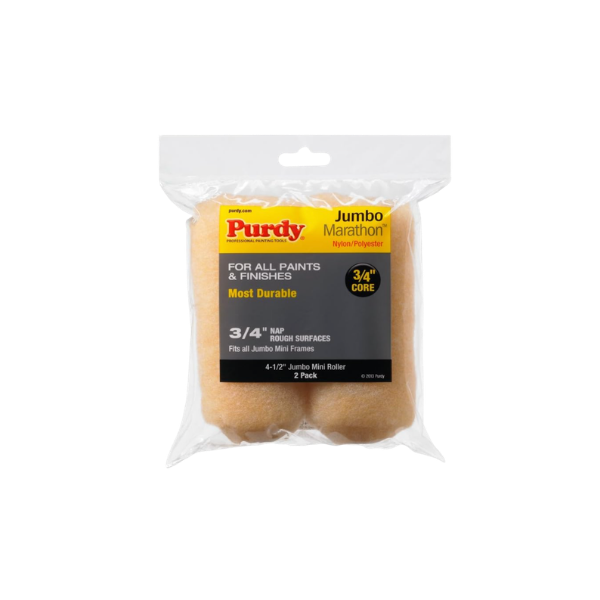
- Thick nap roller cover (0.75-inch to 1-inch nap)
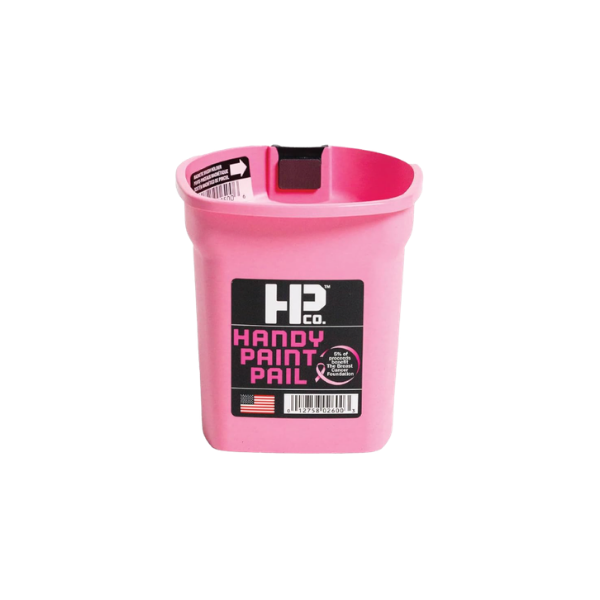
- Handheld paint cup (optional)
- Primer (masonry or multi-surface)
- Acrylic paint in your preferred color
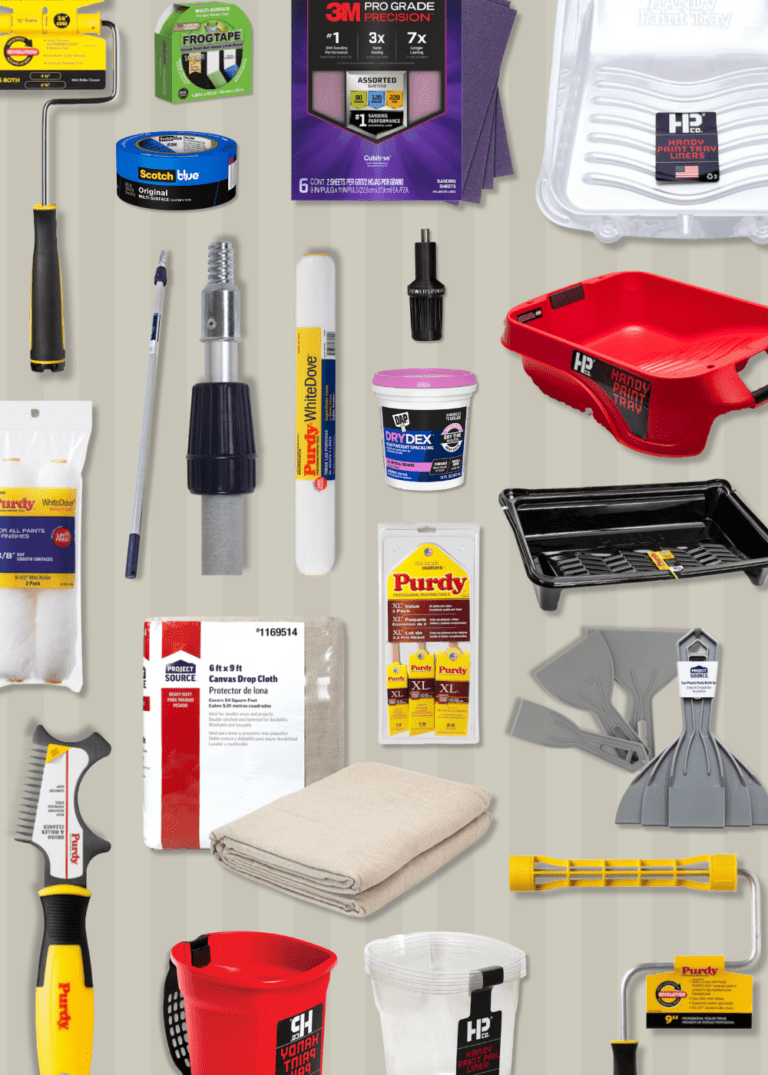
And if you want to build out your full painting toolkit, I rounded up my favorite products that are built to withstand even the toughest DIY projects. Read the post here 👉 Build Your *Professional* Interior Home Painting Toolkit for Under $225.

How to Apply Acrylic Fireplace Paint: Step by Step
- First, clean the brick and mantel with a soap and warm water solution. We used Dawn soap, but any liquid dish soap will do.
- If you plan to paint the wood on your fireplace, lightly sand it with 220-grit sandpaper to help the paint adhere.
- Use a paintbrush and paint roller to apply one coat of primer to the fireplace. Start by cutting in around the edges with the paintbrush, then use the roller to cover the larger surface area within the perimeter. Since brick has a lot of texture, I recommend using a thick nap roller cover (0.75-inch to 1-inch nap) to cover the uneven surface. Let the primer dry for 2-4 hours before moving on to the next step.
- Once the surface is dry to the touch, it’s time to apply the acrylic paint. I recommend using a handheld paint cup to hold the paint and the same 2-inch paintbrush to cut in around the perimeter.
- As with the primer application, use the paintbrush to cover the edges and finer details, then use the roller for larger areas. Apply one coat, let the paint dry for 2 to 4 hours, then repeat the process.
- Step back and check for missed spots in the brick texture. A third coat in thin sections is normal with heavily textured surfaces.
Paint Application Tip
Don’t rush the drying time between coats. Acrylic paint needs to cure fully, especially on a porous surface like brick. If you apply the second coat too early, the first coat can pull and create an uneven finish.
Before and After: Acrylic Paint Fireplace Transformation
Here’s an example of a fireplace we transformed with acrylic paint. The original fireplace was tired and dated, so we color-drenched the entire living room (including the fireplace) with our favorite moody gray/blue: Farrow and Ball’s Down Pipe.
Color drenching is a painting technique in which you “drench” the entire room in a single color (including the ceiling, walls, fireplace, mantel, doors, and trim). This was our first time going all in on a dark color, and we honestly love how it turned out.
Before Acrylic Paint

After Acrylic Paint

DIY #2: Paint Your Red Brick Fireplace With Lime
Lime red brick fireplace paint is a mineral-based product that only contains two key ingredients: lime (calcium hydroxide) and water.
When to Use Lime:
- The brick is in good condition, but the red tones clash with your space
- You want a softer, more textural finish that shows the character of the brick underneath
- You’re going for a whitewashed, European-inspired, or transitional look
- You want something more breathable and lower maintenance than acrylic paint
Pros of Lime Paint
Unlike acrylic, lime penetrates directly into the brick rather than sitting on top of it. That means it breathes with the surface, which dramatically reduces the risk of cracking and peeling over time.
Cons of Lime Paint
The only downside in my opinion is the color. You don’t have the same customization options as with acrylic, so keep that in mind before you commit.

How to Paint Brick With Lime Paint
Here’s the exact step-by-step process we used on our latest renovation project. It only takes one day of work and one budget-friendly painting kit.
The Best Lime Wash Kit for a DIY Brick Fireplace Whitewash
Lime paint is really easy to apply. I only had to order one product for this entire project: the Gianni Brick Transformations Kit (Under $40 on Amazon).
It has everything you need in one box: 16 ounces of lime paint, a mixing container, a wood stir stick, a 9×12-foot drop cloth, three rags, painter’s tape, and a 2-inch brush.

Giani Brick Transformations Kit
This all-in-one paint kit makes DIY lime washing almost too easy.
The kit includes detailed instructions with exact water-to-paint ratios for different levels of coverage, which takes a lot of the guesswork out of the process. It covers two application methods: brush and cloth rag. The rag method creates a more textural, layered look, while the brush method is cleaner and more consistent.
How to Apply Lime Fireplace Paint: Step by Step
This is the exact process I used for a full-coverage lime wash on brick that was in really rough shape.
- Clean the brick with warm water and soap. Let it dry fully.
- Wet the brick surface with a damp sponge. This helps the lime paint absorb evenly and prevents it from drying too fast.
- Mix your lime paint to the desired coverage ratio following the kit instructions.
- Apply the lime paint with a brush or rag depending on the finish you want. Work in small sections so you can control the look.
- Let the first coat dry. Assess the coverage and add a second coat if needed.
- For the mantle: sand lightly, prime, and paint in your chosen color. We used Benjamin Moore’s Pale Oak to complement the light lime wash on the brick.
Optional upgrade: Replacing your damaged or dated fireplace doors can dramatically change the final look. We finished one project with new fireplace doors from Lowe’s, and it elevated the entire living room. But if your doors are in good shape, skip this step.
Glass Fireplace Doors
Incredible quality for the price! After two freezing cold winters, we can attest that these fireplace doors are worth every penny.

Before & After: Lime Paint Fireplace Transformation
Here’s an example of the Gianni lime wash on a project with heavily discolored brick. I opted for full coverage with no dilution to create a clean, consistent finish.
The mantle was sanded, primed, and painted in Pale Oak, which gave the whole fireplace a softer, warmer feel. The new fireplace doors from Lowe’s tied everything together.
Before Lime Paint
After Lime Paint

Picking the Right Red Brick Fireplace Makeover for You
Both red brick fireplace makeover ideas are beginner and budget-friendly. The right one depends on your brick, your design style, and how much time you want to spend on long-term maintenance.
Here’s a quick summary:
- Acrylic Paint: Best for really damaged or discolored brick, color-drenching projects, and modern or contemporary spaces. Plan for occasional touch-ups over time.
- Lime Paint: Best for brick in decent condition that just needs softening. Ideal for transitional, whitewashed, or European-inspired spaces.
Red Brick Fireplace Makeover Ideas You Can Start Today
Your dated red brick fireplace doesn’t have to dominate your living room forever. All you need to transform it is one weekend of hard work, a $50 budget, and your favorite painting outfit.
Start by assessing your brick. Then decide if you want to cover it completely or let some texture show through. Both red brick fireplace makeover ideas can look incredible when the right method meets the right home. 🤝
This post is all about red brick fireplace makeover ideas.
Get Even More Home Renovation DIY Guides
- *Beginner-Friendly* Guide to Installing Backsplash (It’s Easier Than You Think)
- Wallpaper Installation 101: How to Nail Your Install on the First Try
- How to Install a Carpet Runner like a DIY Pro
- 5 *Surprisingly* Affordable Bathroom Upgrades That Won’t Hurt Your Wallet
- Build Your *Professional* Interior Home Painting Toolkit for Under $225